How do I install ghost on my VPS?
Here’s How to Install Ghost on Your Linux VPS
Here’s How to Install Ghost on Your Linux VPS
-
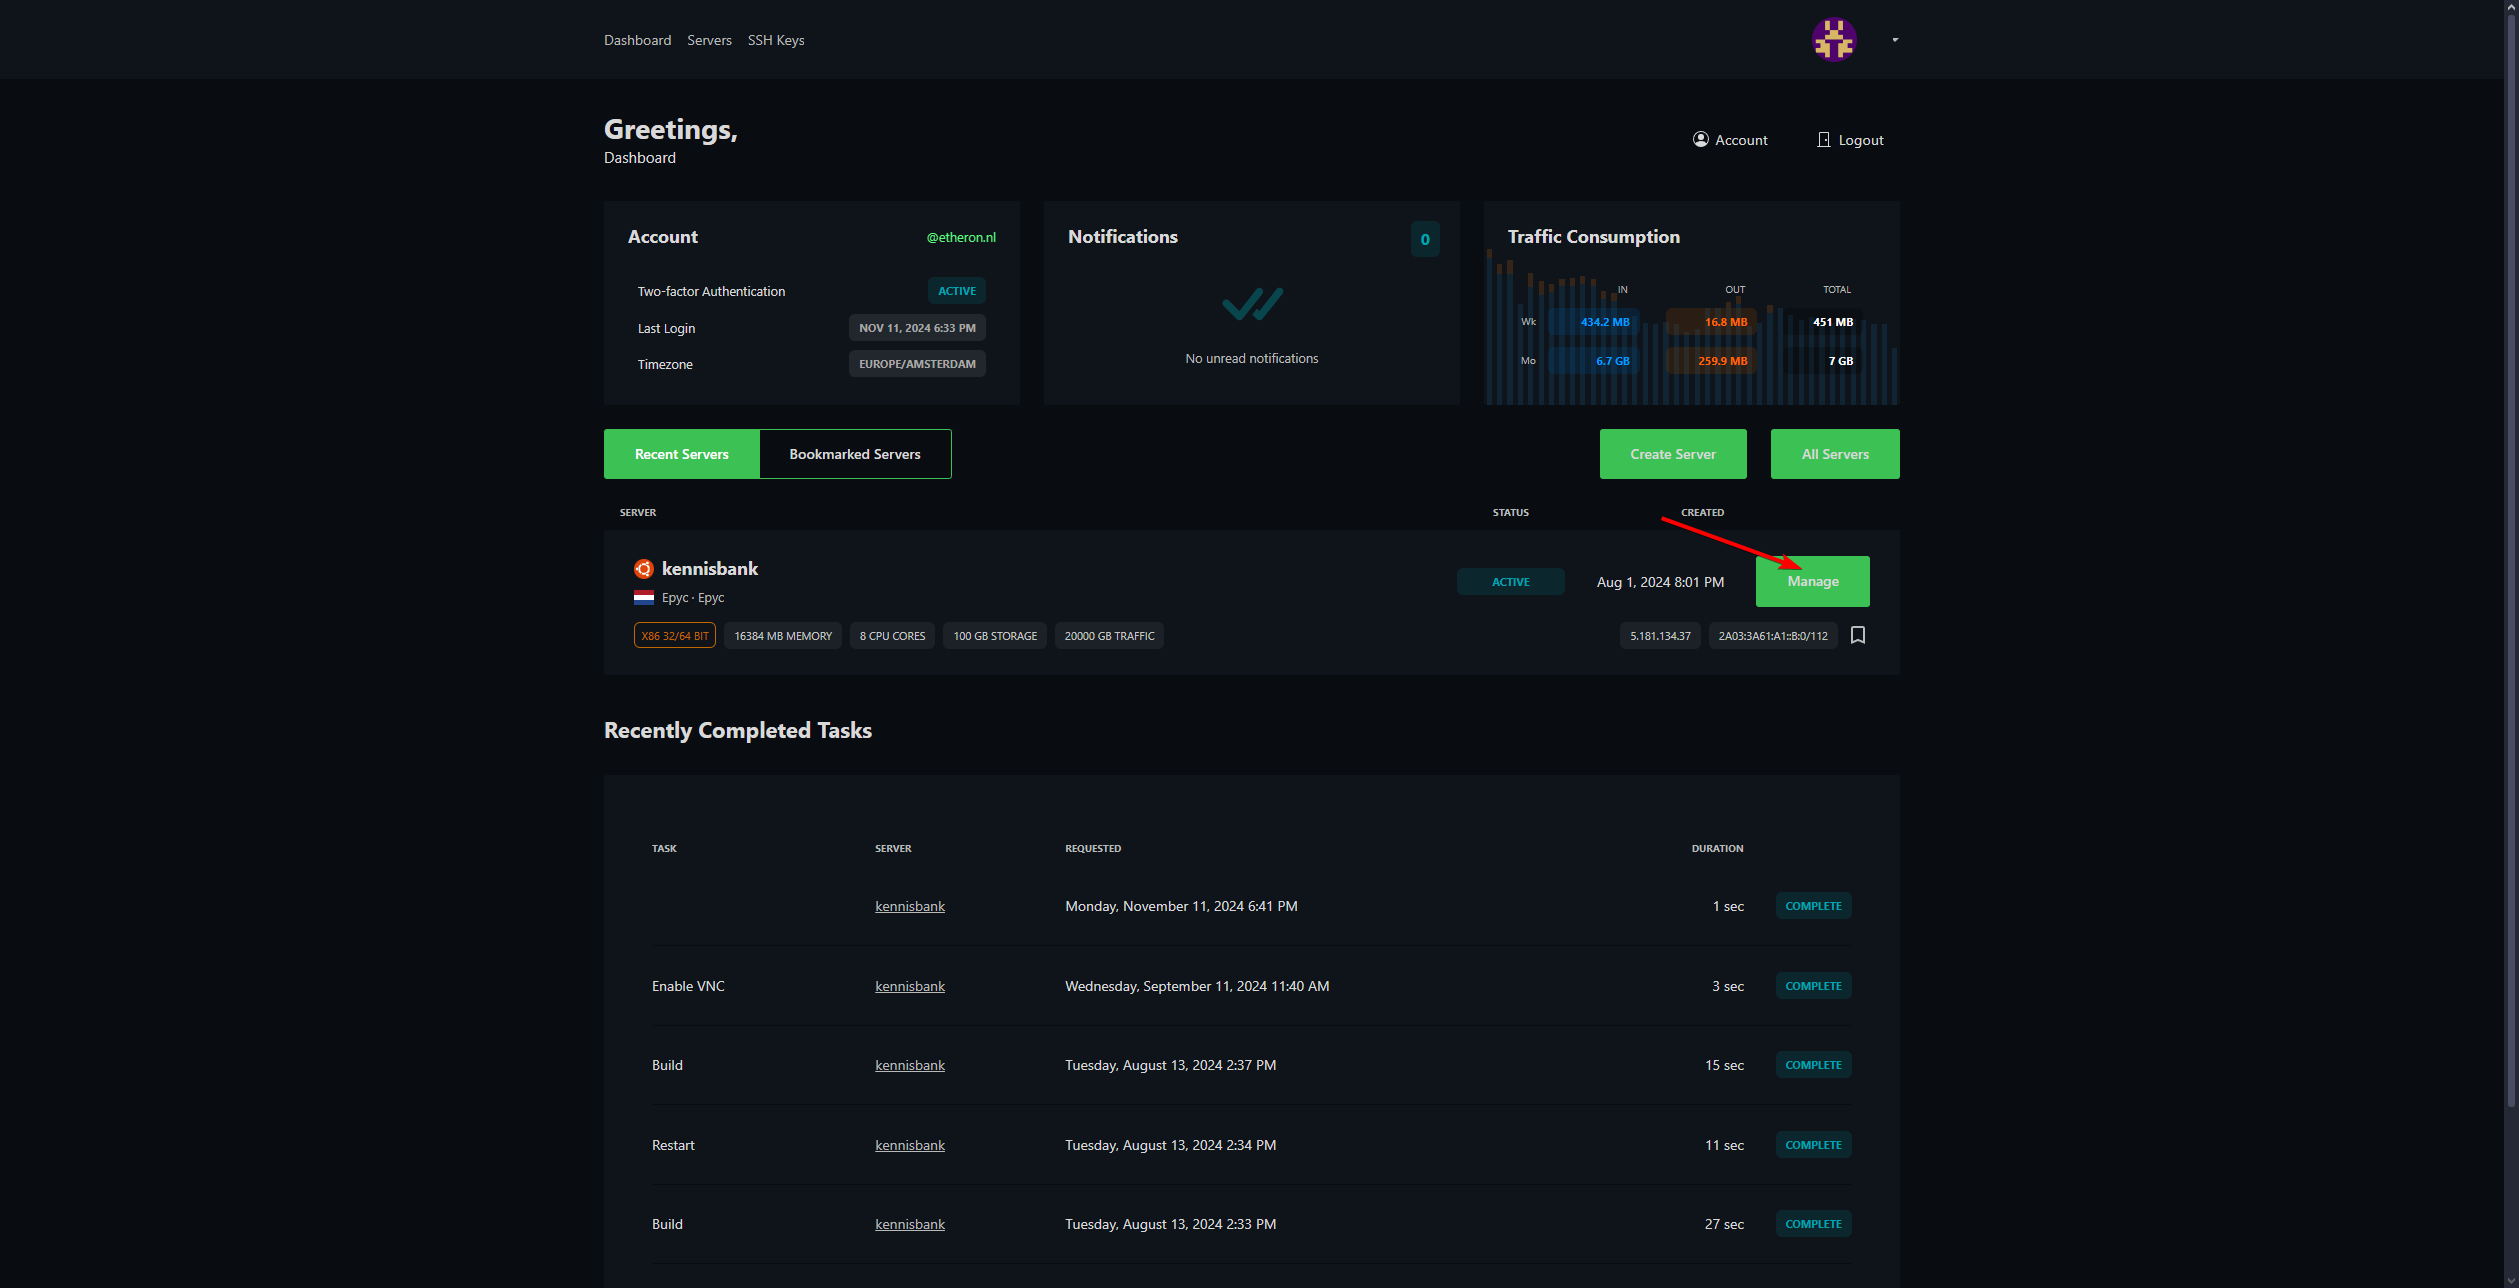
Go to the VPS panel and log in.
-
Click Manage on your desired (Linux) server.
- Ensure your VPS is running and click the VNC logo.
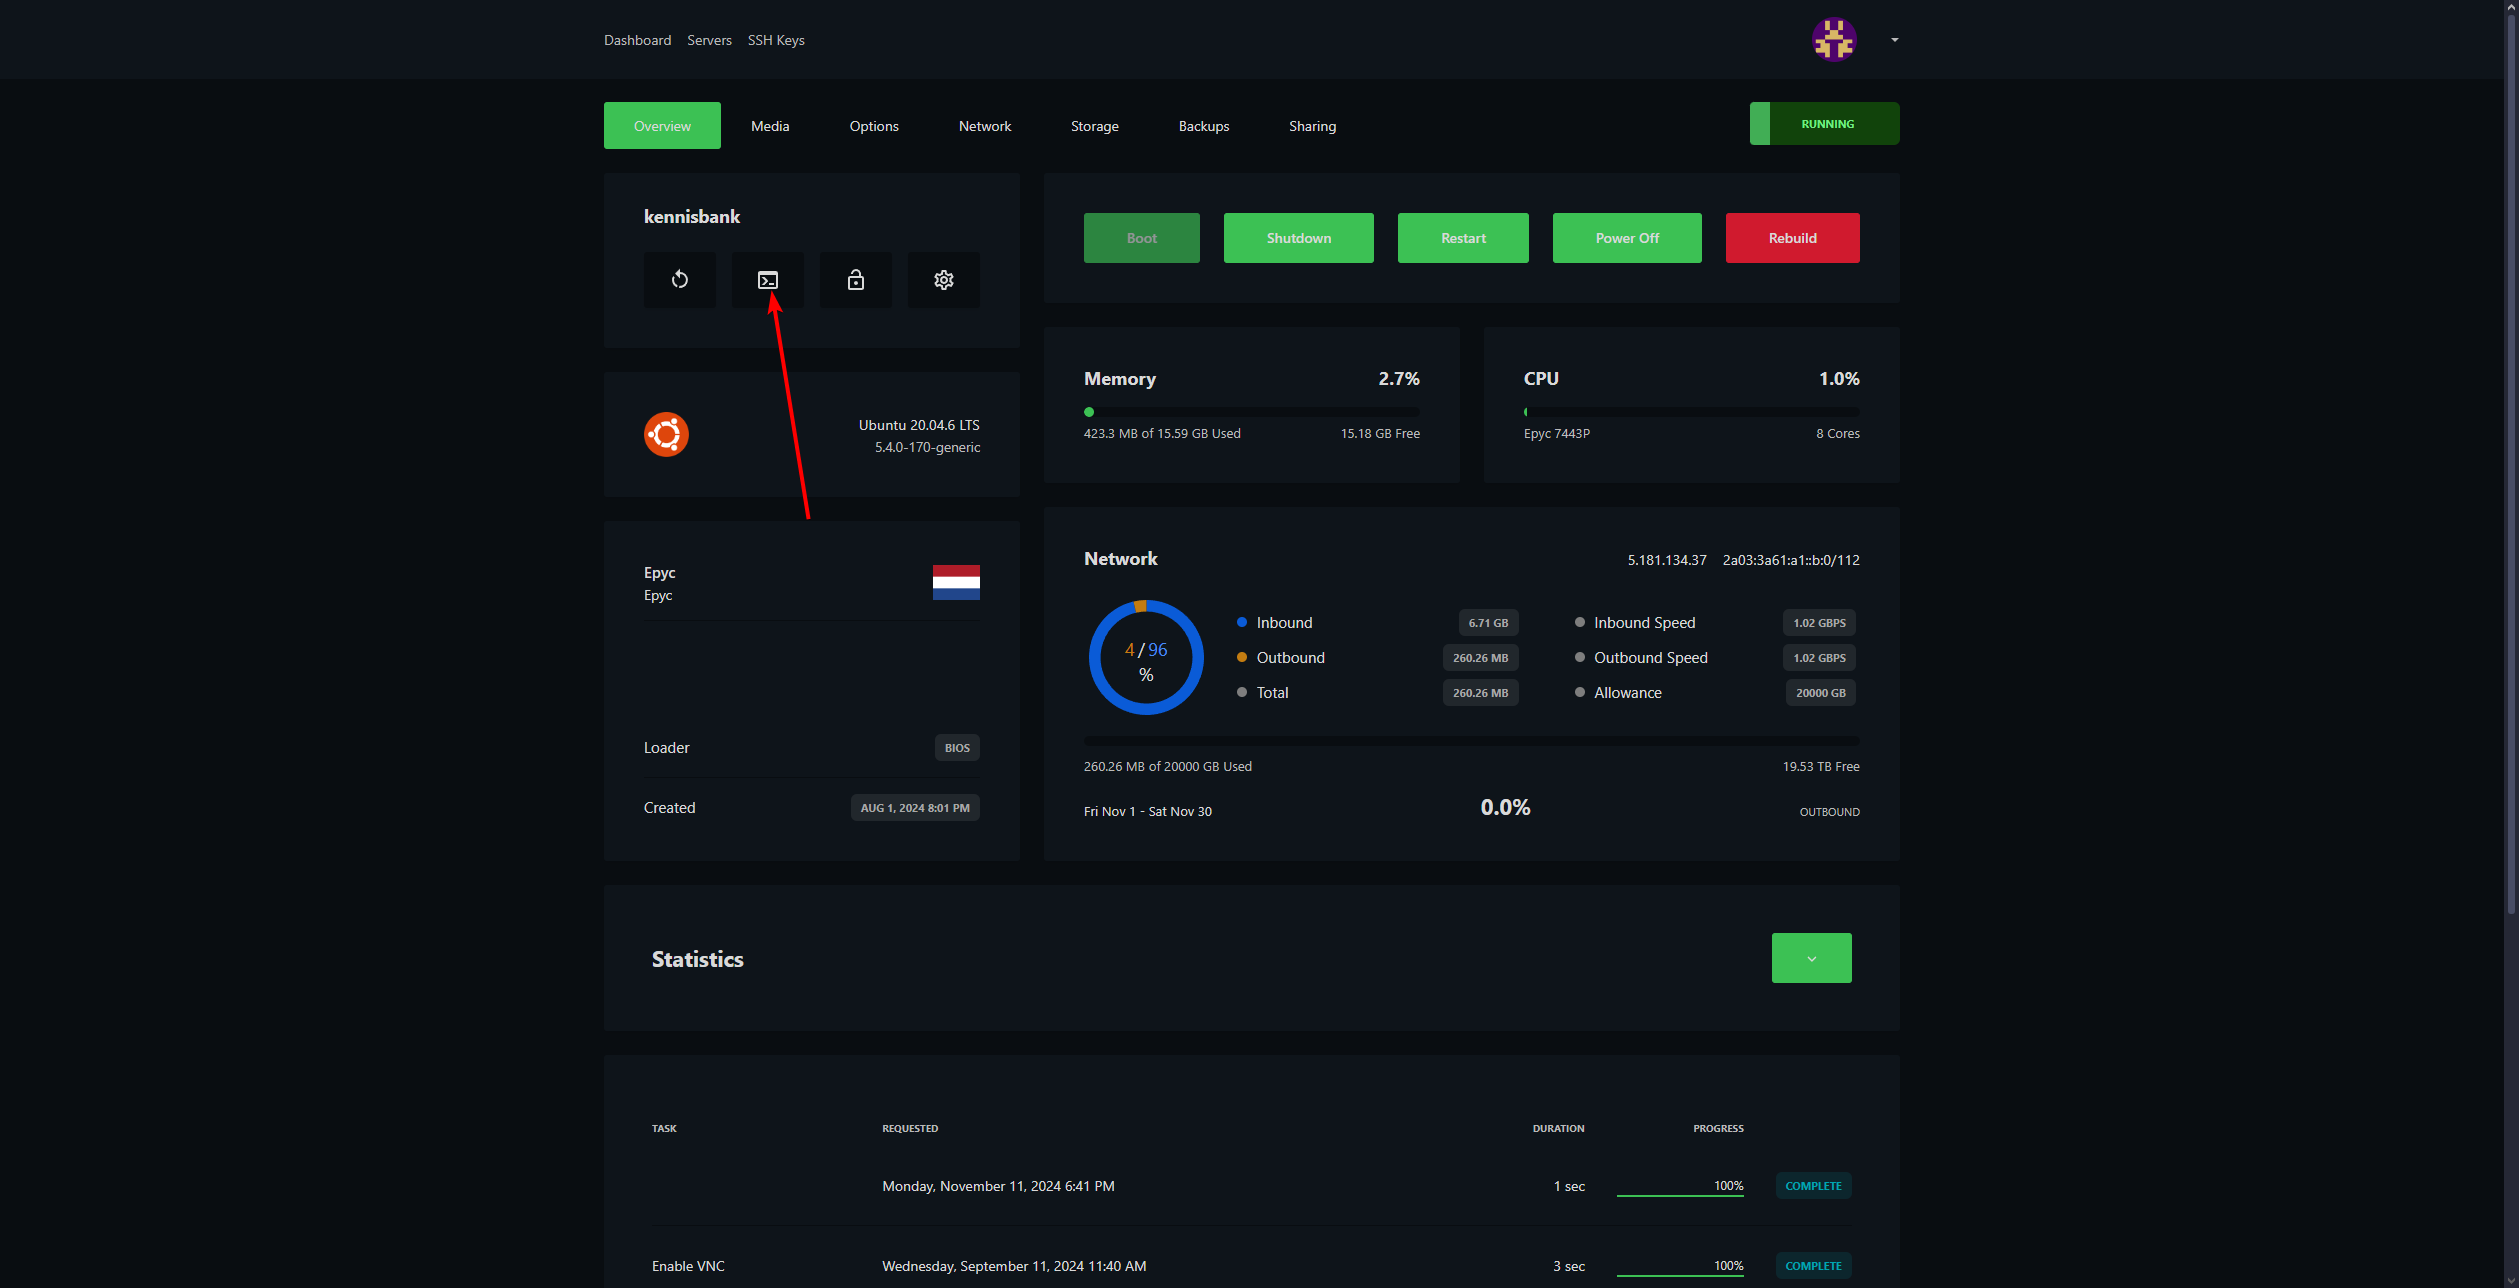
- Log in.
Your username is likely "root," and your password can be found in your email.

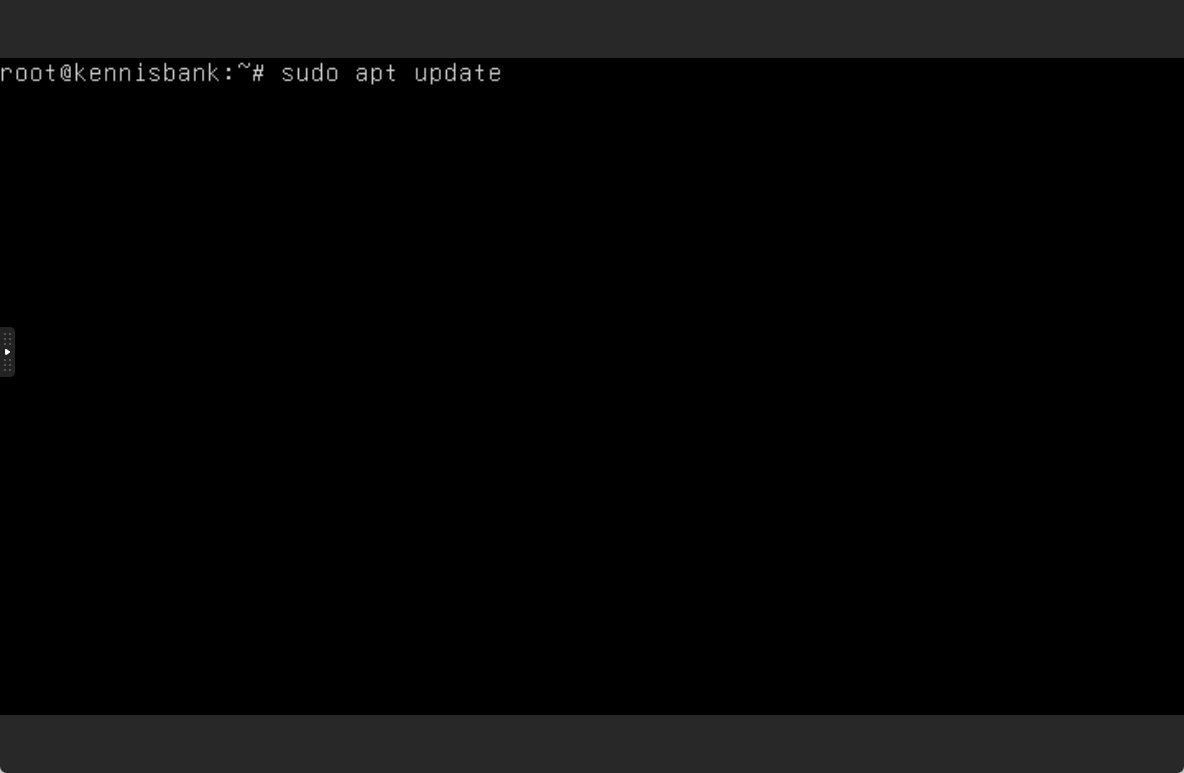
- Begin by updating everything. Type: sudo apt update
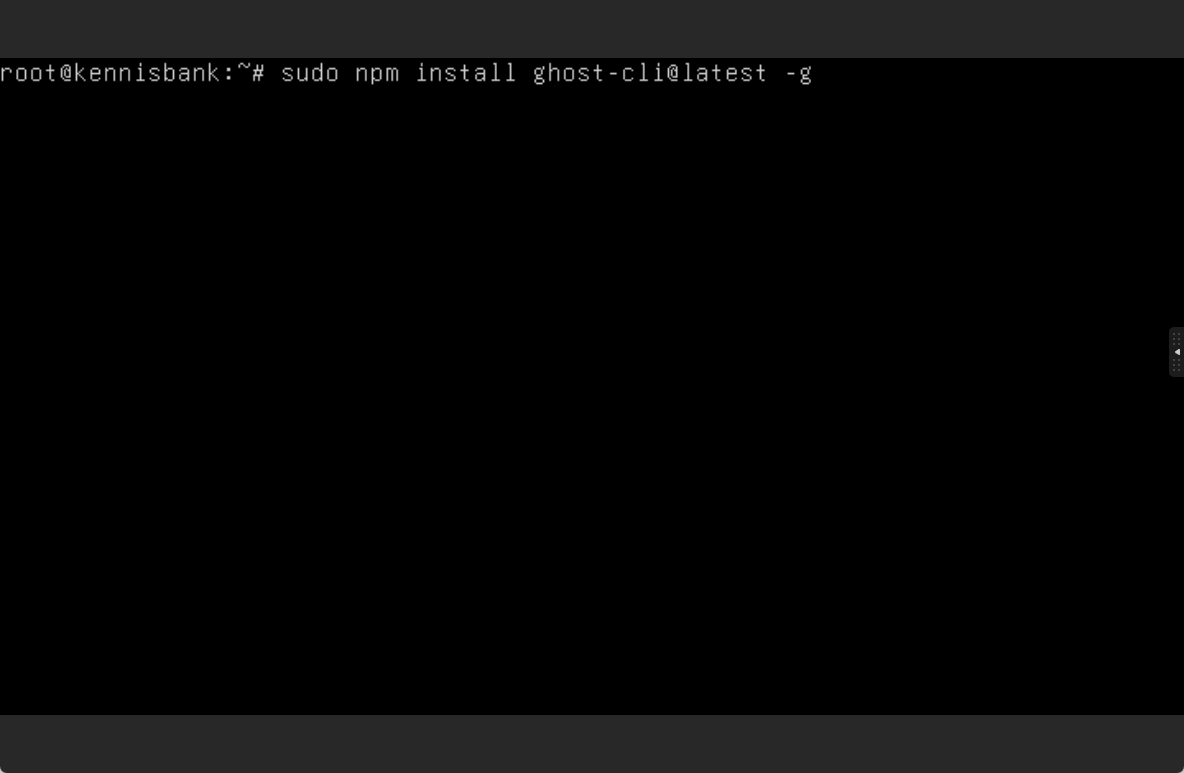
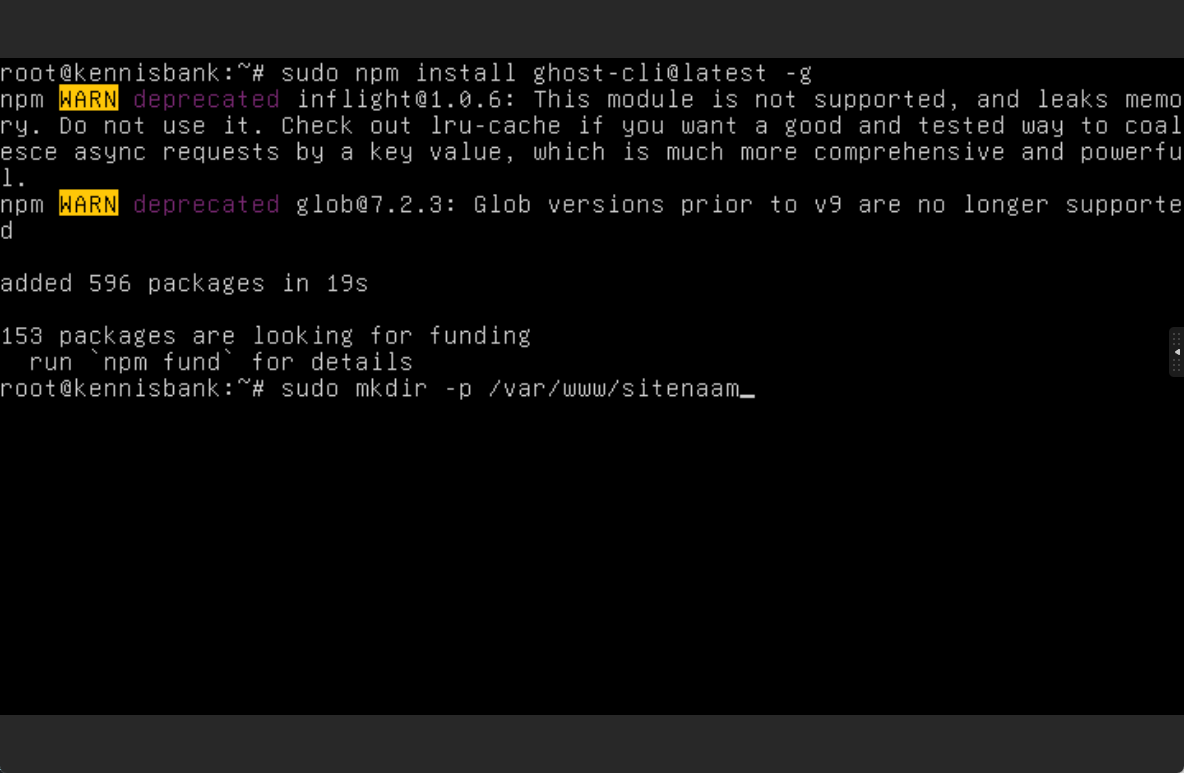
sudo npm install ghost-cli@latest -g
- Create a directory for Ghost. Replace sitename with your desired site name:
sudo mkdir -p /var/www/sitename
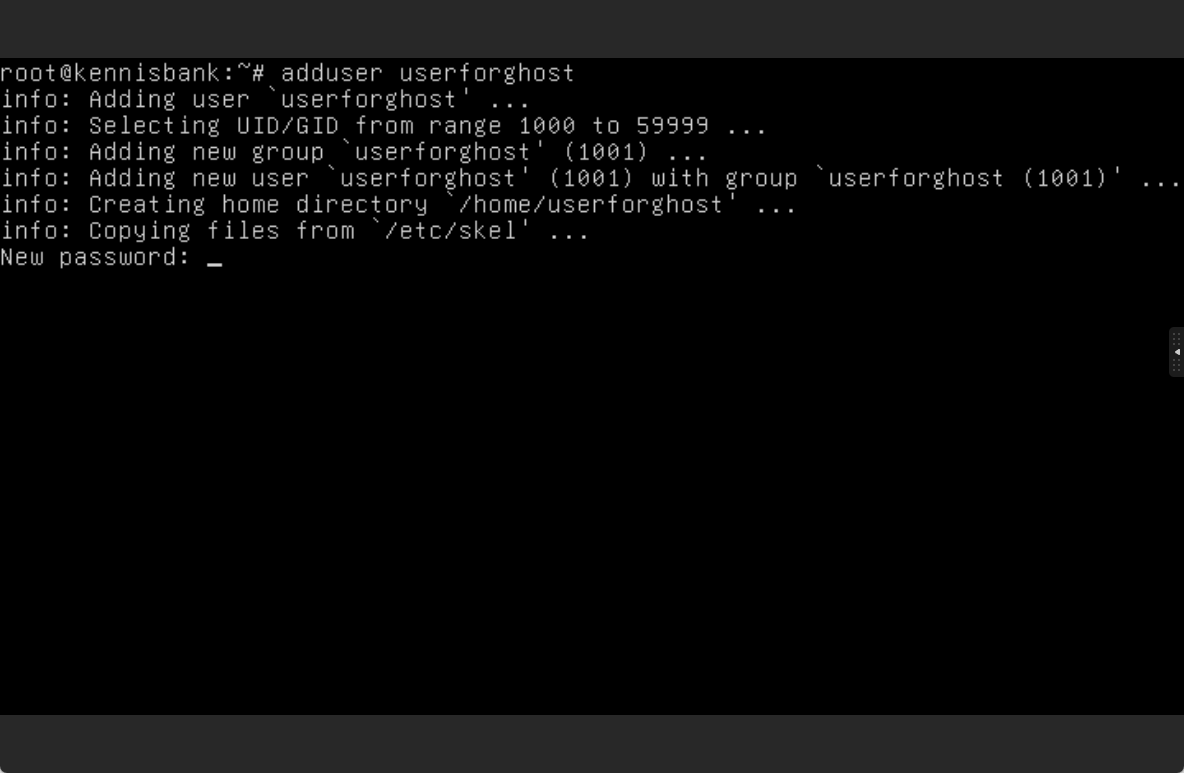
- Create a new user. Type:
adduser
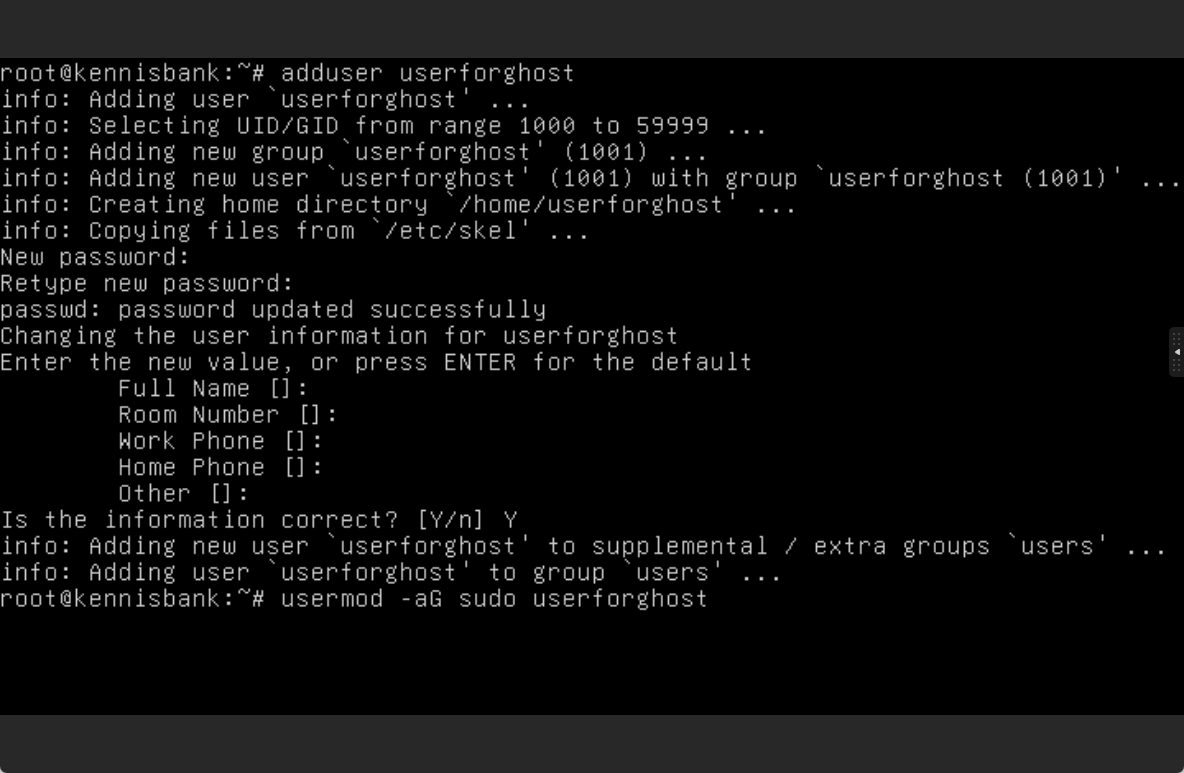
Choose a username (do not use "Ghost" to avoid issues) and set a password.
- Add the user to the superuser group by typing:
usermod -aG sudo
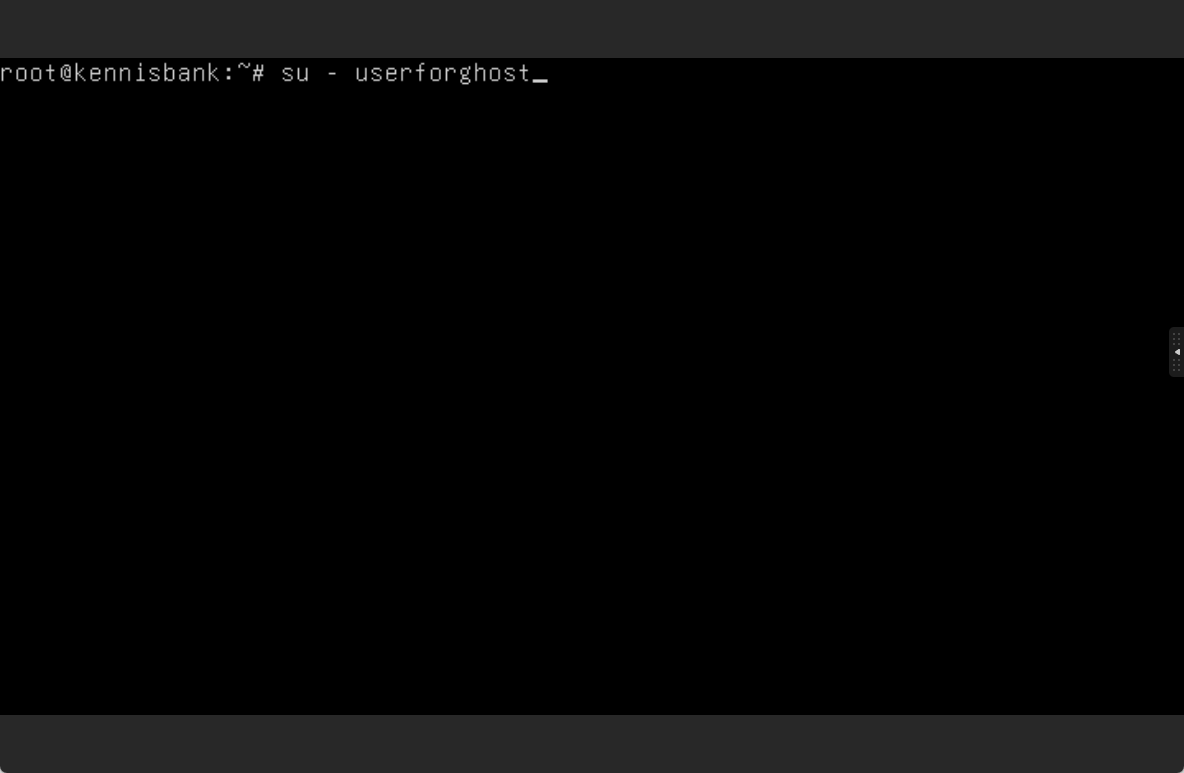
- Log in as the new user:
su -
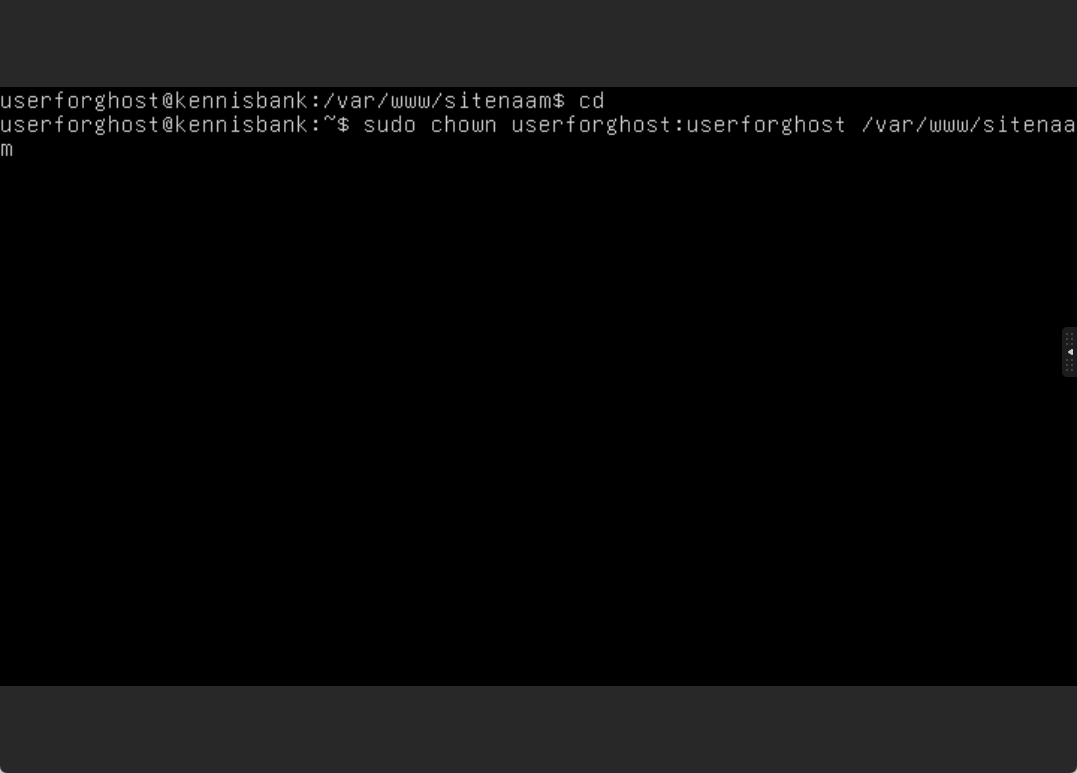
- Set ownership of the directory to the new user:
sudo chown : /var/www/sitename
Replace with your username.
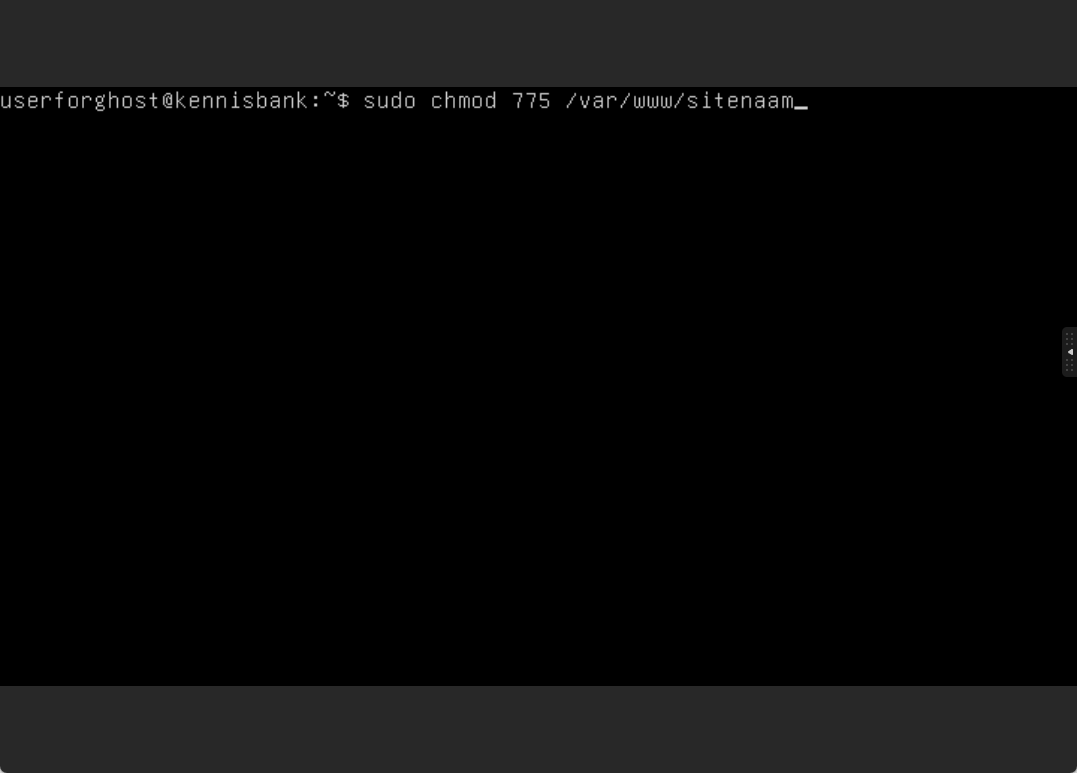
- Set the correct permissions for the directory:
sudo chmod 775 /var/www/sitename
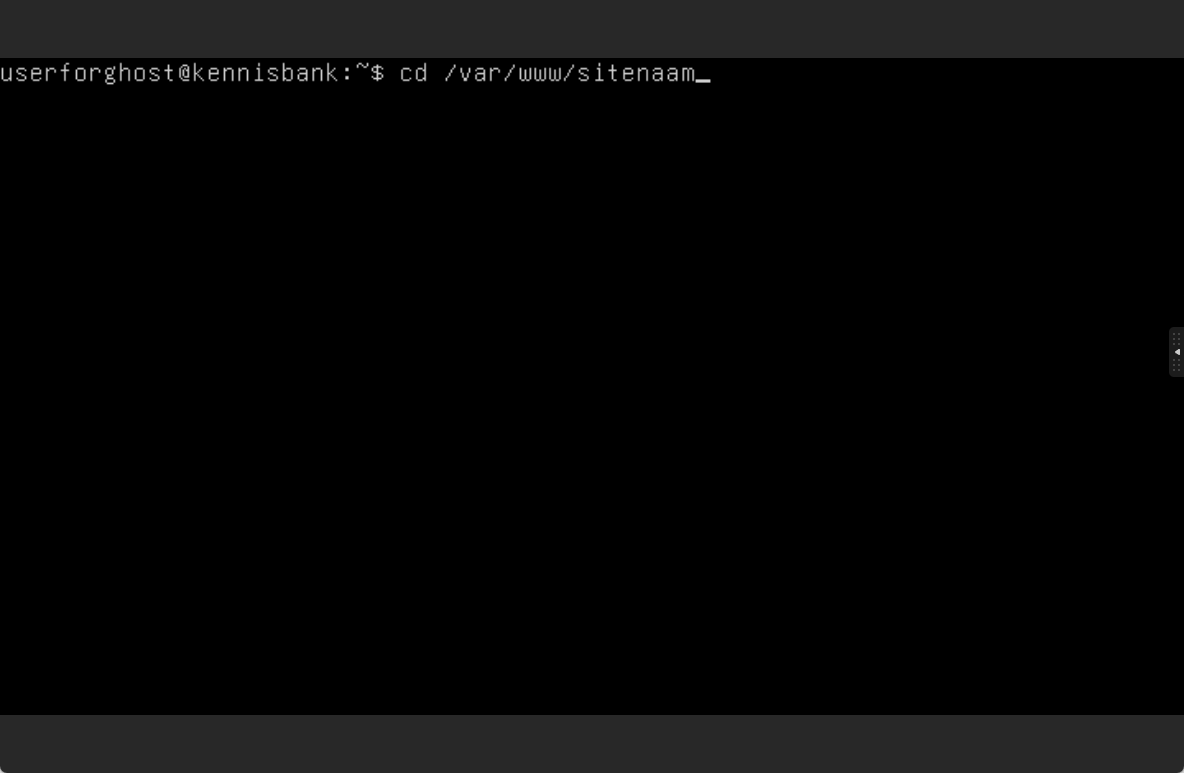
- Navigate into the directory:
cd /var/www/sitename
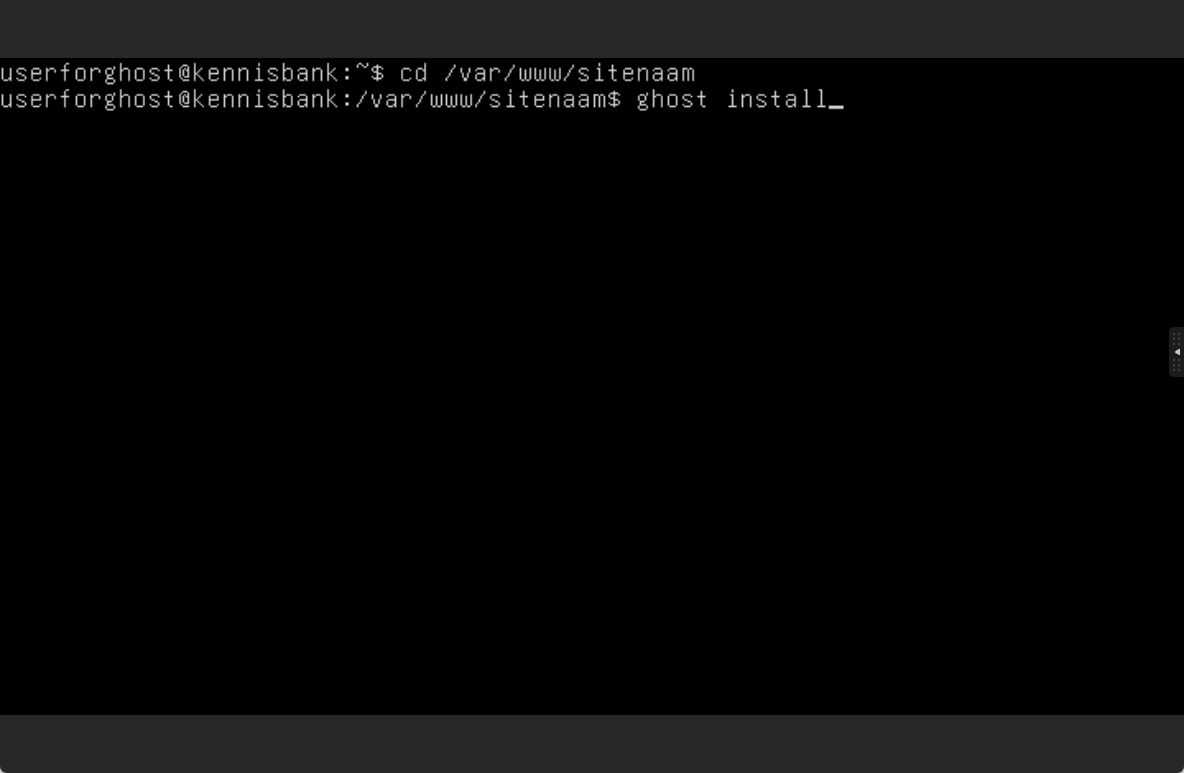
- Install Ghost:
For a live site, type: ghost install
For local testing, type: ghost install local
- Follow the prompts and answer the questions. Once the process is complete, Ghost is installed!
If you encounter any issues, feel free to reach out via Discord or create a support ticket through this link.
Lars
Updated on: 04/16/2026
Was this article helpful?