How do I install a Nginx webserver on my Linux VPS?
Here’s How to Install the Nginx Web Server on Your Linux VPS
Here’s How to Install the Nginx Web Server on Your Linux VPS
-
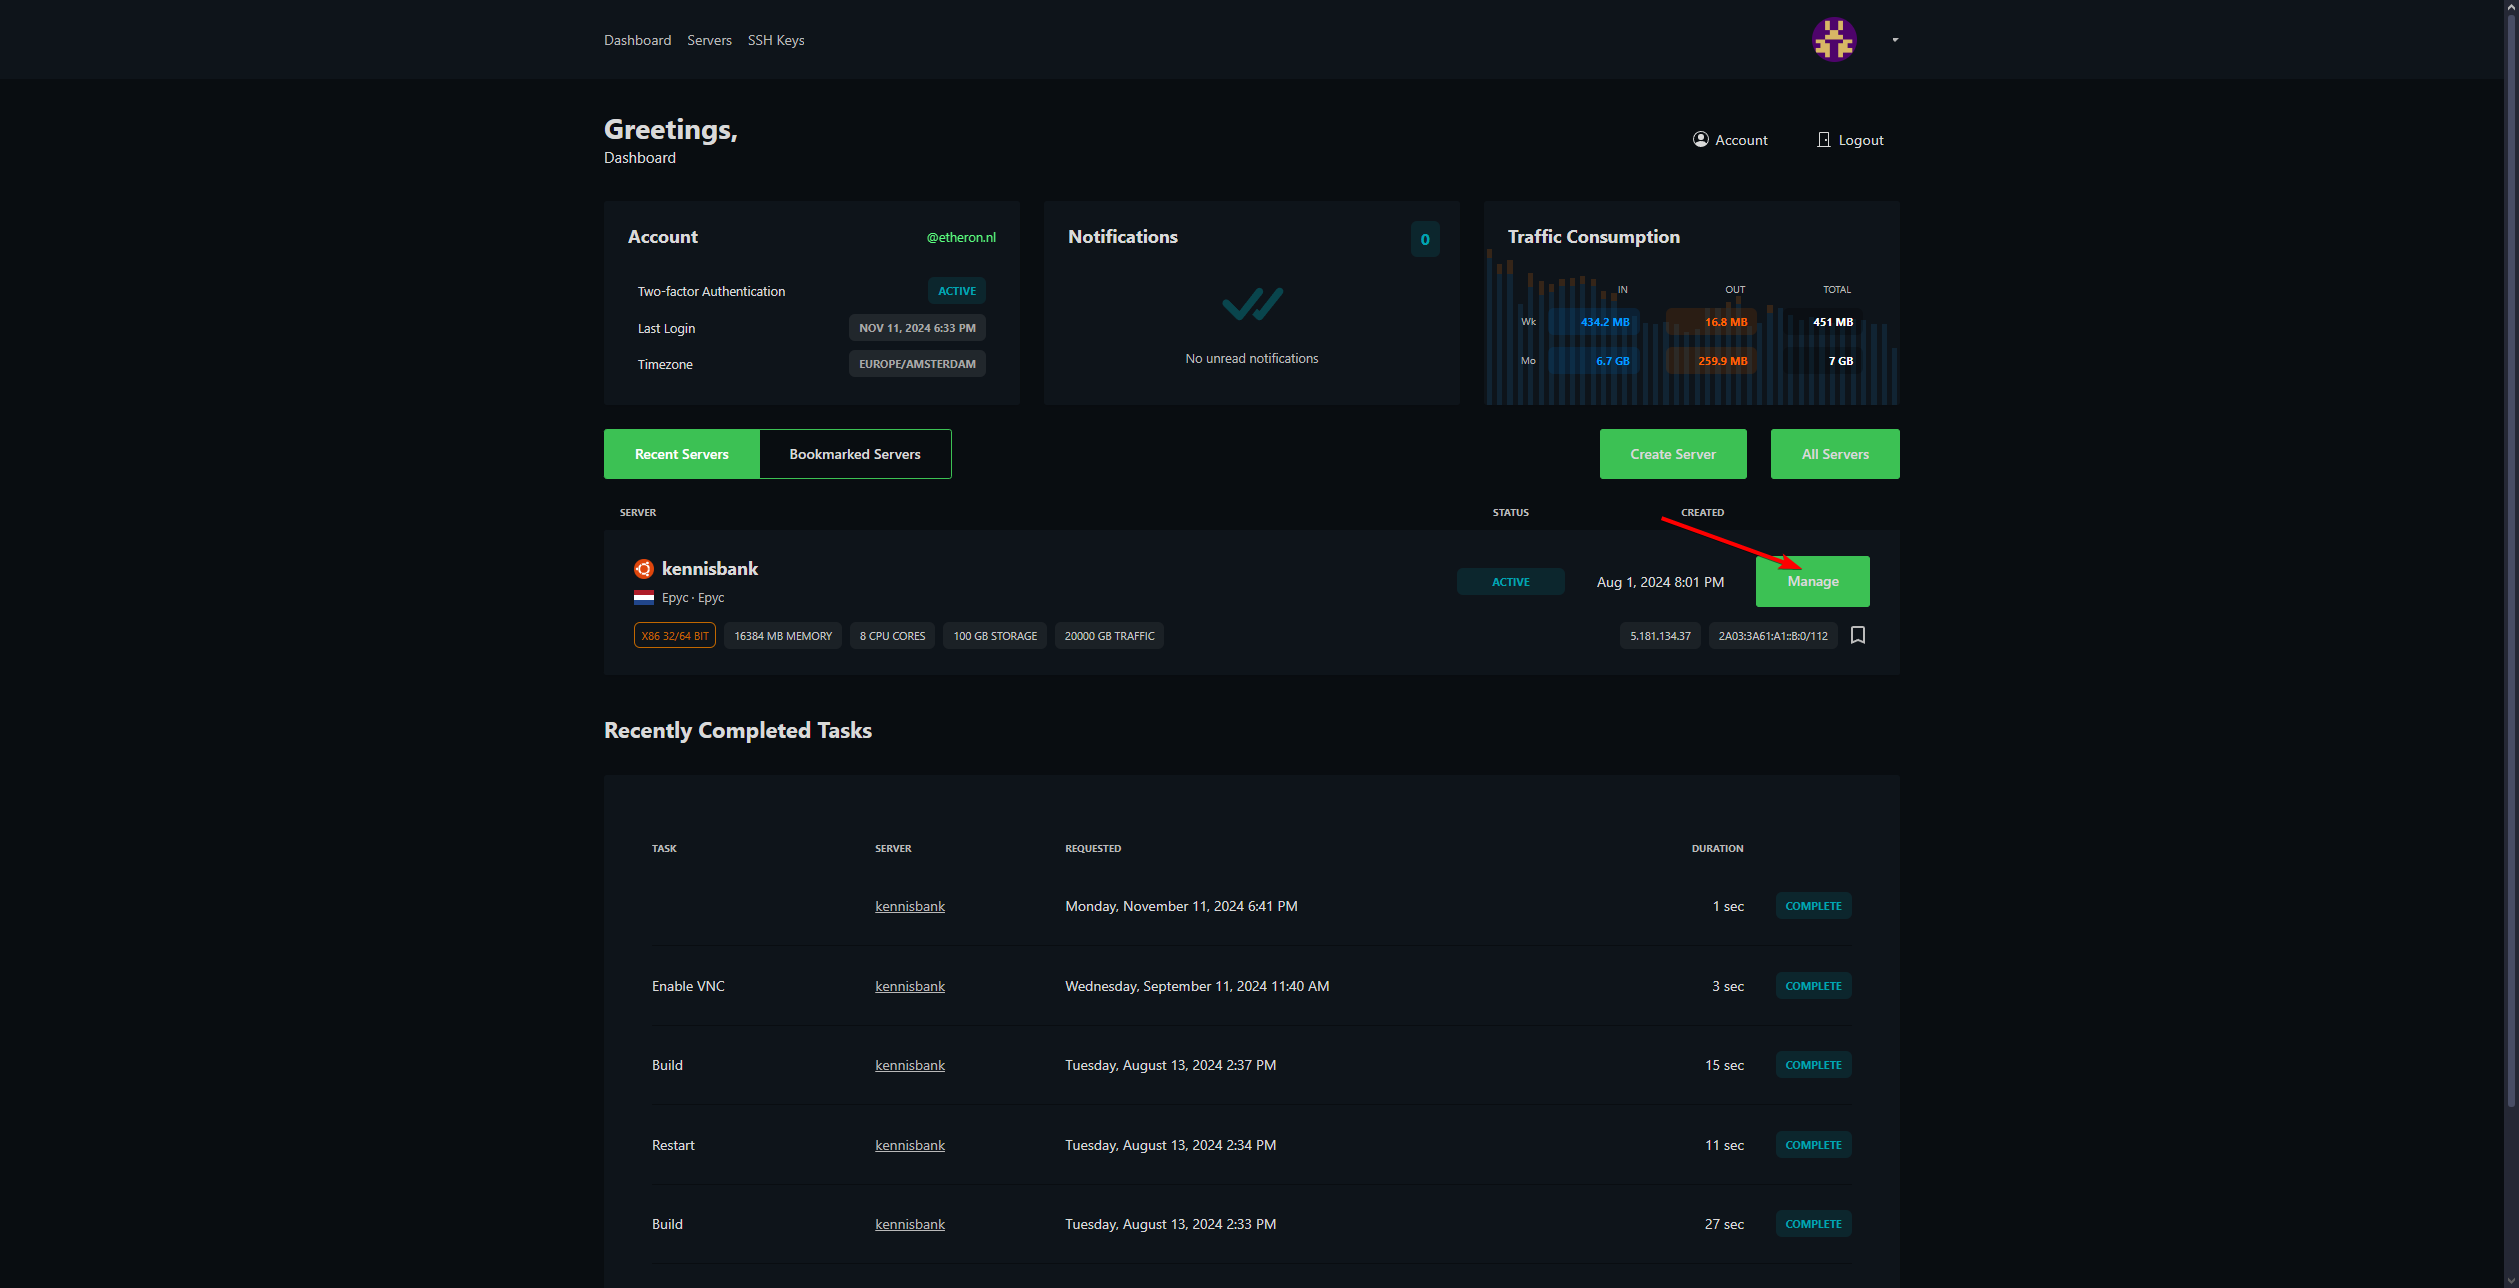
Go to the VPS panel and log in.
-
Click Manage on your desired (Linux) server.
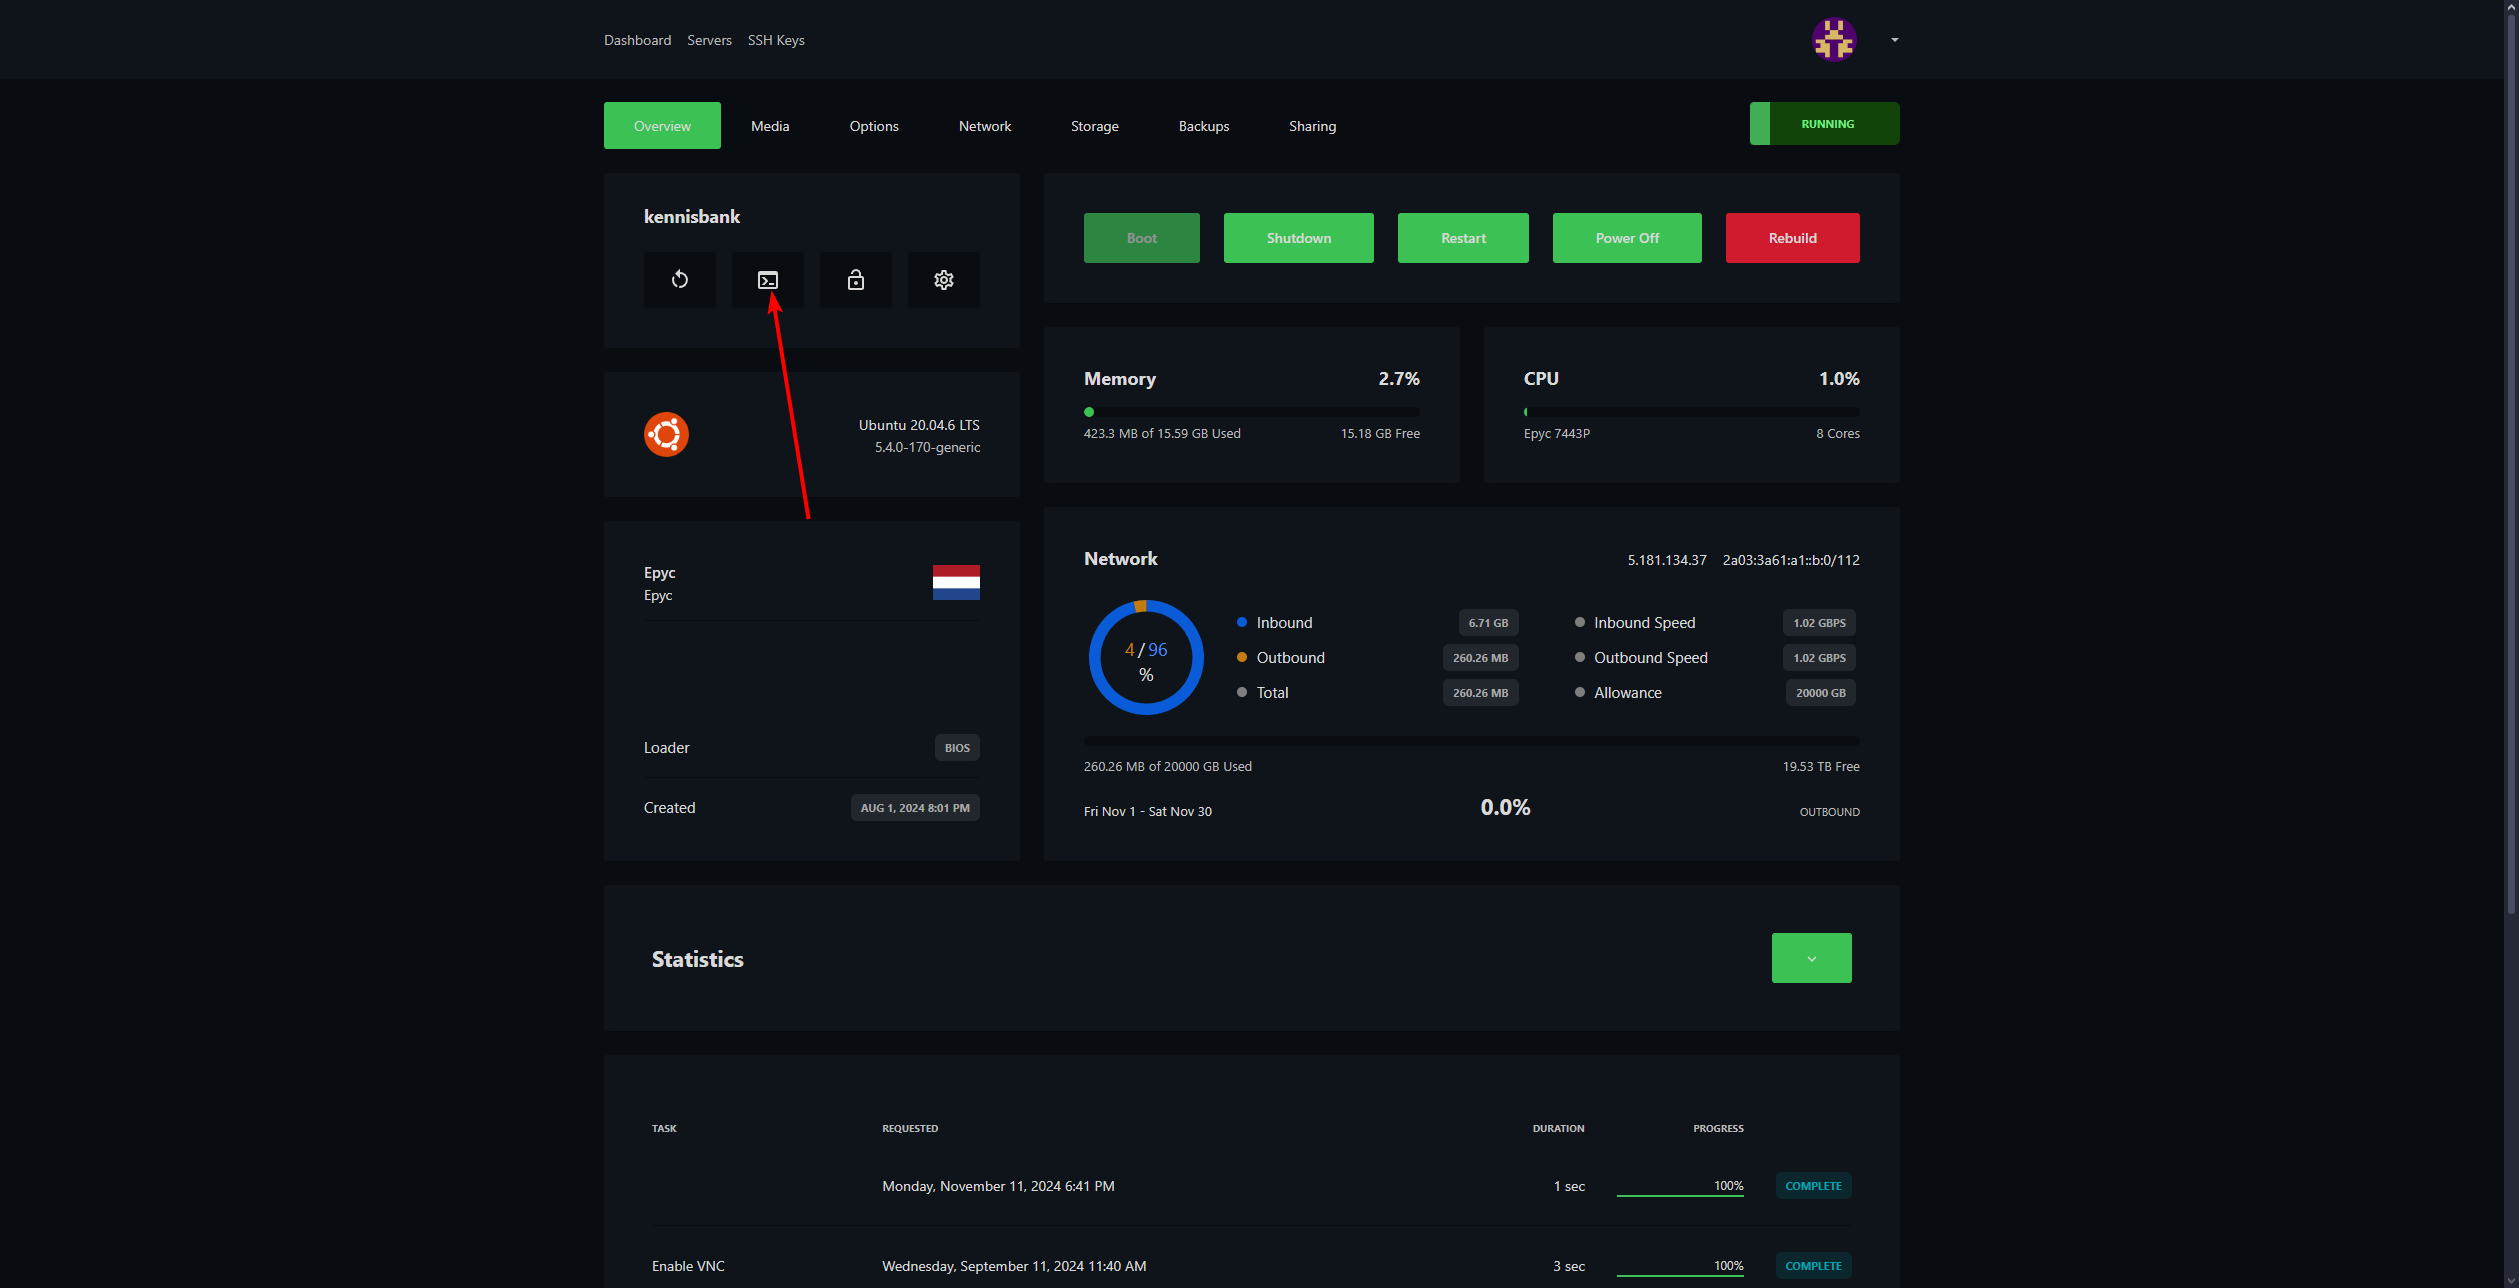
- Ensure your VPS is running and click the VNC logo.
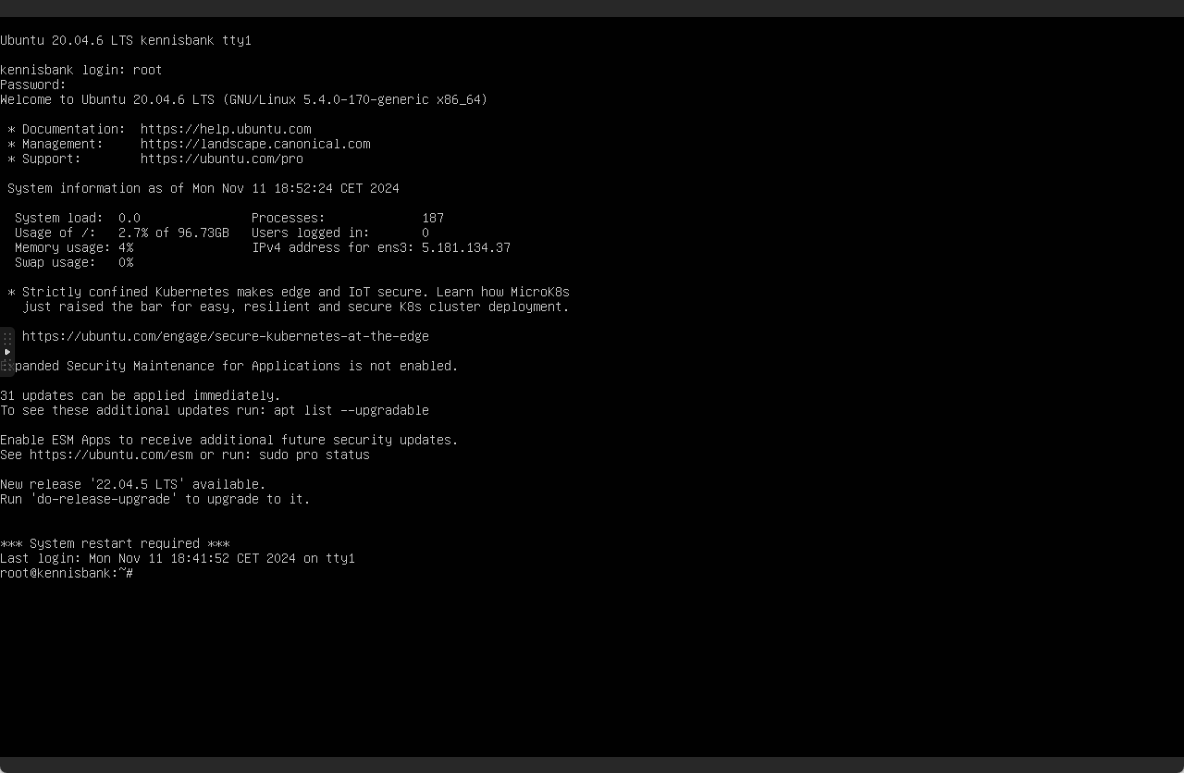
- Log in.
Your username is likely "root," and your password can be found in your email.
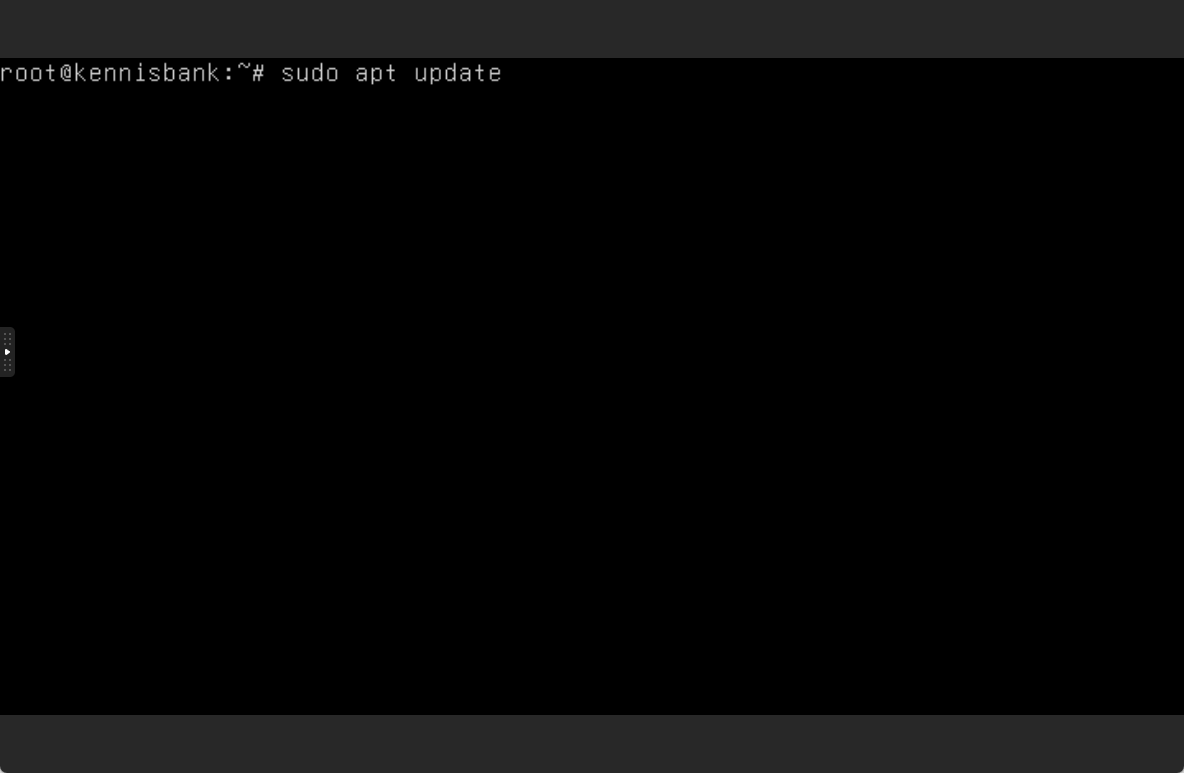
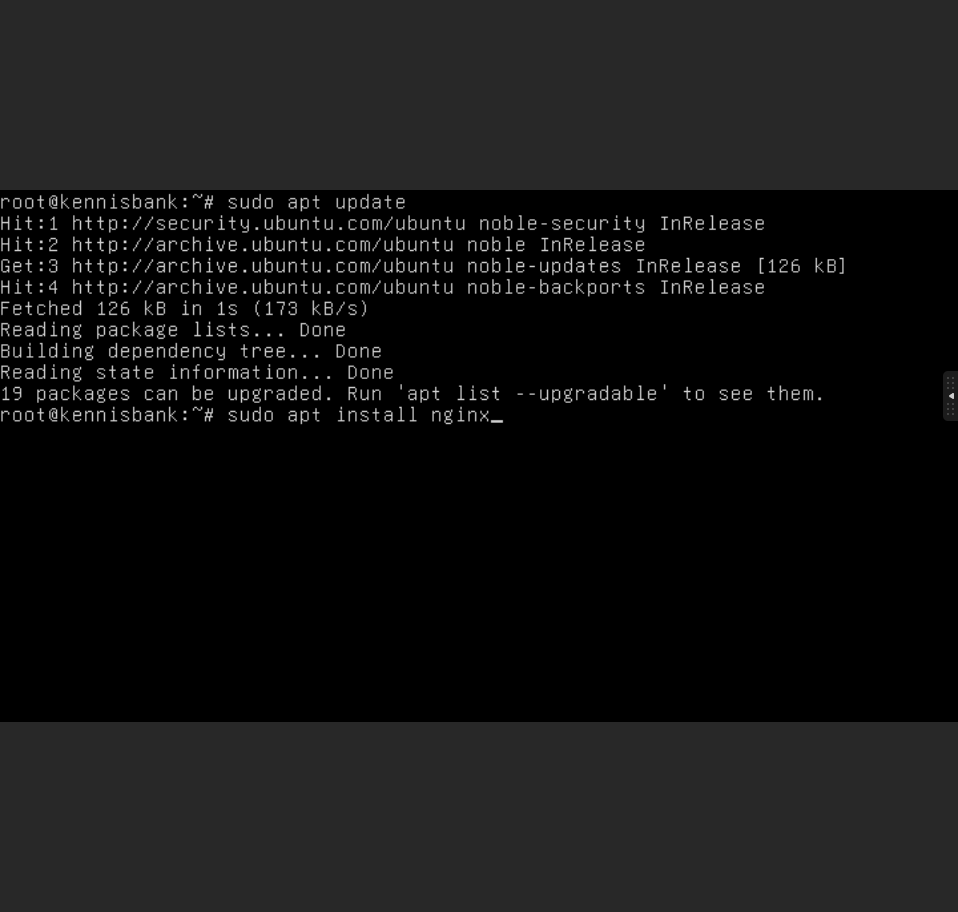
- Begin by updating everything. Type: sudo apt update
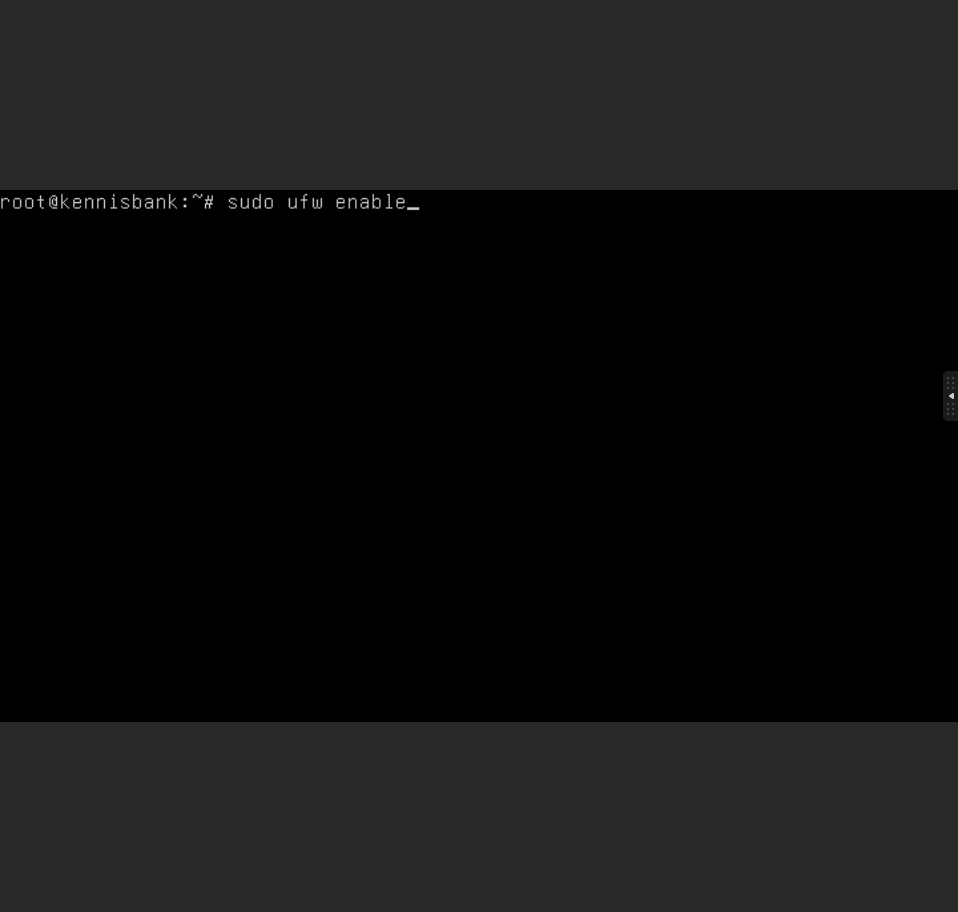
- Ensure the firewall is enabled. Type: sudo ufw enable
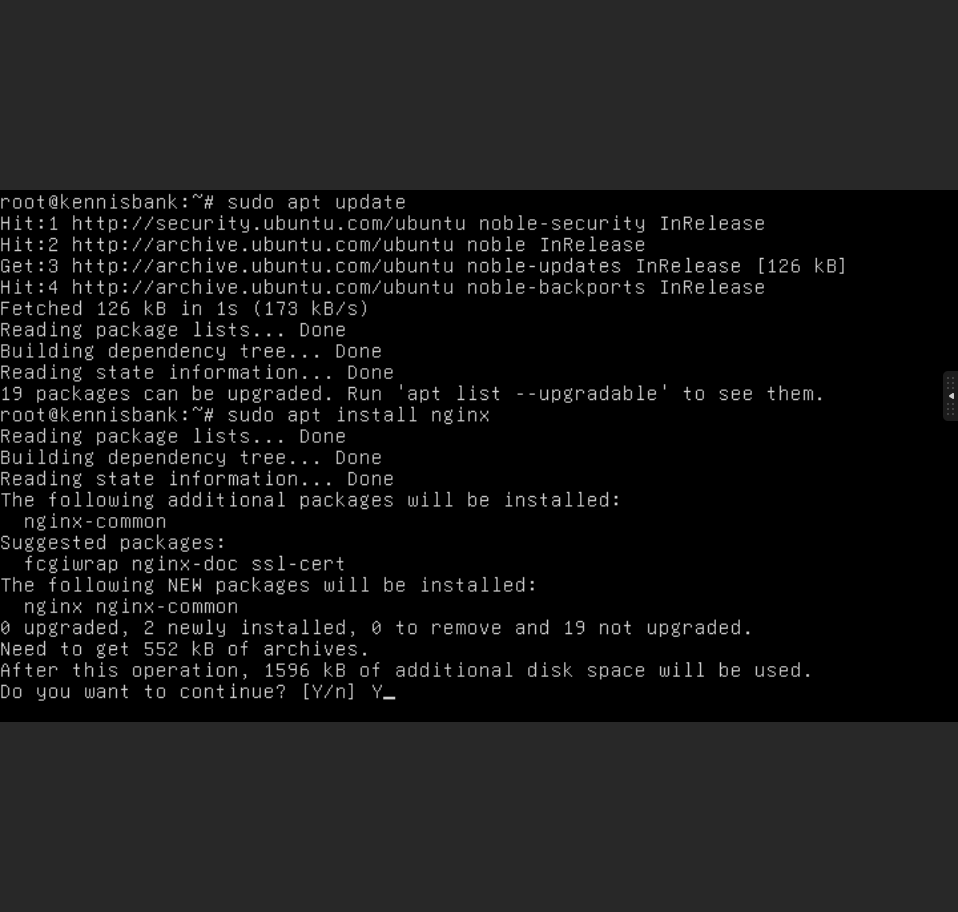
- Now start installing Nginx. Do this by typing: sudo apt install nginx
- During the installation, you will be asked: "Do you want to continue?" Type Y and press the **ENTER **key.
- During the installation, Nginx is automatically added to ufw. To list applications that work with ufw, type: sudo ufw app list
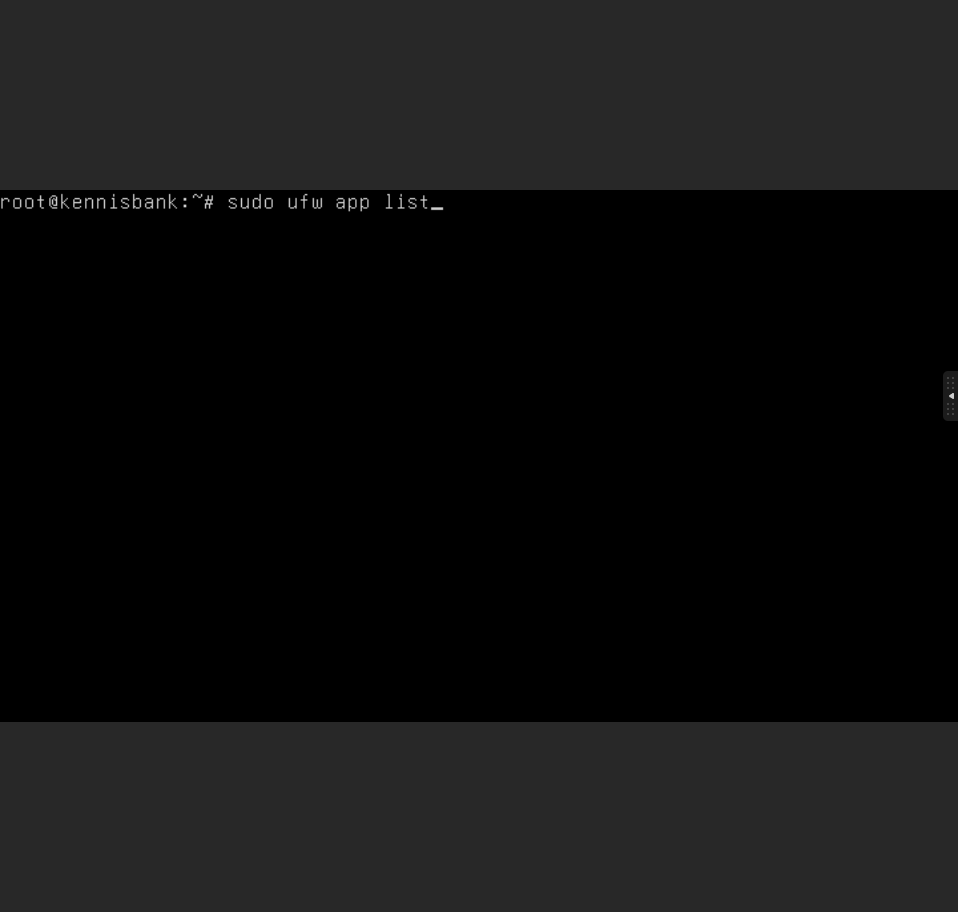
- The output should look like this:
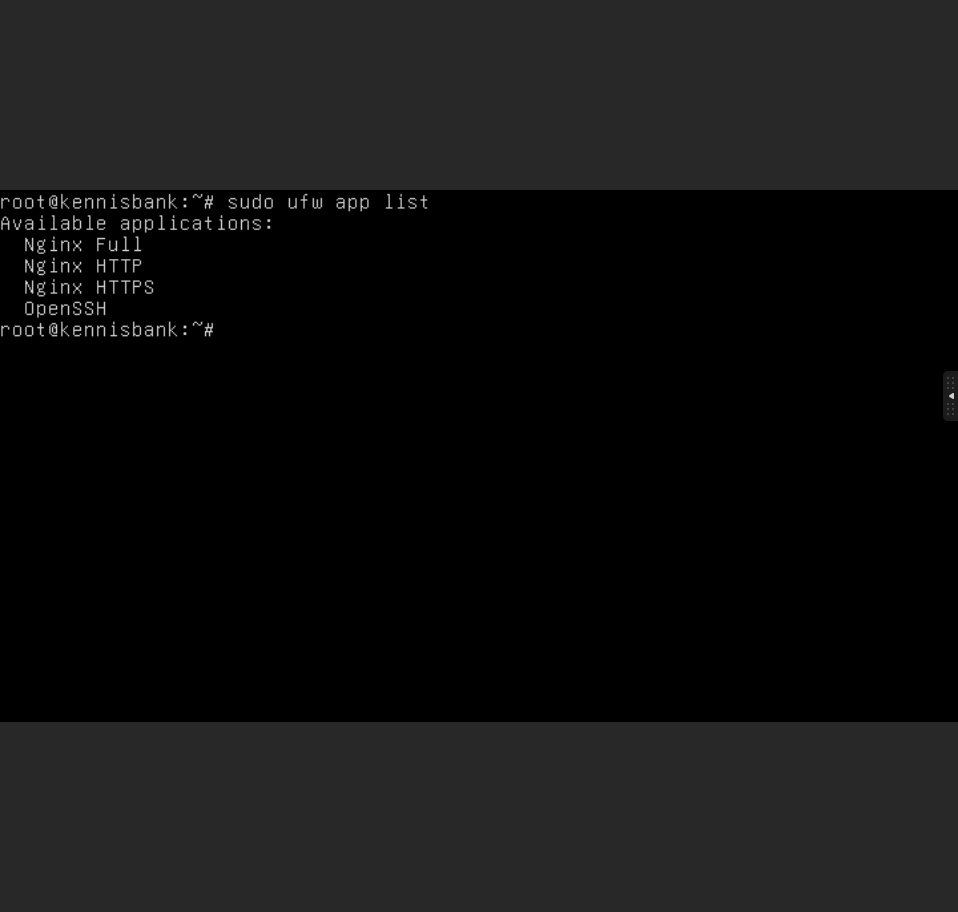
Nginx Full: All ports open (80 and 443).
Nginx HTTP: Only port 80 open.
Nginx HTTPS: Only port 443 open.
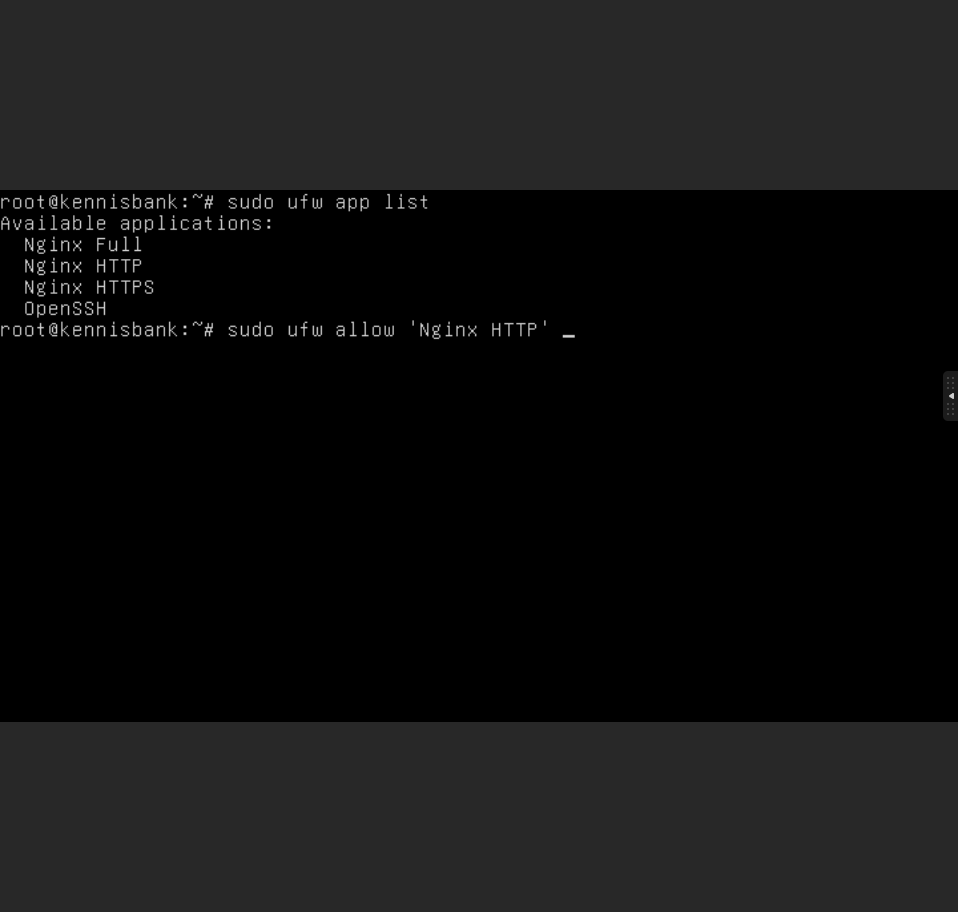
- Now, open the firewall. It is recommended to only open the port you need. For us, this will be port 80. So we type: sudo ufw allow 'Nginx HTTP'
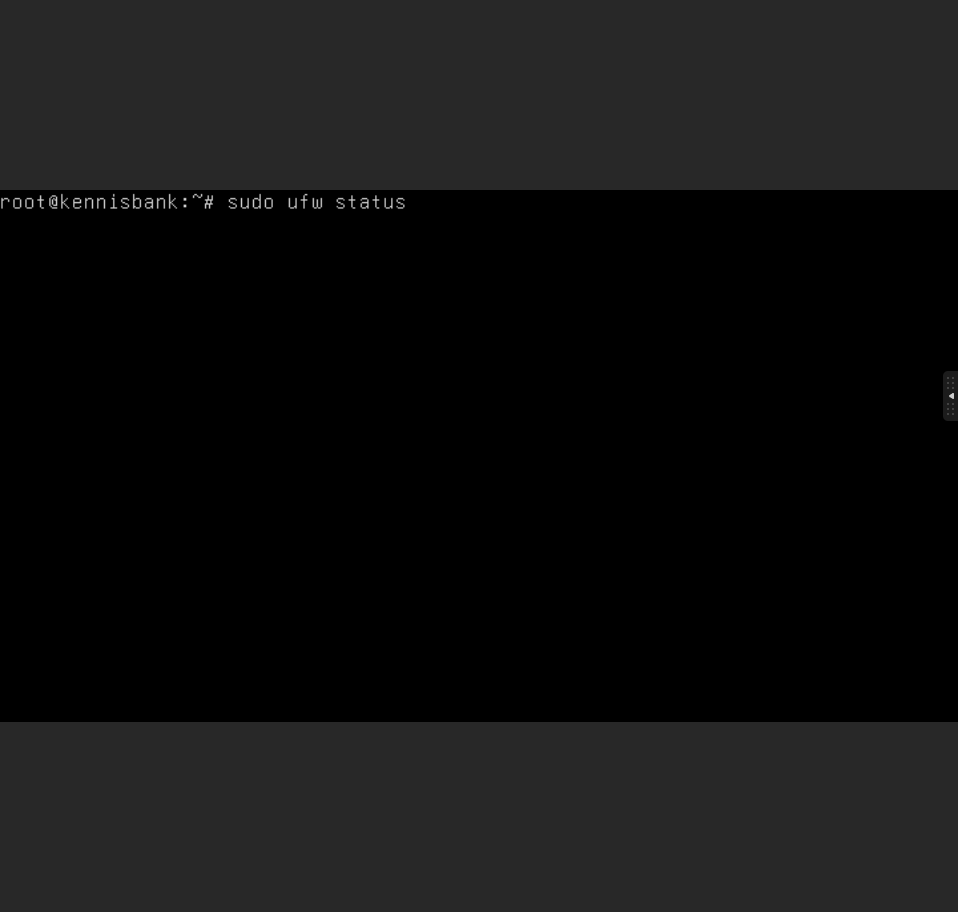
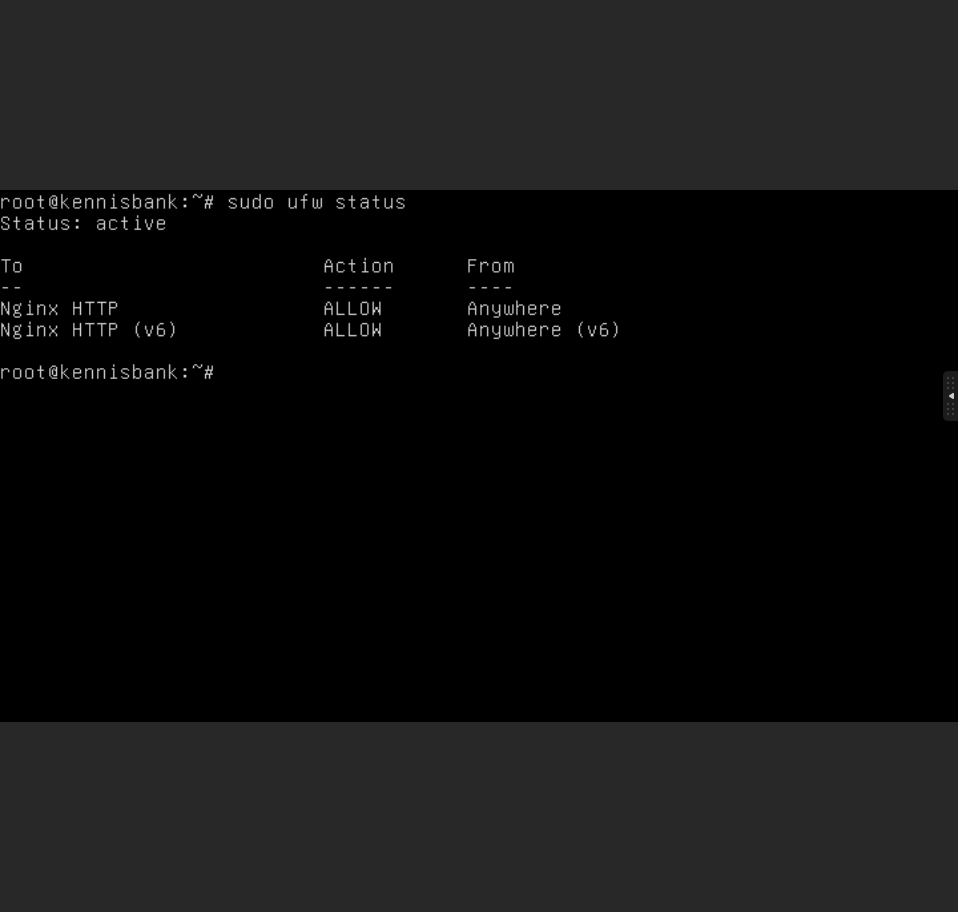
- To check if this was successful, type: sudo ufw status
- The output should look like this:
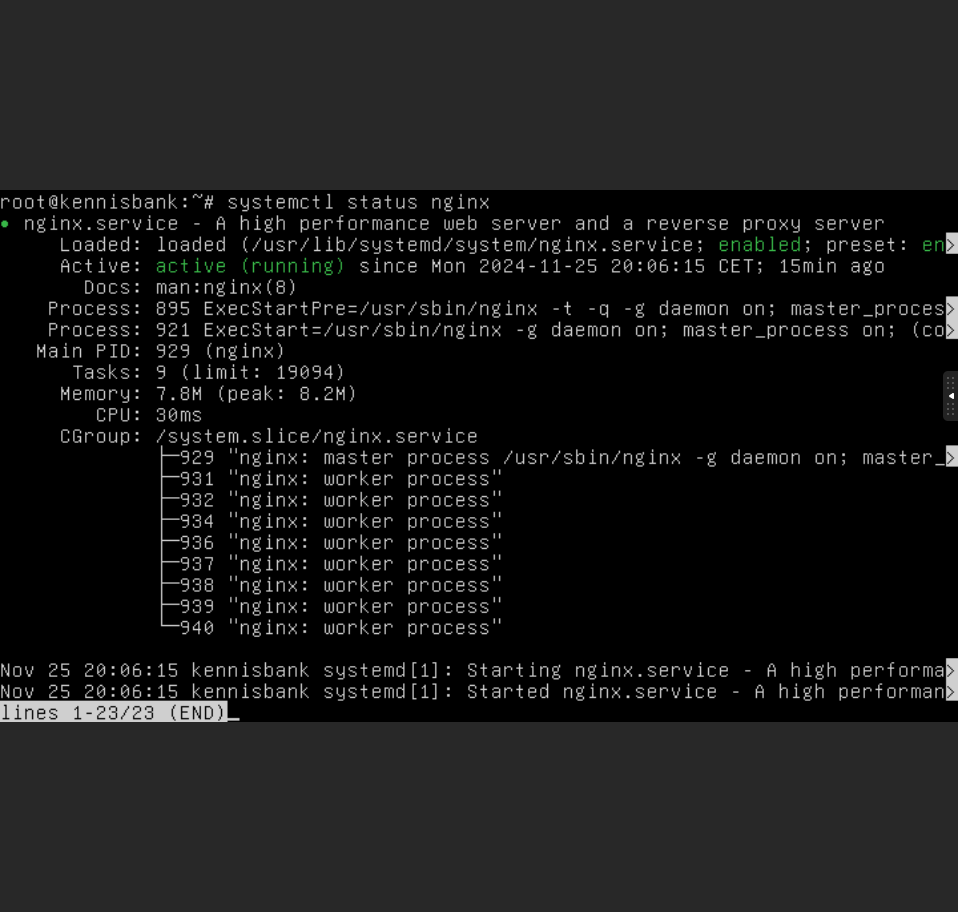
- Nginx is now installed. You can confirm this by typing: systemctl status nginx. It should display active.
If you encounter any issues, feel free to reach out via Discord or create a support ticket through this link.
Lars
Bijgewerkt op: 30-04-2026
Was dit artikel nuttig?