How do I install Dokploy on my Etheron VPS?
A step-by-step guide to installing Dokploy on your Etheron VPS via the one-click app, so you can deploy your own apps, databases and Docker containers
Dokploy is a self-hosted Platform-as-a-Service (PaaS) and an alternative to Vercel, Netlify and Heroku. In this article you'll get Dokploy up and running on your Etheron VPS in a few minutes using our one-click app, so you can start deploying applications, databases and Docker containers right away.
What do you need?
- A VPS at Etheron Hosting (Budget or Premium)
- Access to the VPS portal (you'll receive your login details by email)
- An SSH key (optional)
Installation step by step
Step 1. Order a VPS through our website. For general use, choose the Budget package; for heavier applications, choose the Premium package.
- Budget: https://etheron.eu/servers/vps
- Premium: https://etheron.eu/servers/vps-game
Step 2. After your purchase you'll receive an email with the login details for the VPS portal. Go to https://cloud.ping64.net and log in.
Step 3. In the portal a VPS is ready to be installed. Give your VPS a name. In this example we call it Dokploy VPS.
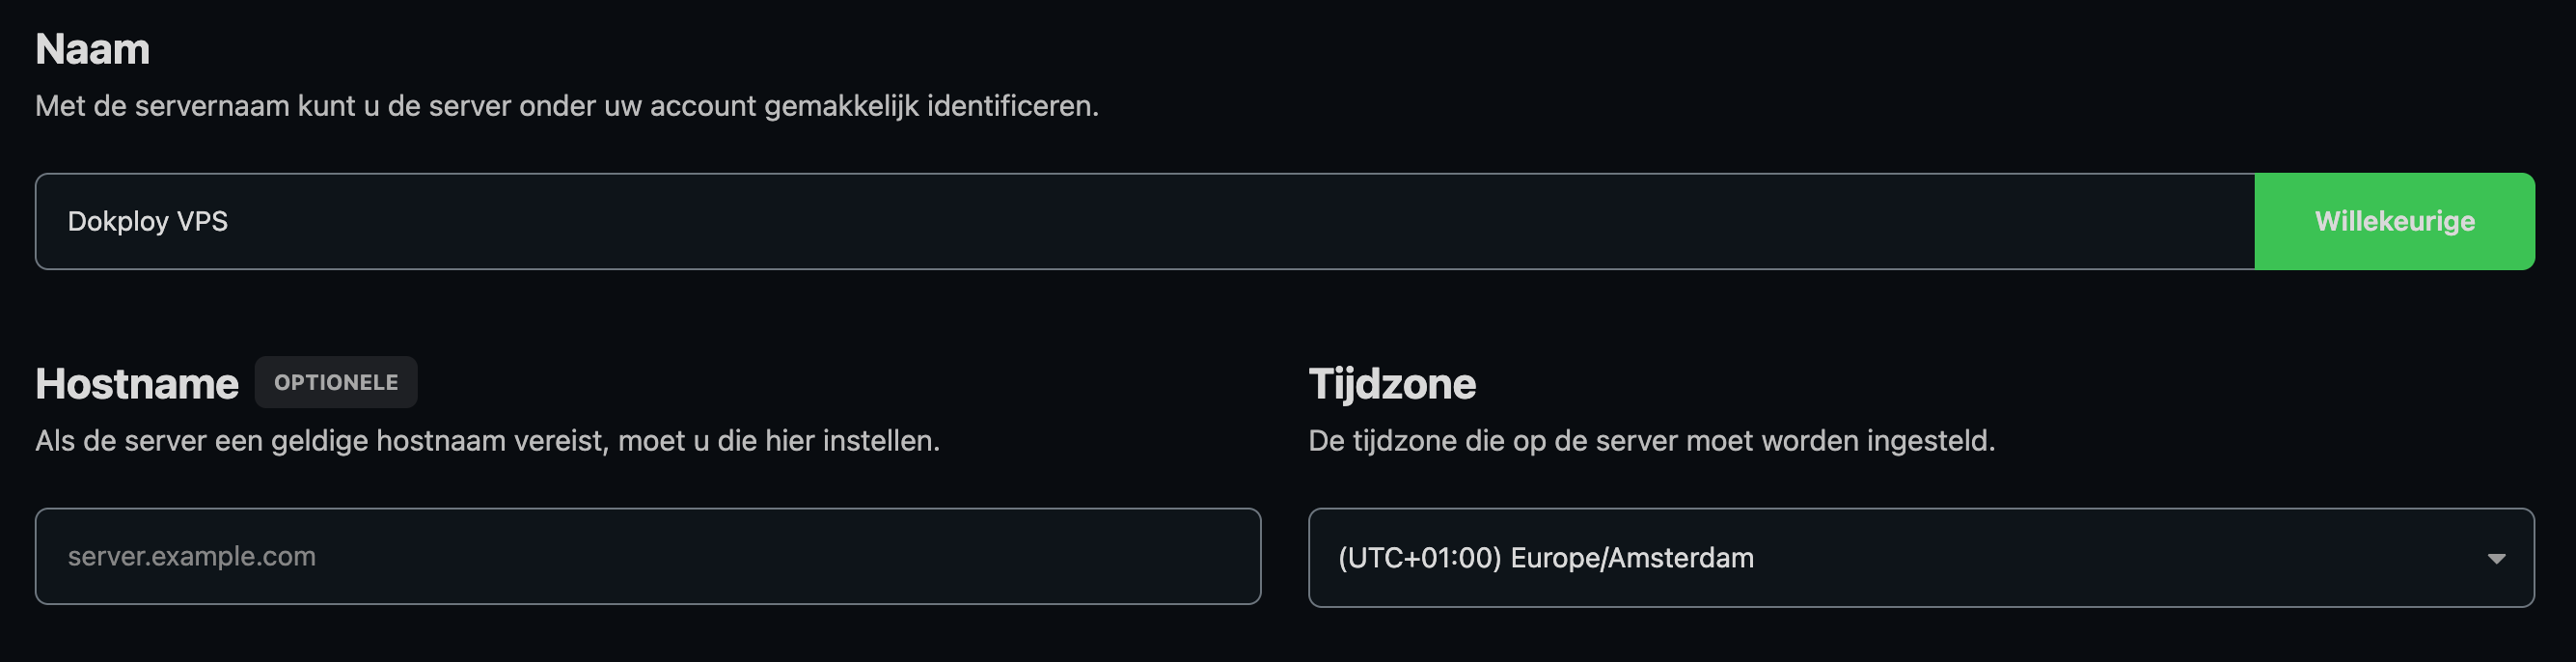
Step 4. You can leave the hostname empty. For the time zone, choose Europe/Amsterdam.
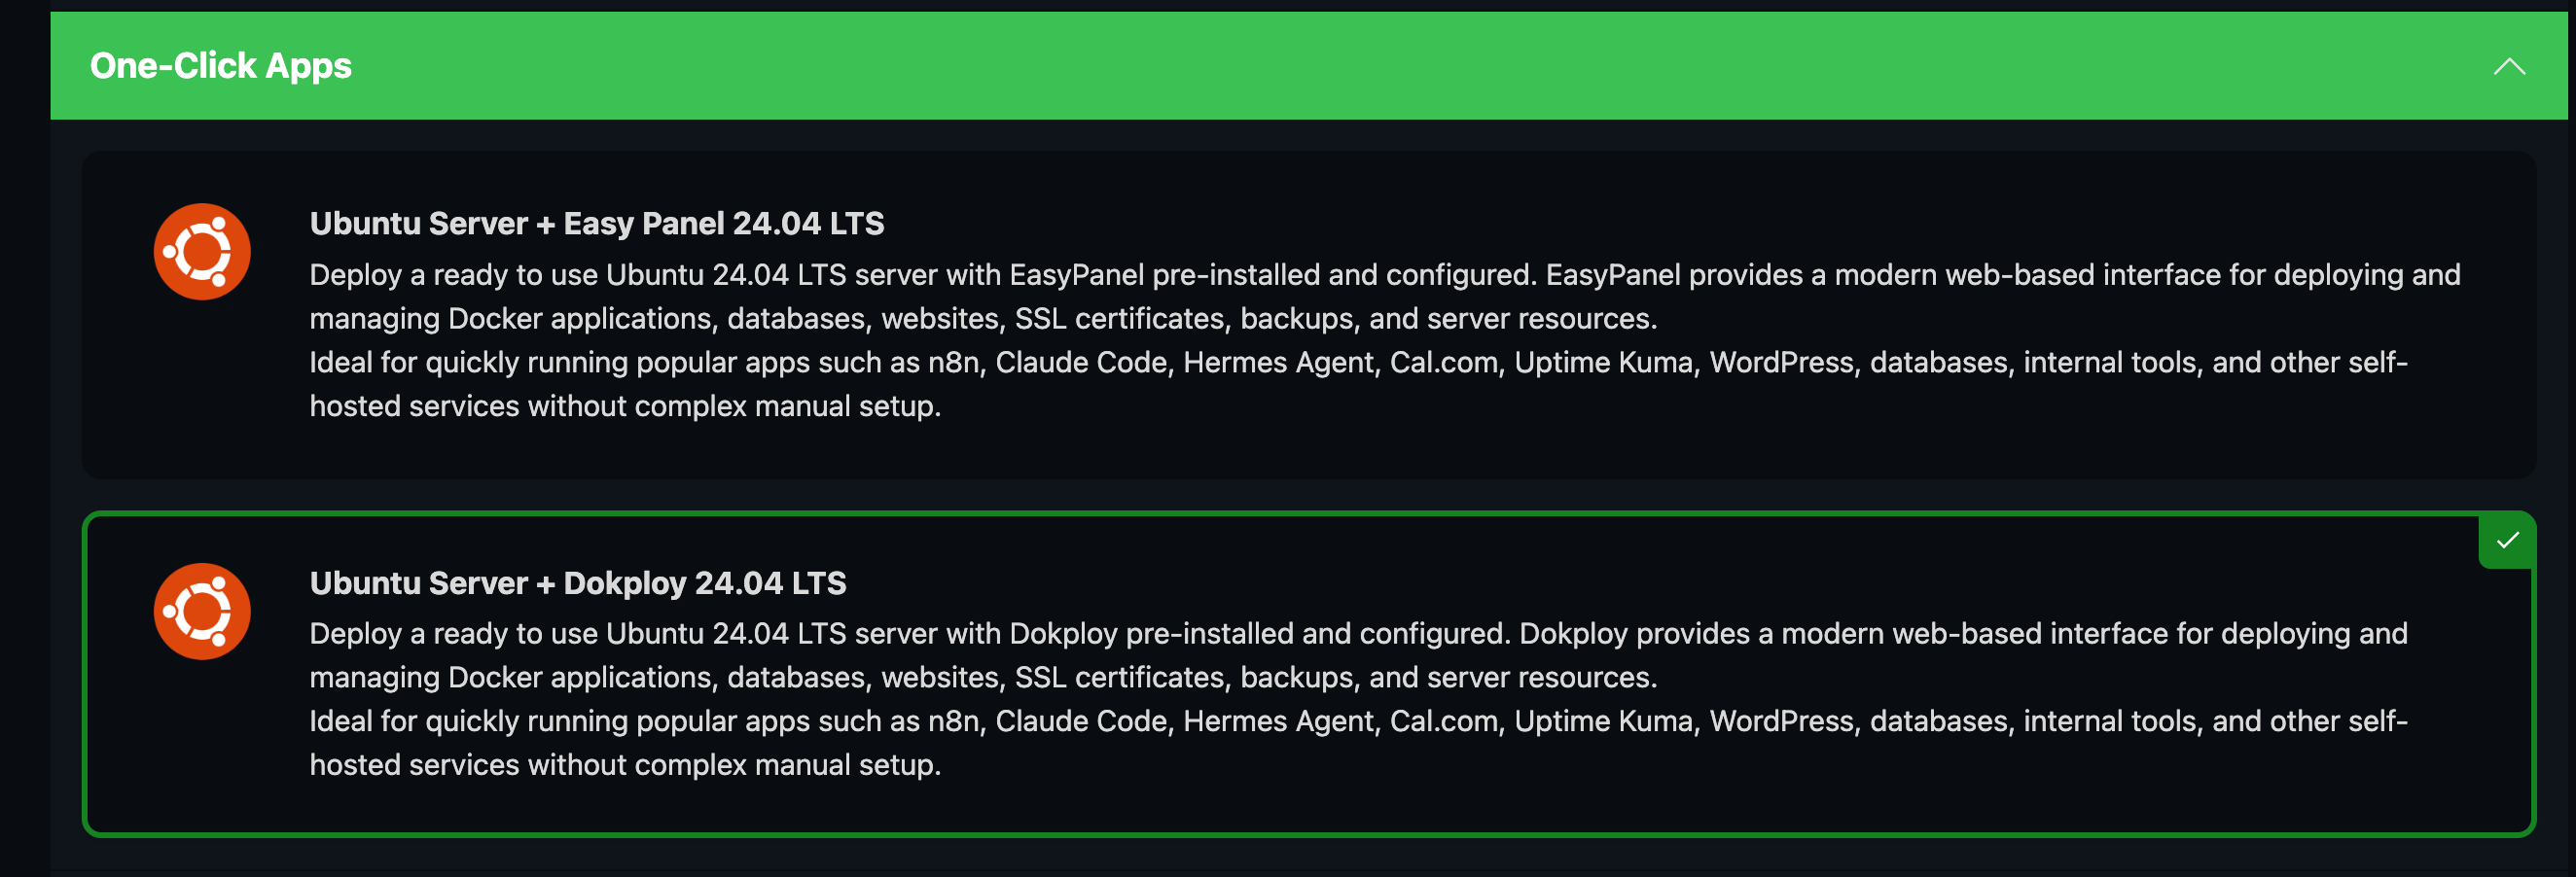
Step 5. For the installation type, choose One-click apps and then select Ubuntu + Dokploy 24.04 LTS.
Step 6. Set Swap Space to 1 GB.
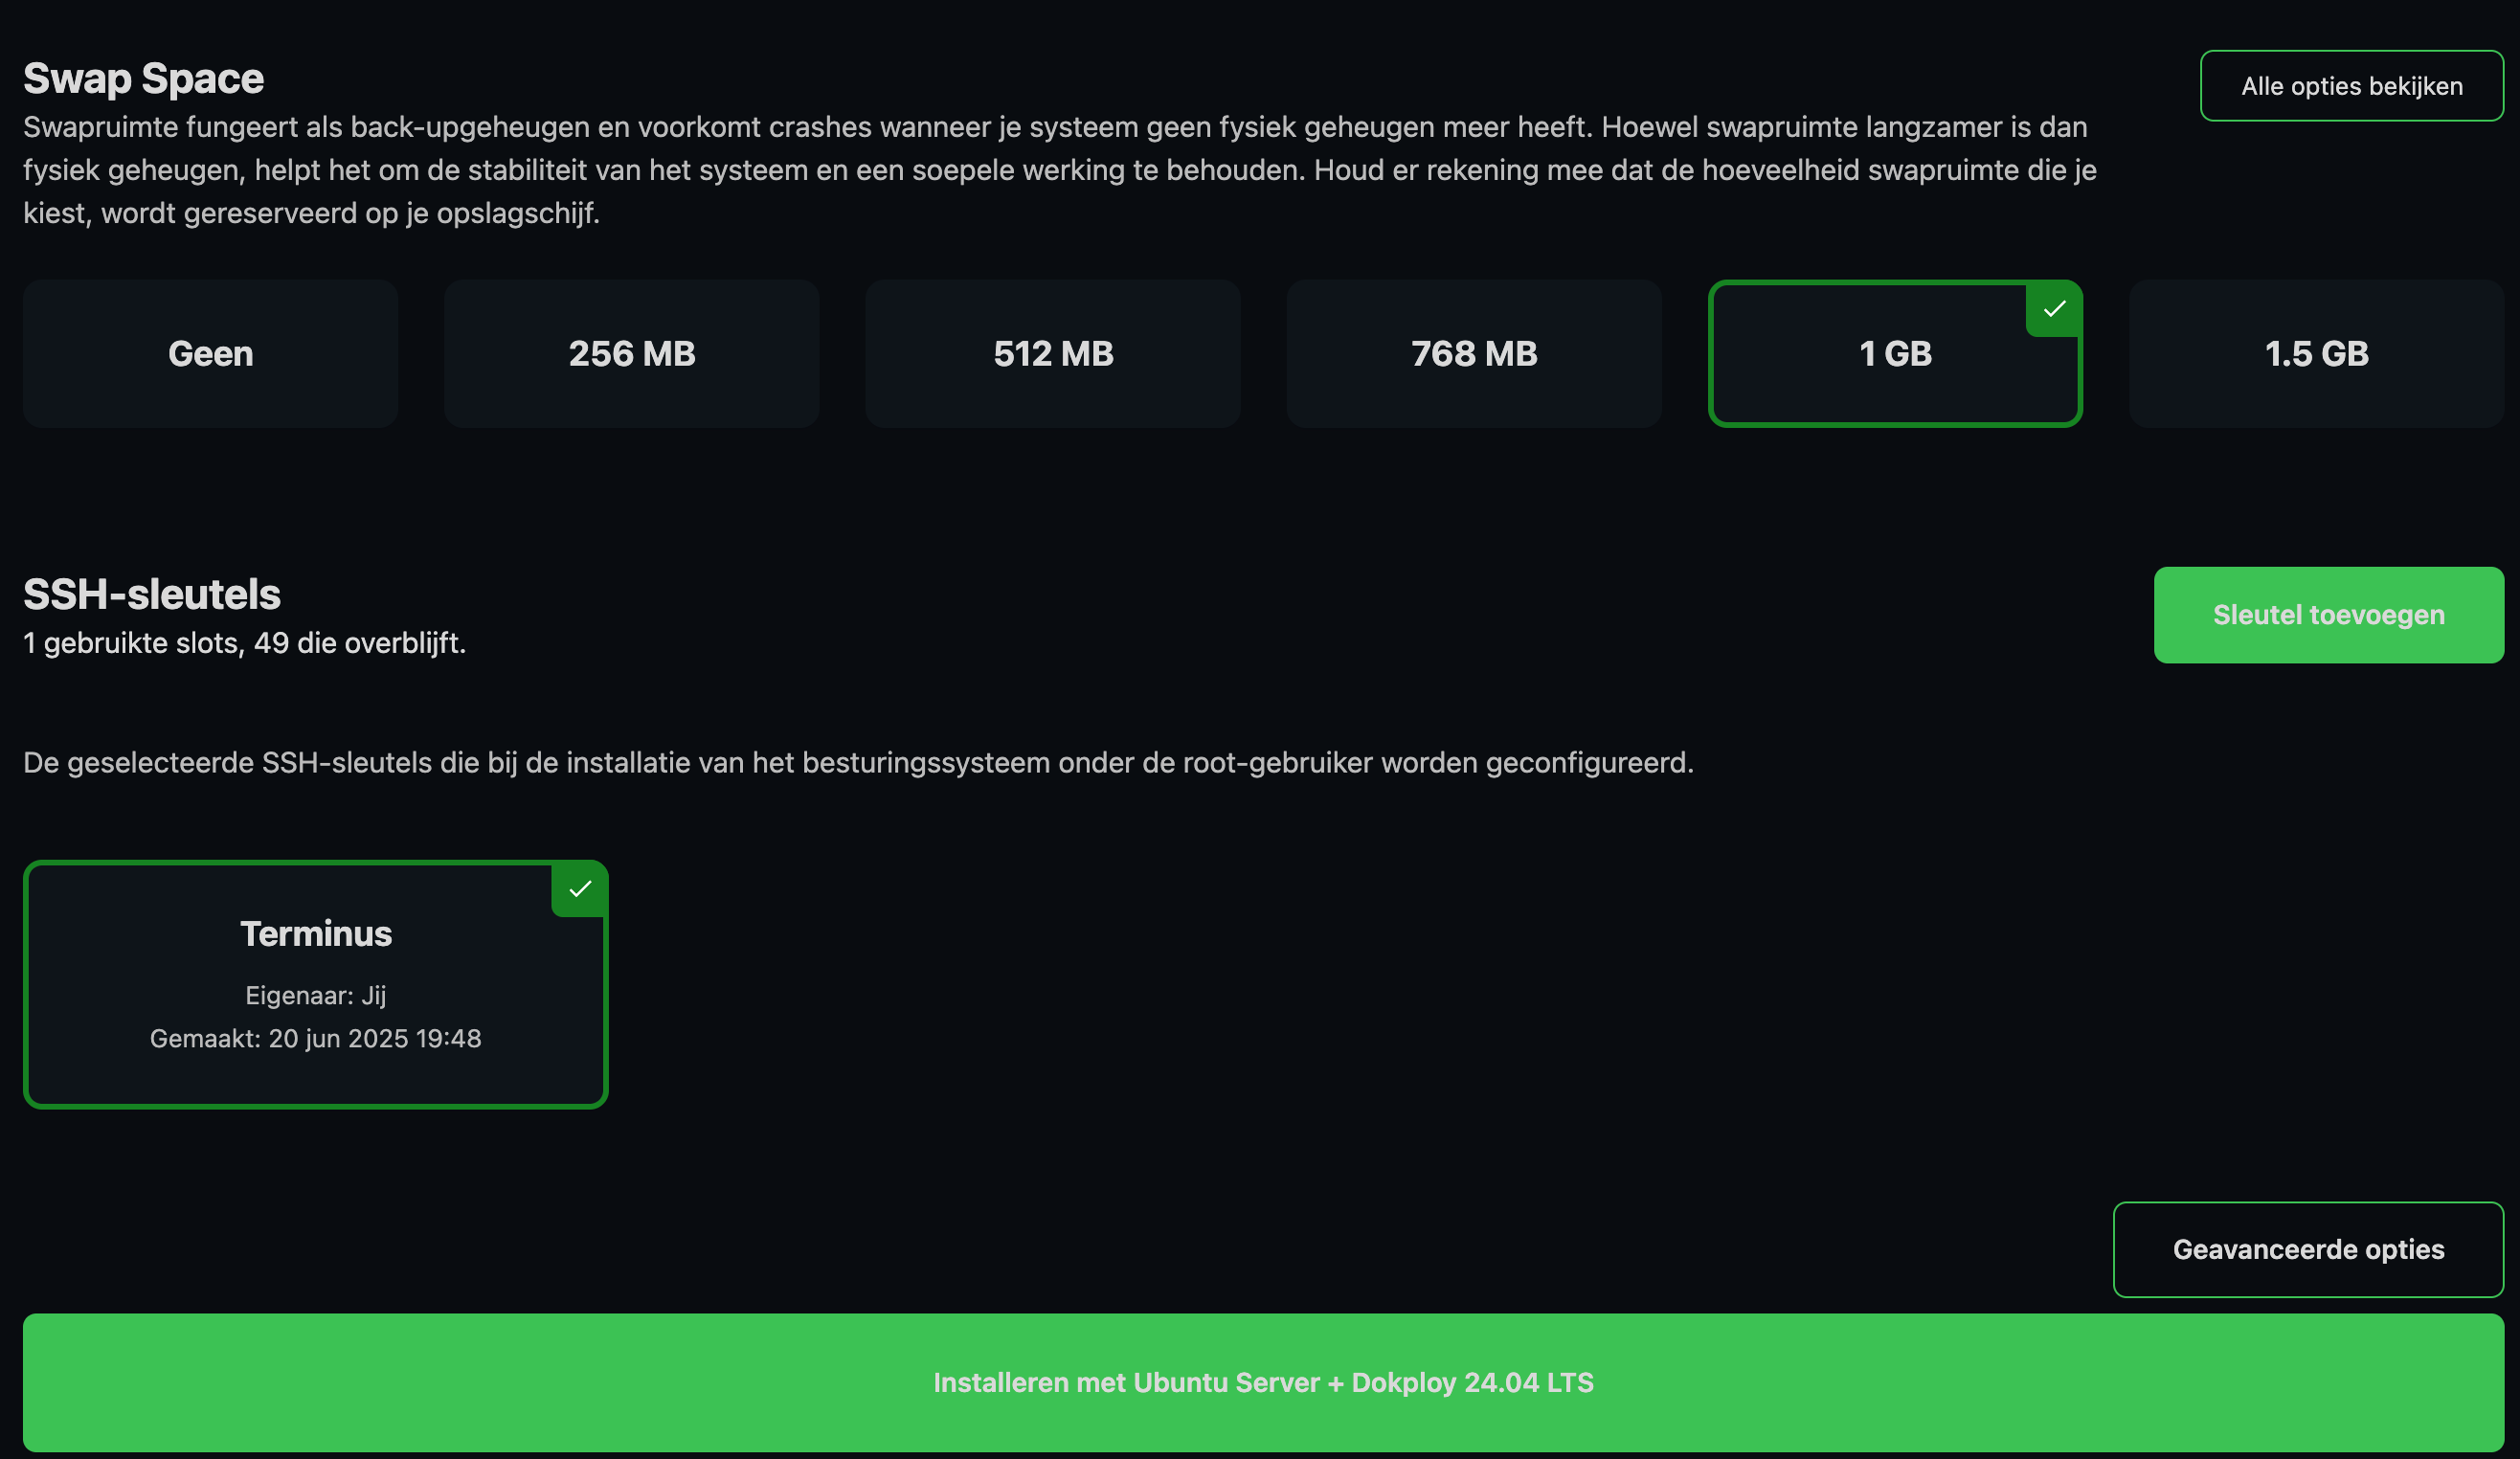
Step 7. Using an SSH key? Then select it on this screen. If not, go straight to the installation. Then start the installation — the VPS will now be set up with Ubuntu and Dokploy.
Step 8. After the installation you'll receive an email with the basic details of your Dokploy installation. It also contains the link to the panel. Open it in your browser: http://your-server-ip:3000
What now? Your VPS is now running Dokploy. Continue with the next article to log in and deploy your first application: https://support.etheron.nl/artikel/getting-started-with-dokploy-on-your-etheron-vps
If it doesn't work, get in touch via our Discord or open a ticket!