
Mounting a Custom ISO on Your VPS
In this article, we explain how to mount a custom ISO on your VPS and what to watch out for.
In this article, we explain how to mount a custom ISO on your VPS through the VPS panel.
A custom ISO lets you boot your VPS from your own operating system or installation image.
Note: A wrong ISO, wrong boot order, or installing from an ISO can prevent your VPS from booting correctly or overwrite data. Make a backup first if the VPS contains important files.
Important requirements for the ISO link
Check your ISO link before you begin:
- the ISO must be reachable through HTTPS;
- enter the link without
https://in front of it; - the link must end with .iso;
- redirects do not work properly, so use a direct download link;
- the ISO must be publicly reachable without a login or token.
Example:
releases.ubuntu.com/24.04/ubuntu-24.04.3-live-server-amd64.iso
Do not use:
https://releases.ubuntu.com/24.04/ubuntu-24.04.3-live-server-amd64.iso
What do you need?
- Access to the VPS panel via cloud.ping64.net
- An Etheron VPS
- A direct HTTPS link to an
.isofile - VNC access to control the installation
Mounting the custom ISO
-
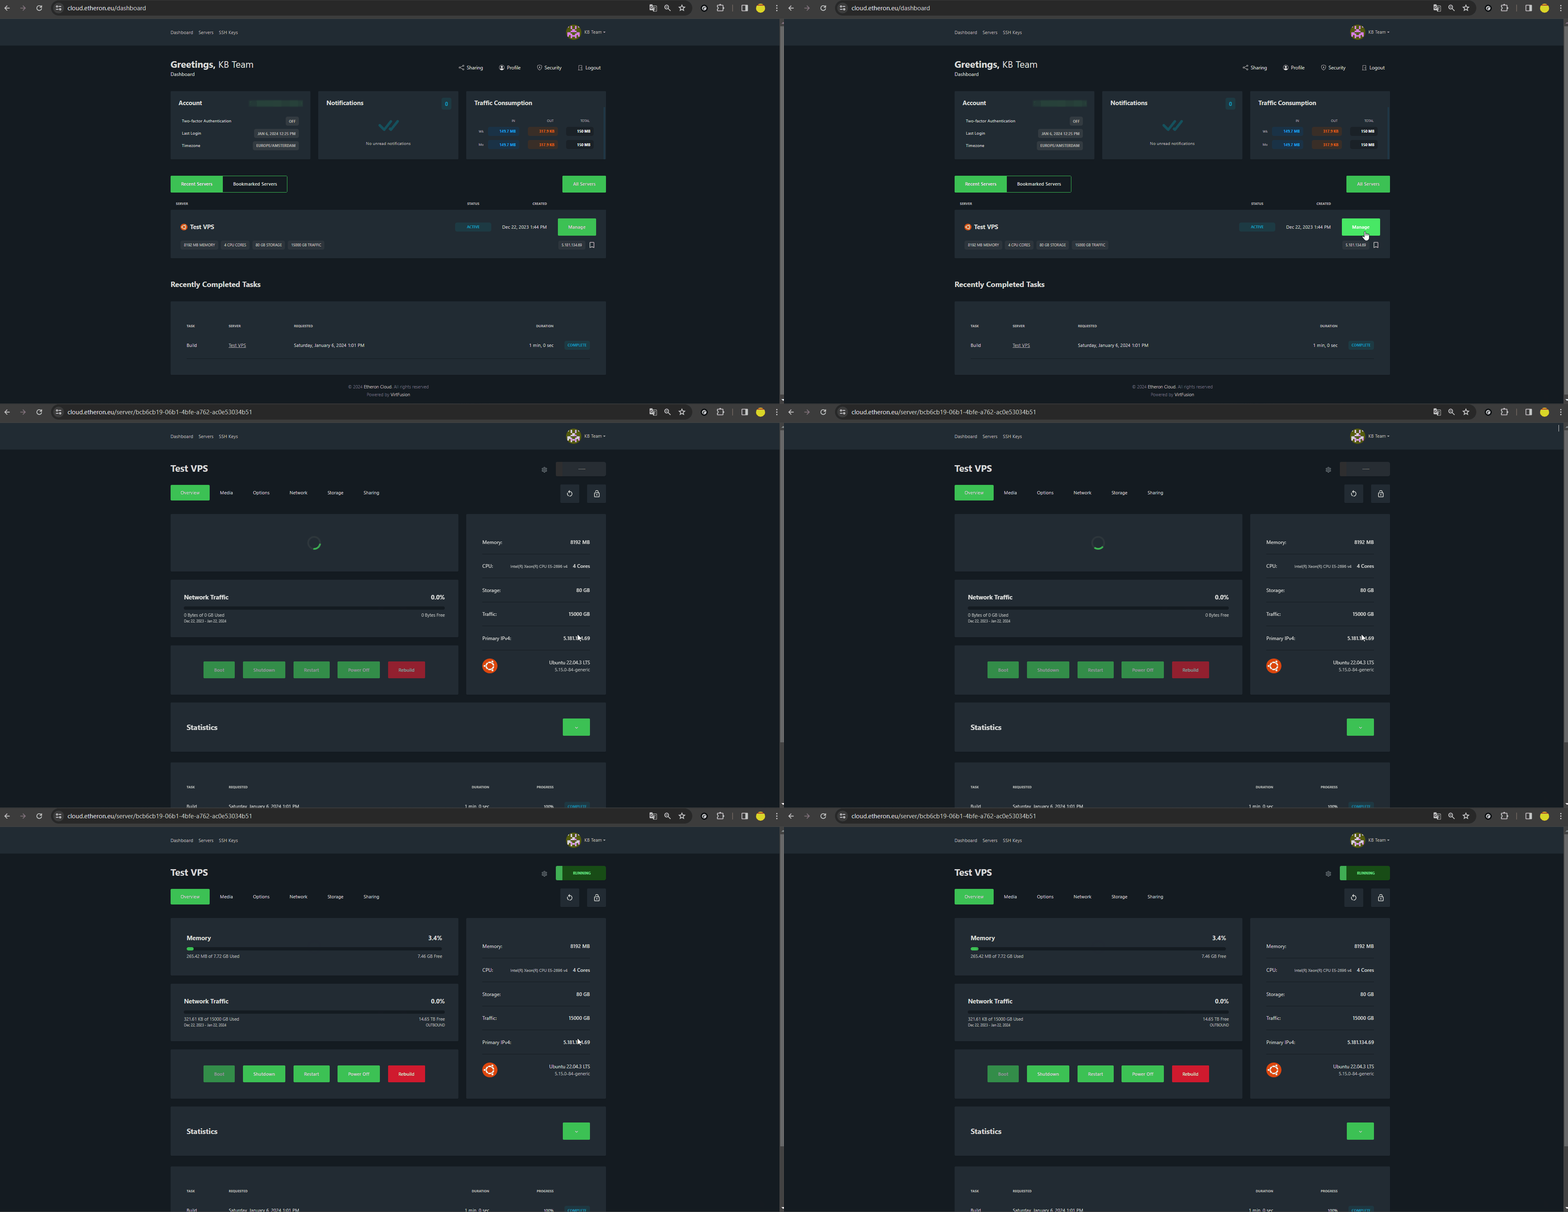
Log in to cloud.ping64.net.
-
Choose the VPS on which you want to mount the ISO and click Manage.
-
Shut down the VPS before changing the boot settings.
-
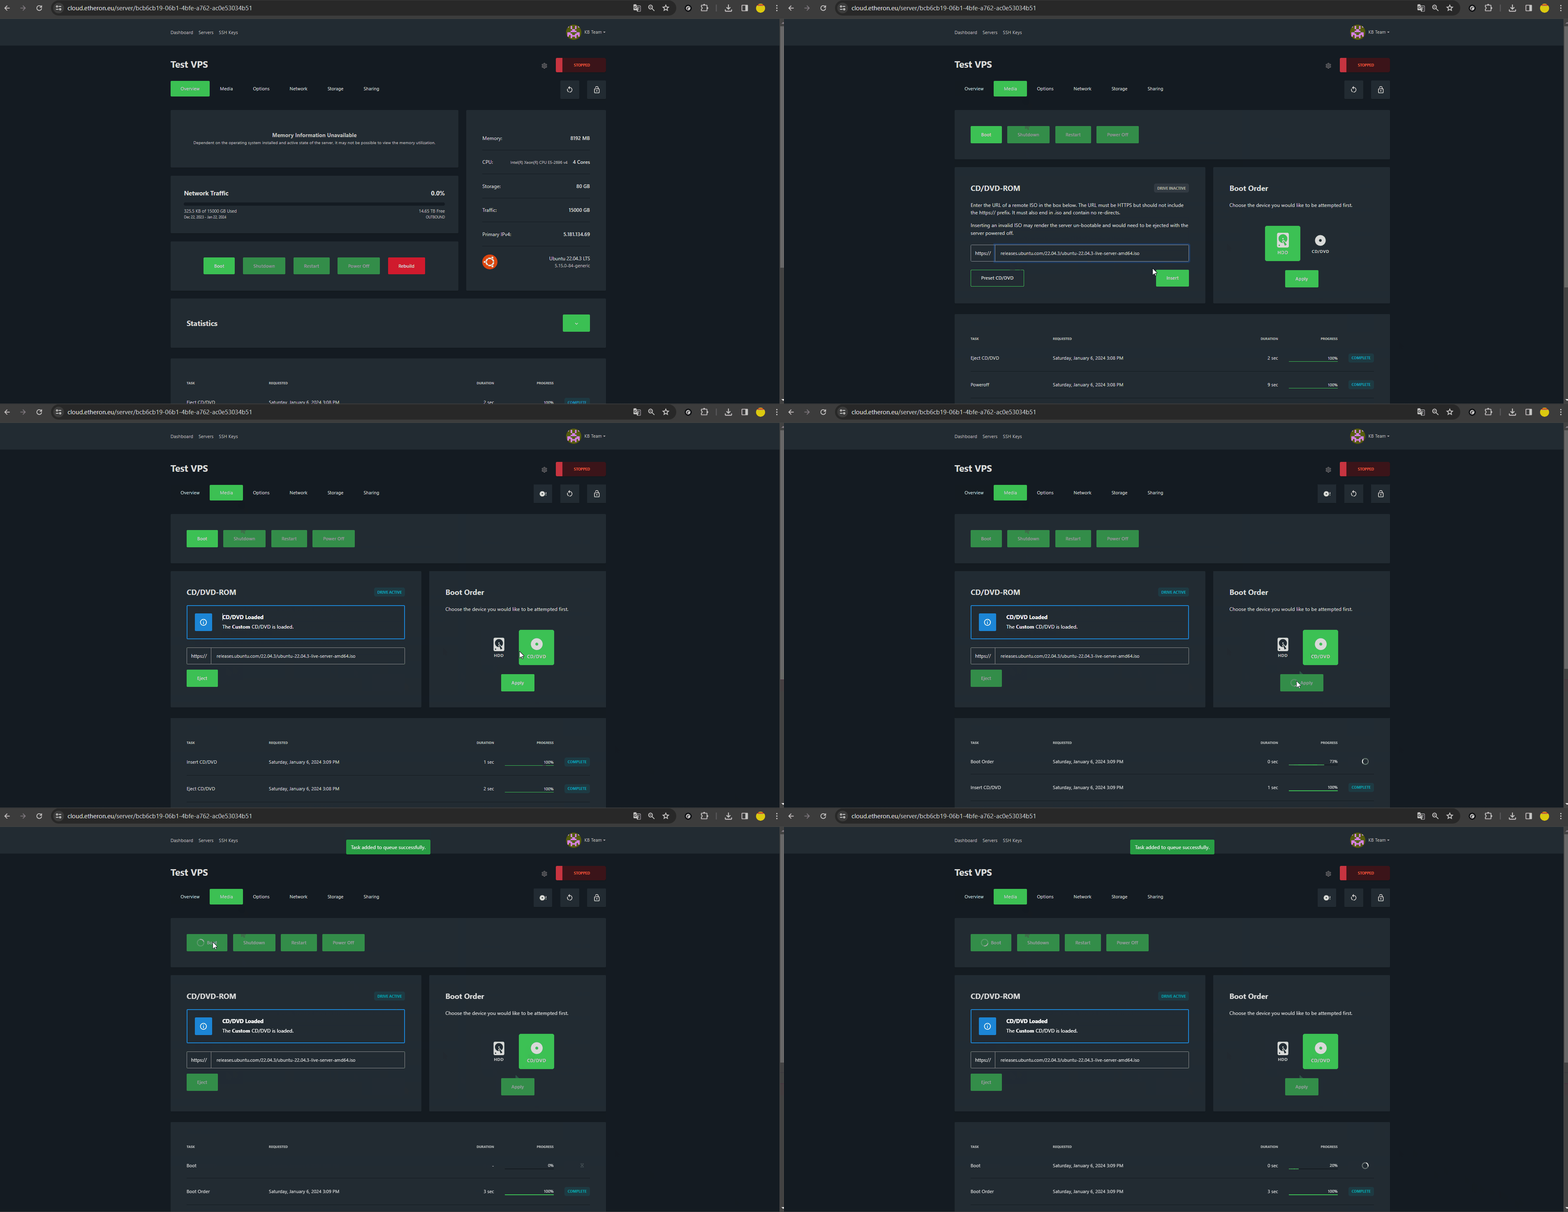
Go to Media at the top.
-
Open Custom CD/DVD.
-
Enter the direct ISO link without
https://in front of it. -
Temporarily set the boot order to CD/DVD so the VPS boots from the ISO.
-
Click Apply to save the setting.
-
Start the VPS again with Boot.
The VPS will now boot from the mounted ISO.
Finish the installation through VNC
Use VNC to control the installation from the ISO:
- Go to Options → VNC.
- Click Enable VNC Access.
- Click Browser VNC.
You can also follow the article Enabling VNC on Your VPS.
After the installation
- Set the boot order back to HDD once the installation is complete.
- Click Apply again to save the change.
- Disable VNC afterwards with Disable VNC Access.
If you do not do this, the VPS may boot from the ISO again after the next restart.
Troubleshooting
First, check the following:
- the ISO link works directly in your browser;
- the link was entered without
https://; - the link ends with
.iso; - the ISO does not use a redirect;
- the boot order is set to CD/DVD;
- after installation, the boot order is set back to HDD.
If it still does not work, feel free to reach out via Discord or create a support ticket.