VPS Installation (setup)
In this article, we will explain how to set up your VPS and prepare it for use!
In this article, we will explain how to set up your VPS and prepare it for use!
If you want your VPS to work immediately after installation, we recommend Debian. Ubuntu will update after installation, so it may take a few minutes before you can log in.
-
Go to the VPS panel.
-
Choose your VPS and click Manage.
-
Fill in the name and hostname, and choose the timezone (optional).
-
Select the operating system you want to use.
In this example, we’ll go with Ubuntu.
-
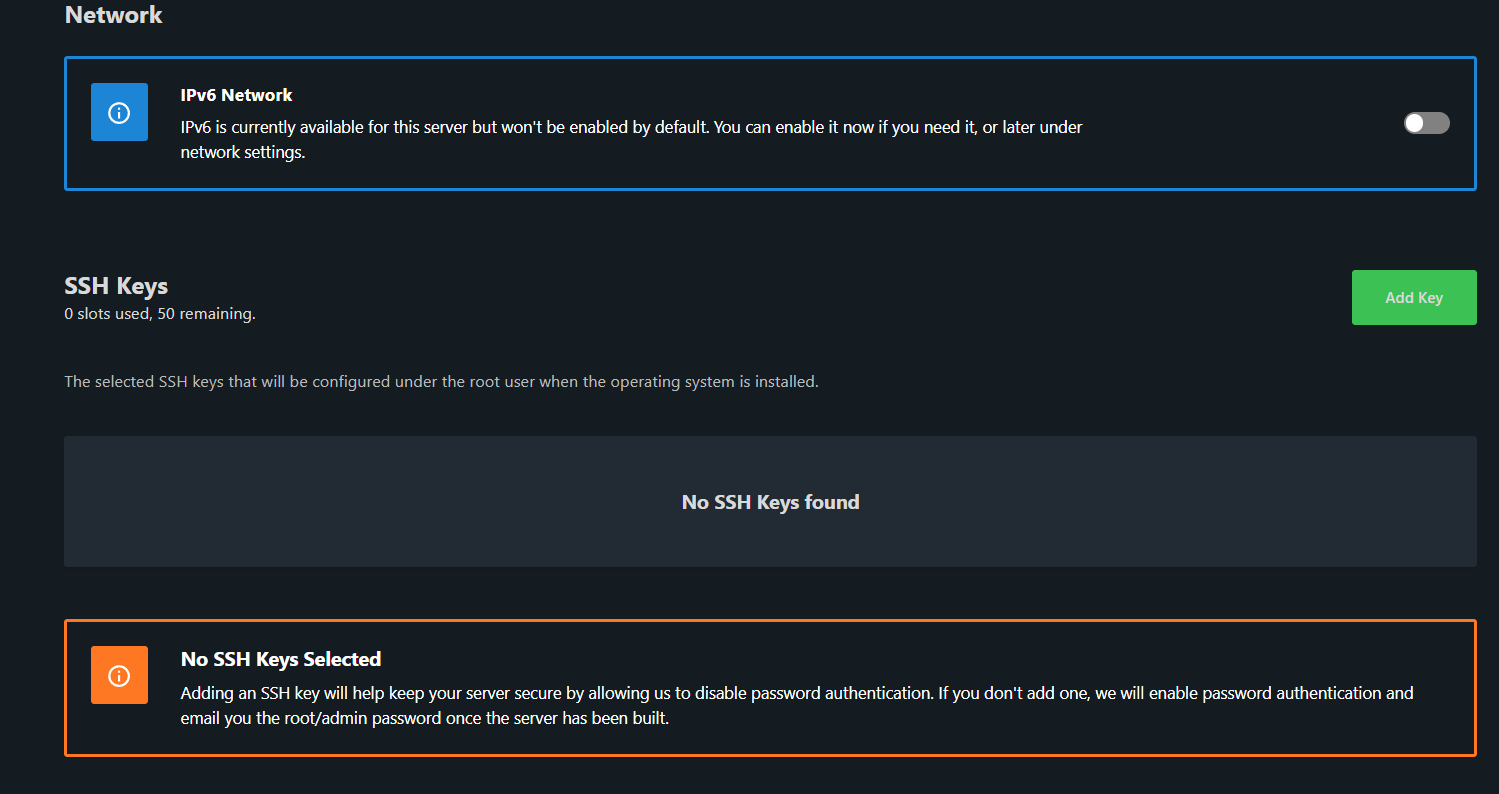
Decide if you want to use IPv6. In most cases, you won’t need it, so we’ll skip it here.
-
Choose whether to use an SSH key. In this example, we will use regular password authentication, so no SSH key will be used.
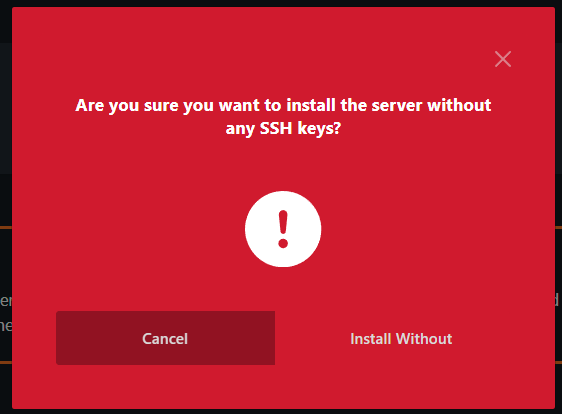
- Press Install
Once the server is done installing, you will receive an email with the VPS password.

Since we’re not using an SSH key, you’ll receive the following message: (Click on "Install without").
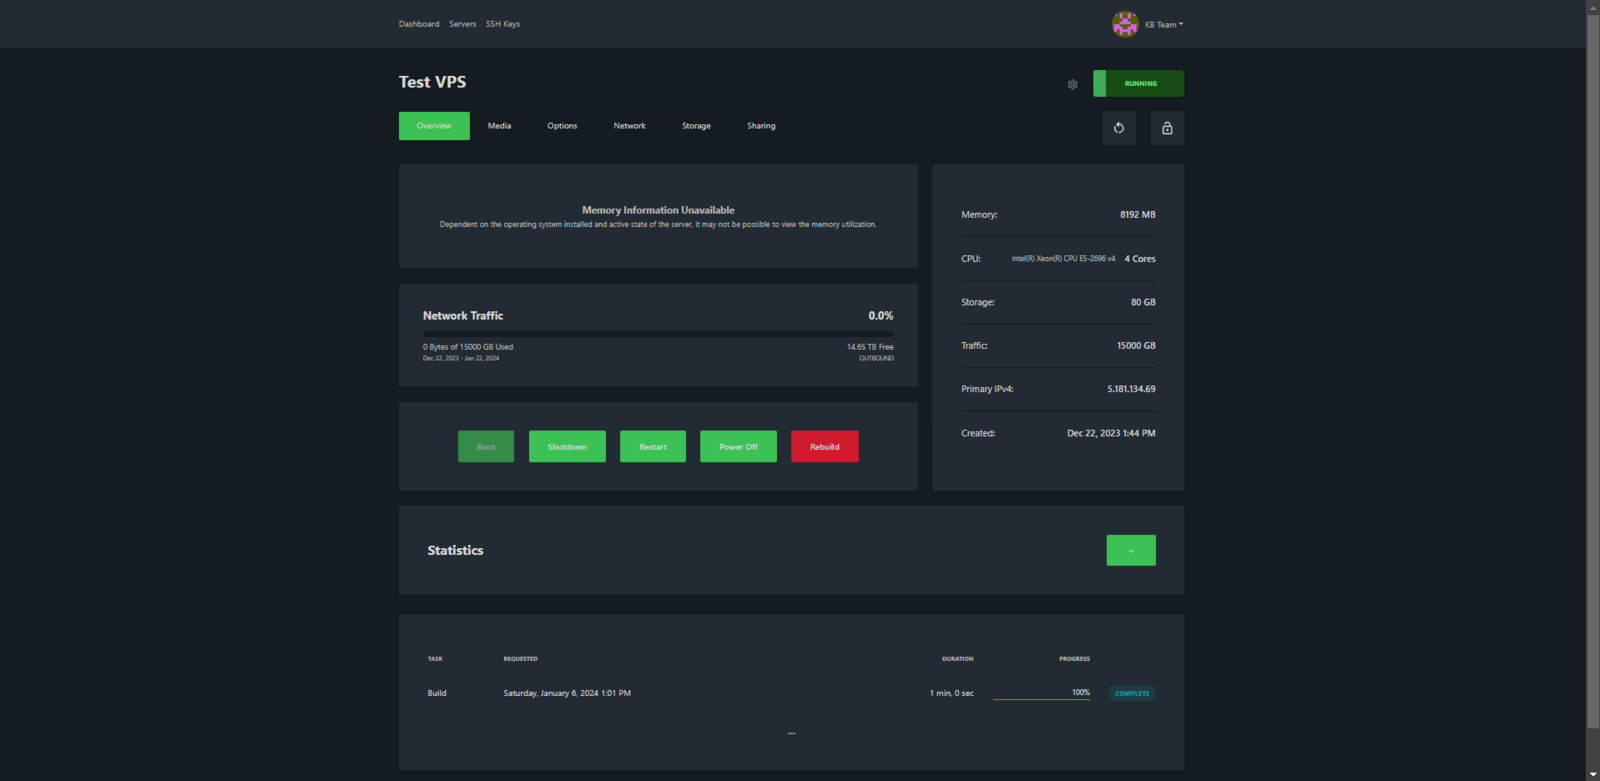
When everything is done, your VPS will now be ready for use!Keep in mind that for Ubuntu, the VPS won’t be accessible immediately—it may take a few minutes.