How do I install litespeed cache on my wordpress website?
Here’s how to install LiteSpeed Cache on your WordPress site
Here’s how to install LiteSpeed Cache on your WordPress site
-
Go to your website and log in to the WordPress admin panel.
-
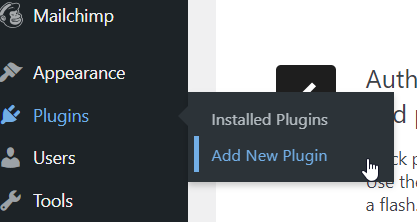
Navigate to Plugins and click Add New.
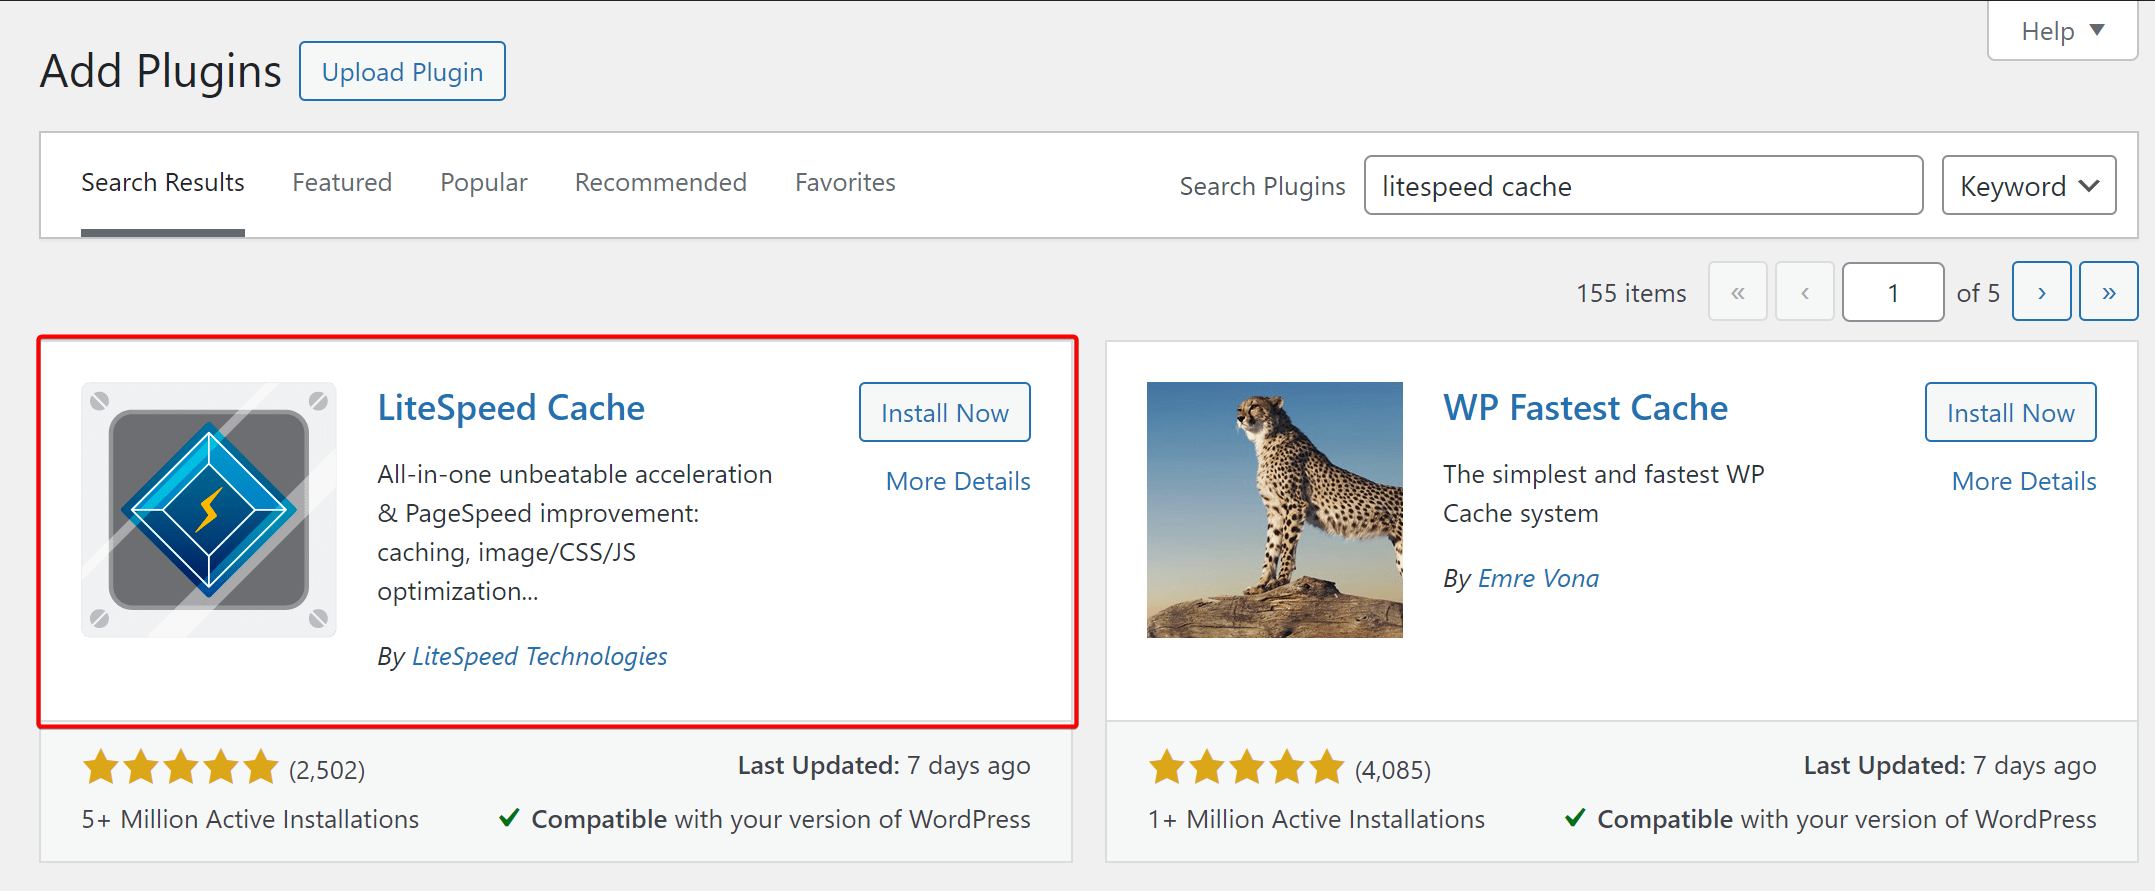
- Search for LiteSpeed Cache, install the plugin, and then click Activate.
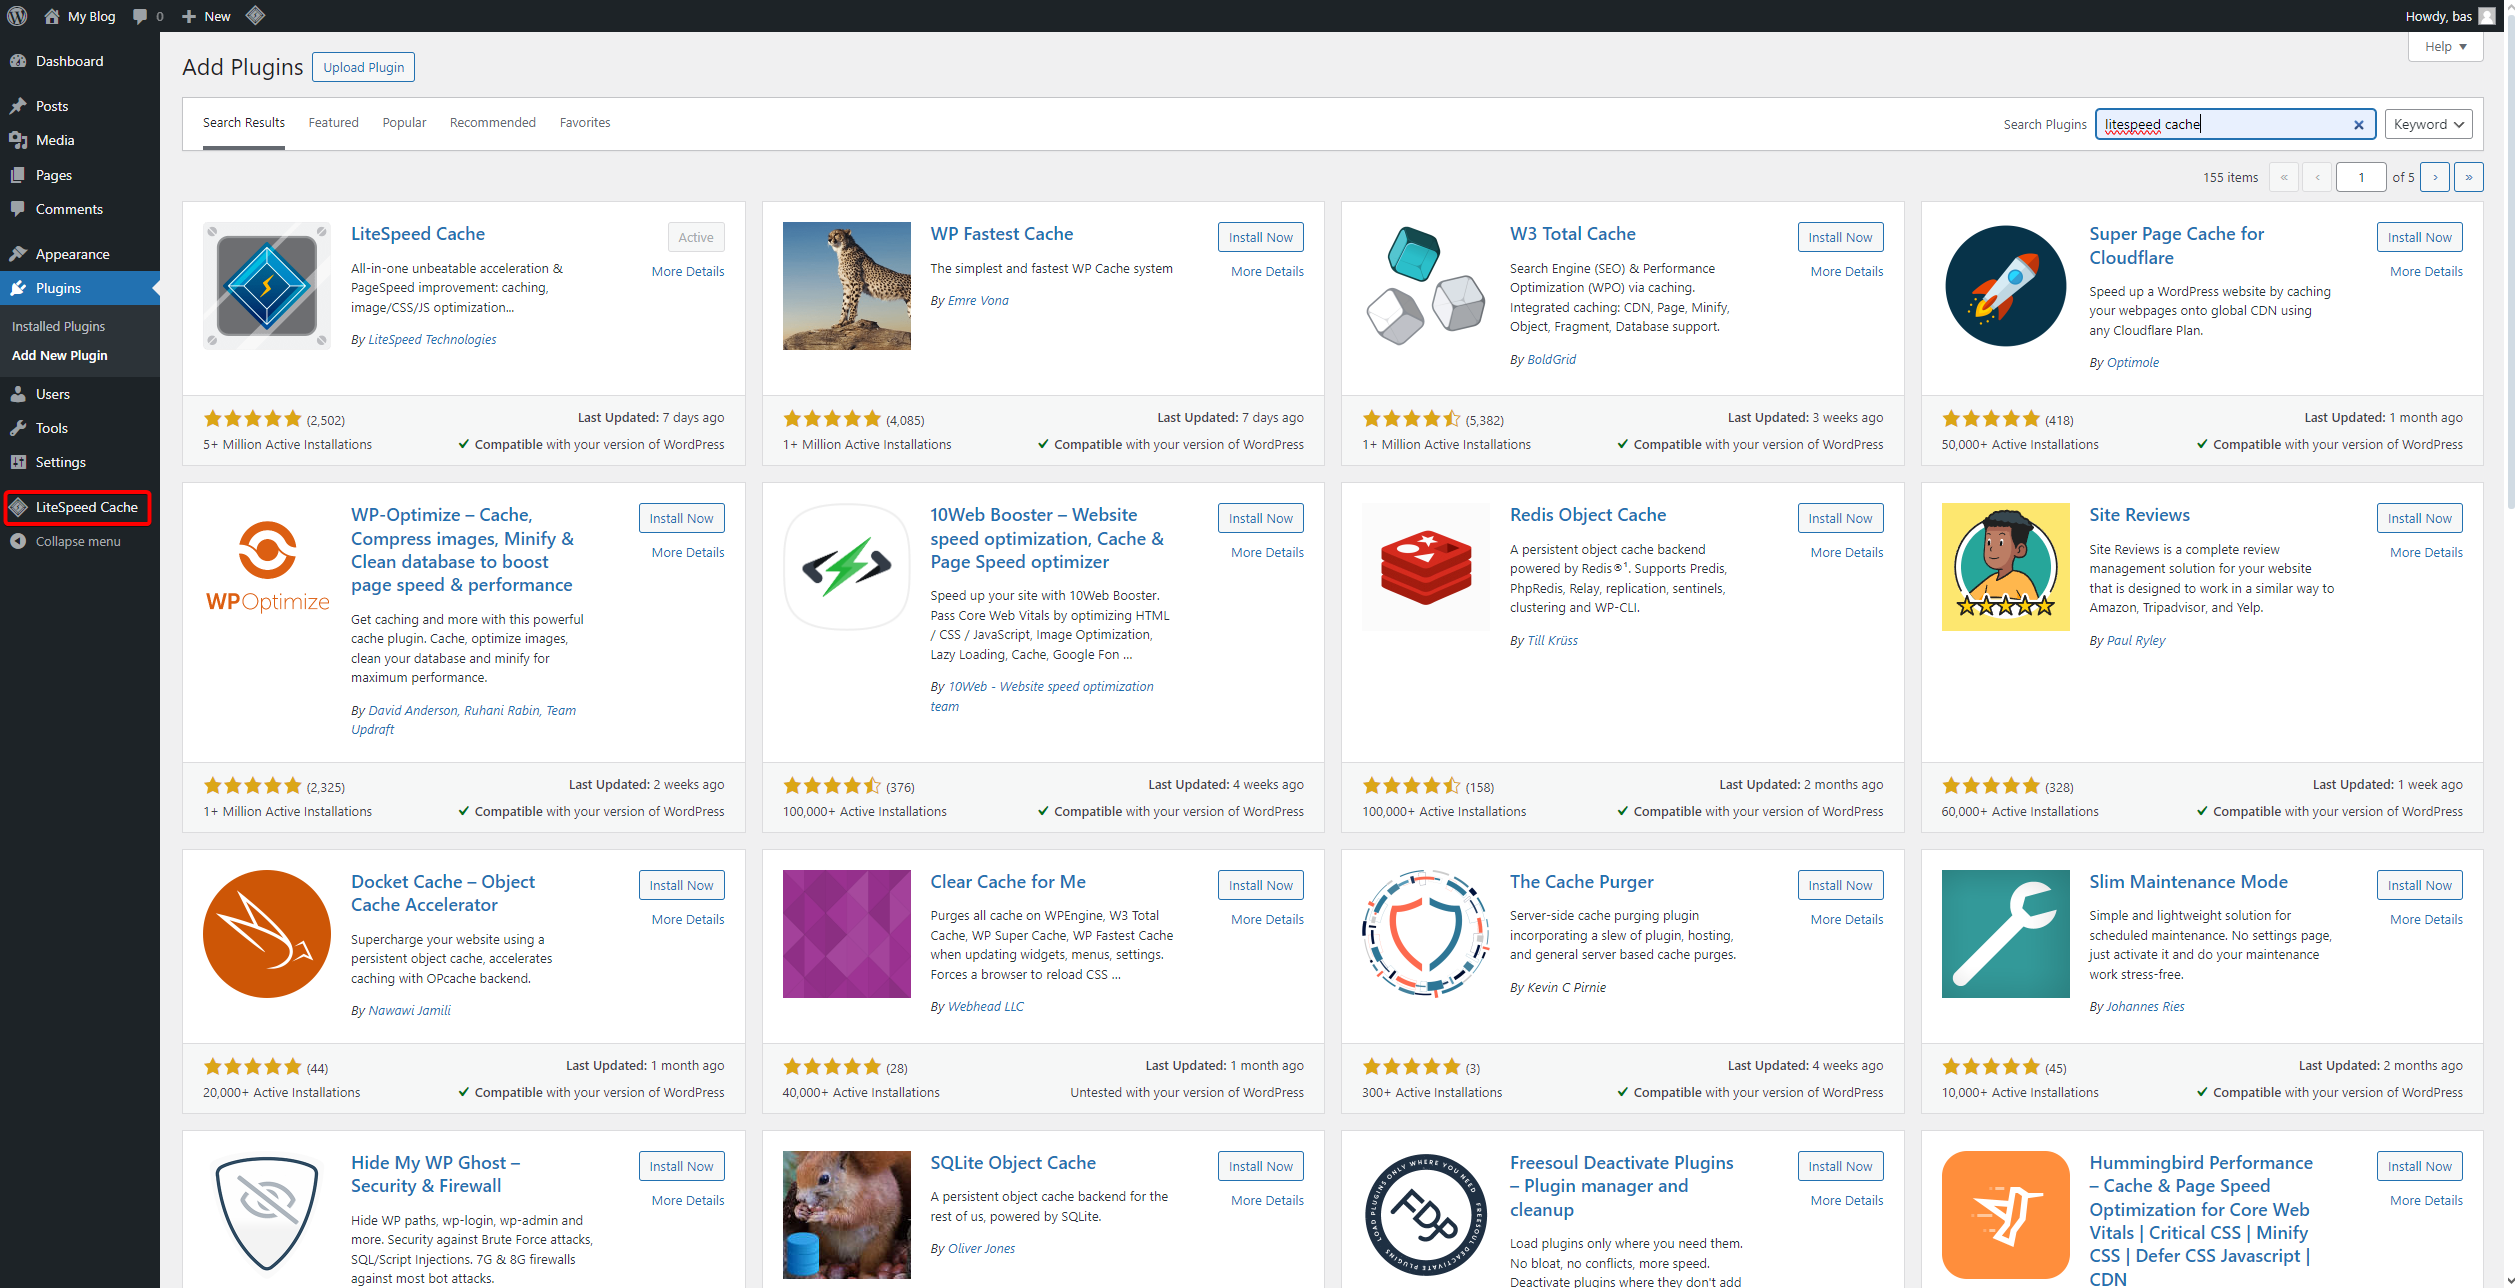
- On the left side of the screen, click on LiteSpeed Cache.
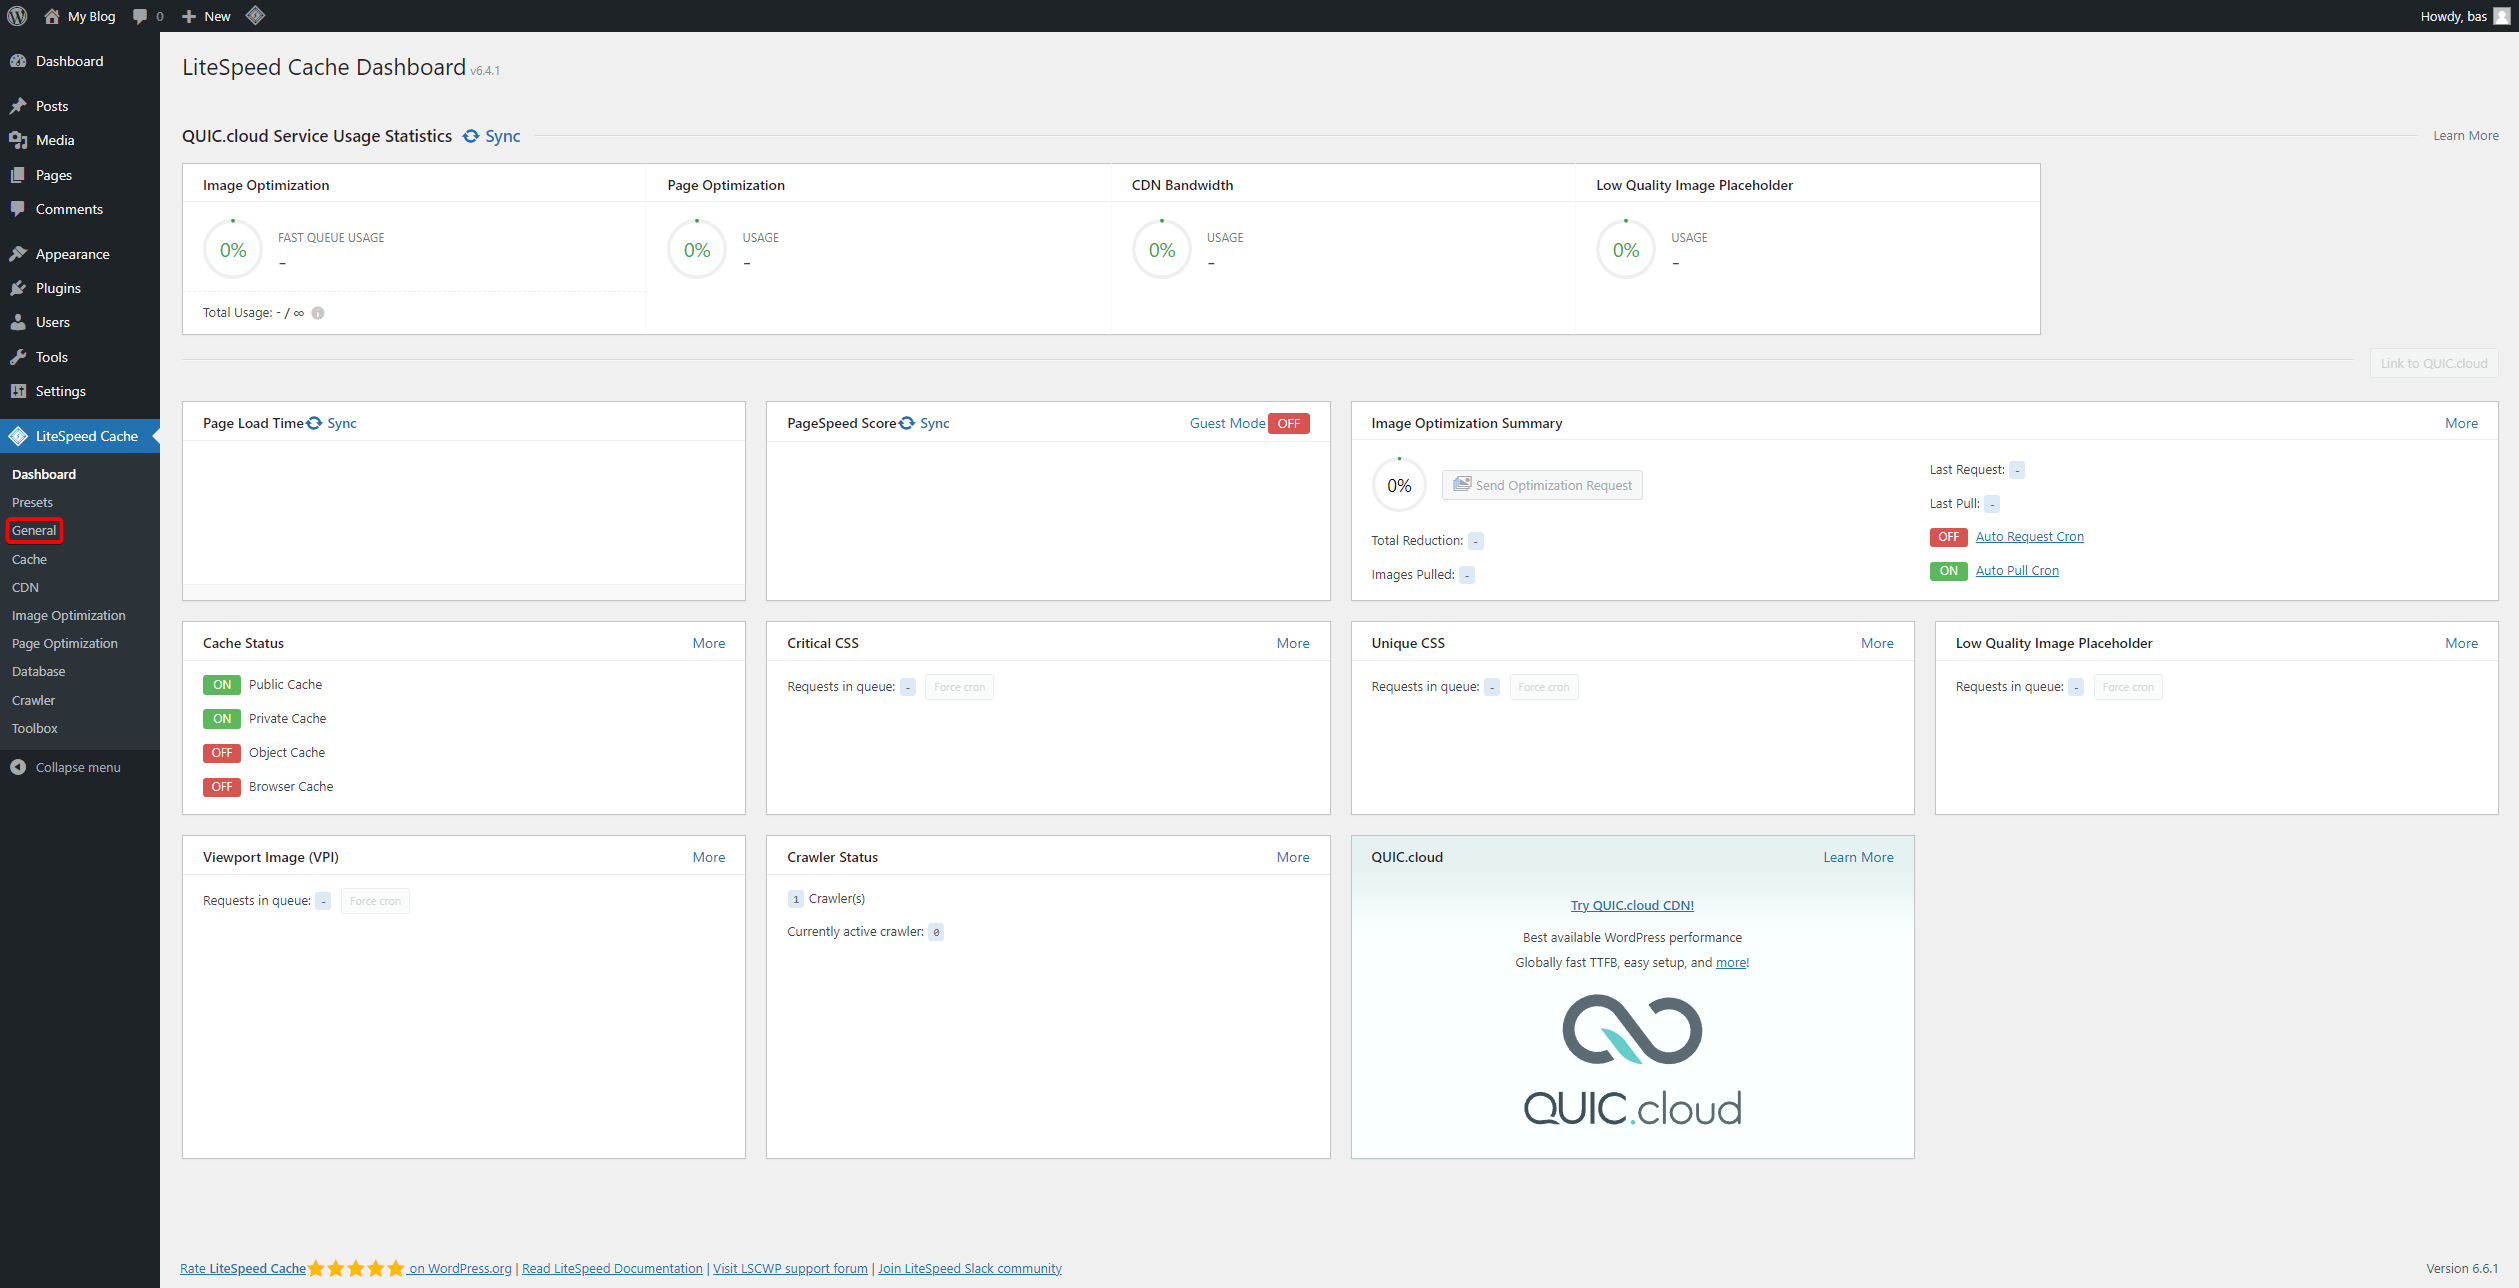
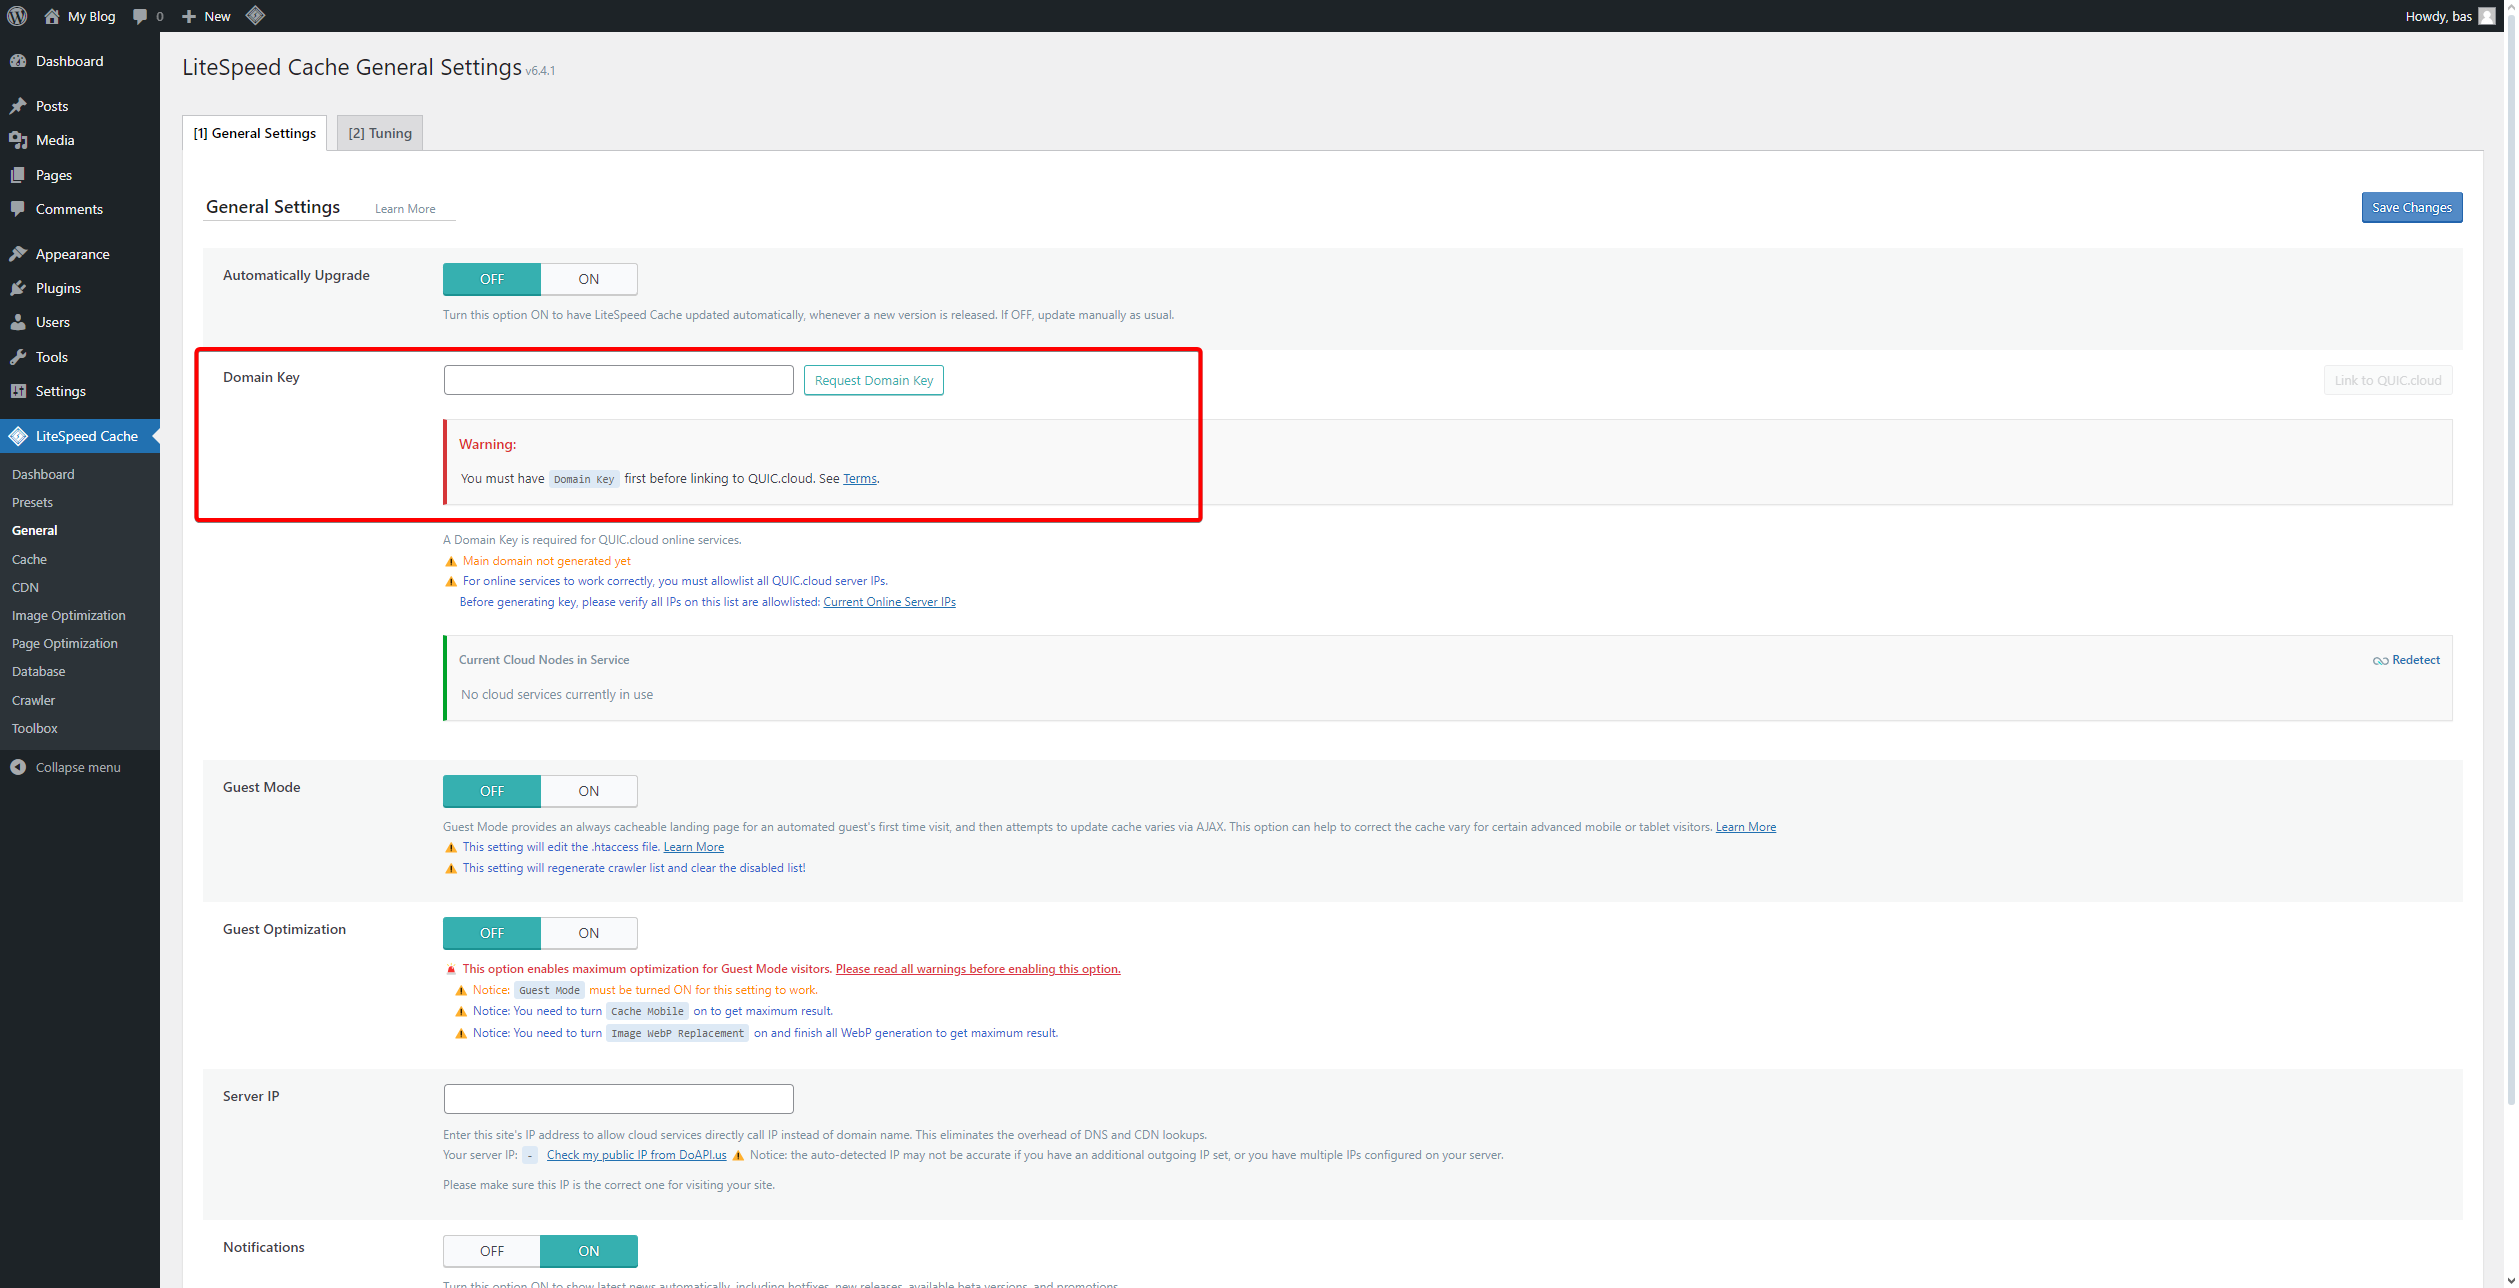
- Go to the General tab.
- Under Domain Key, click on Request Domain Key.
- You will see the following screen.
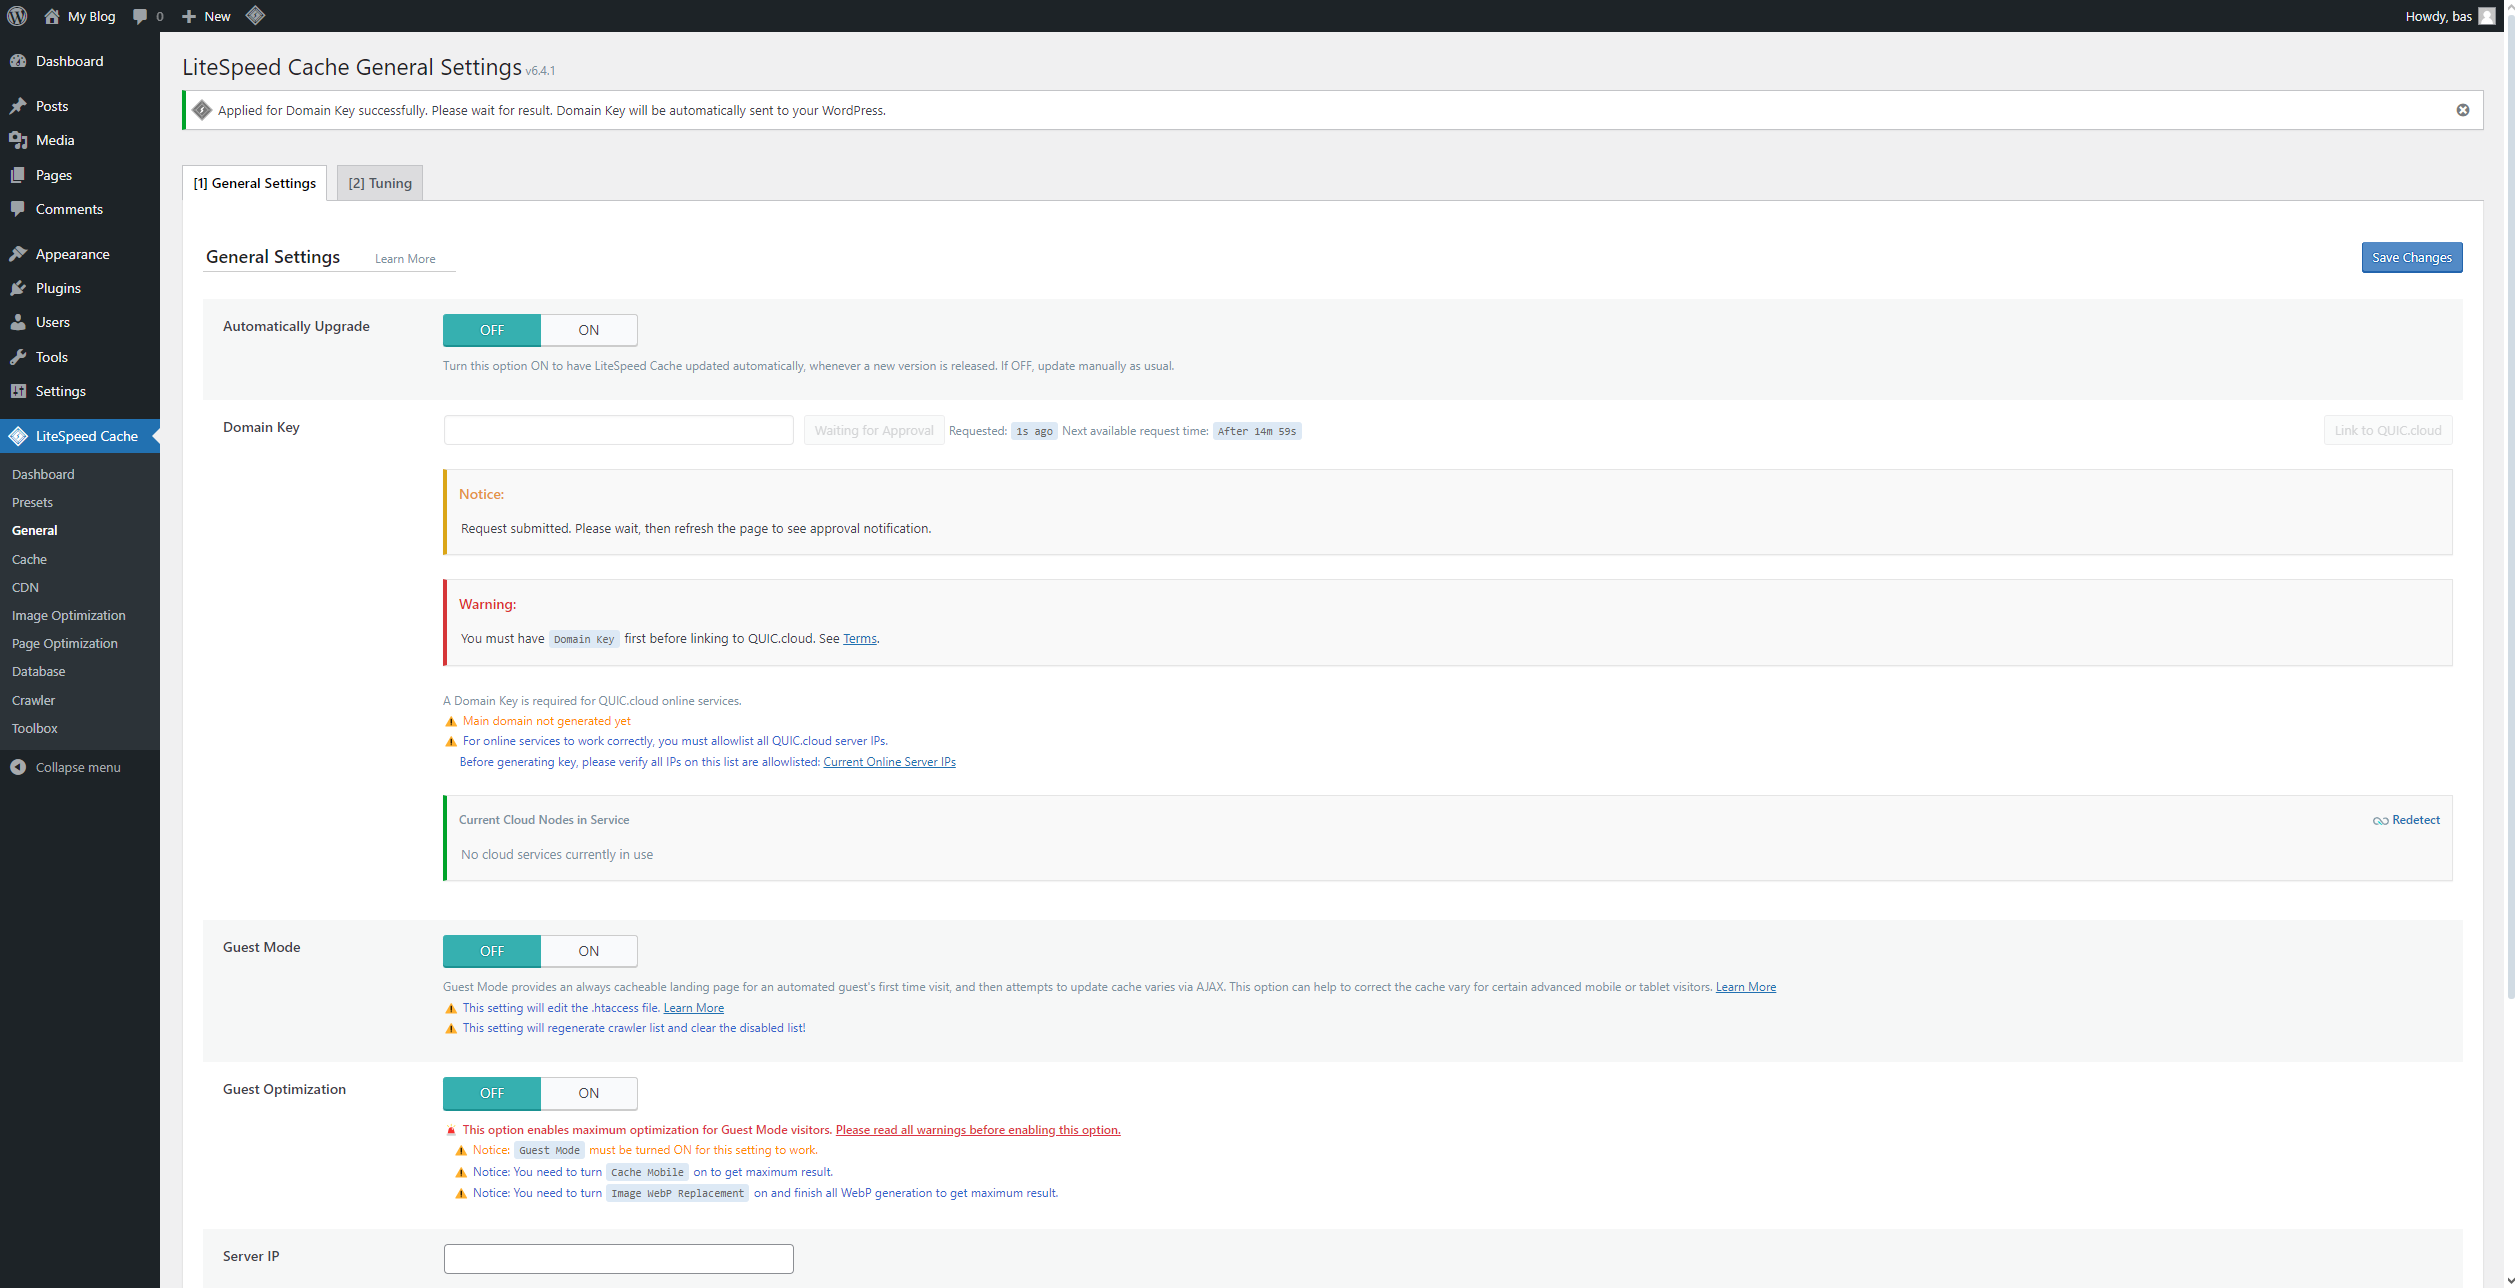
- A message will appear. Reload the page occasionally until you see the confirmation that your request has been approved (this will appear at the top of your screen).

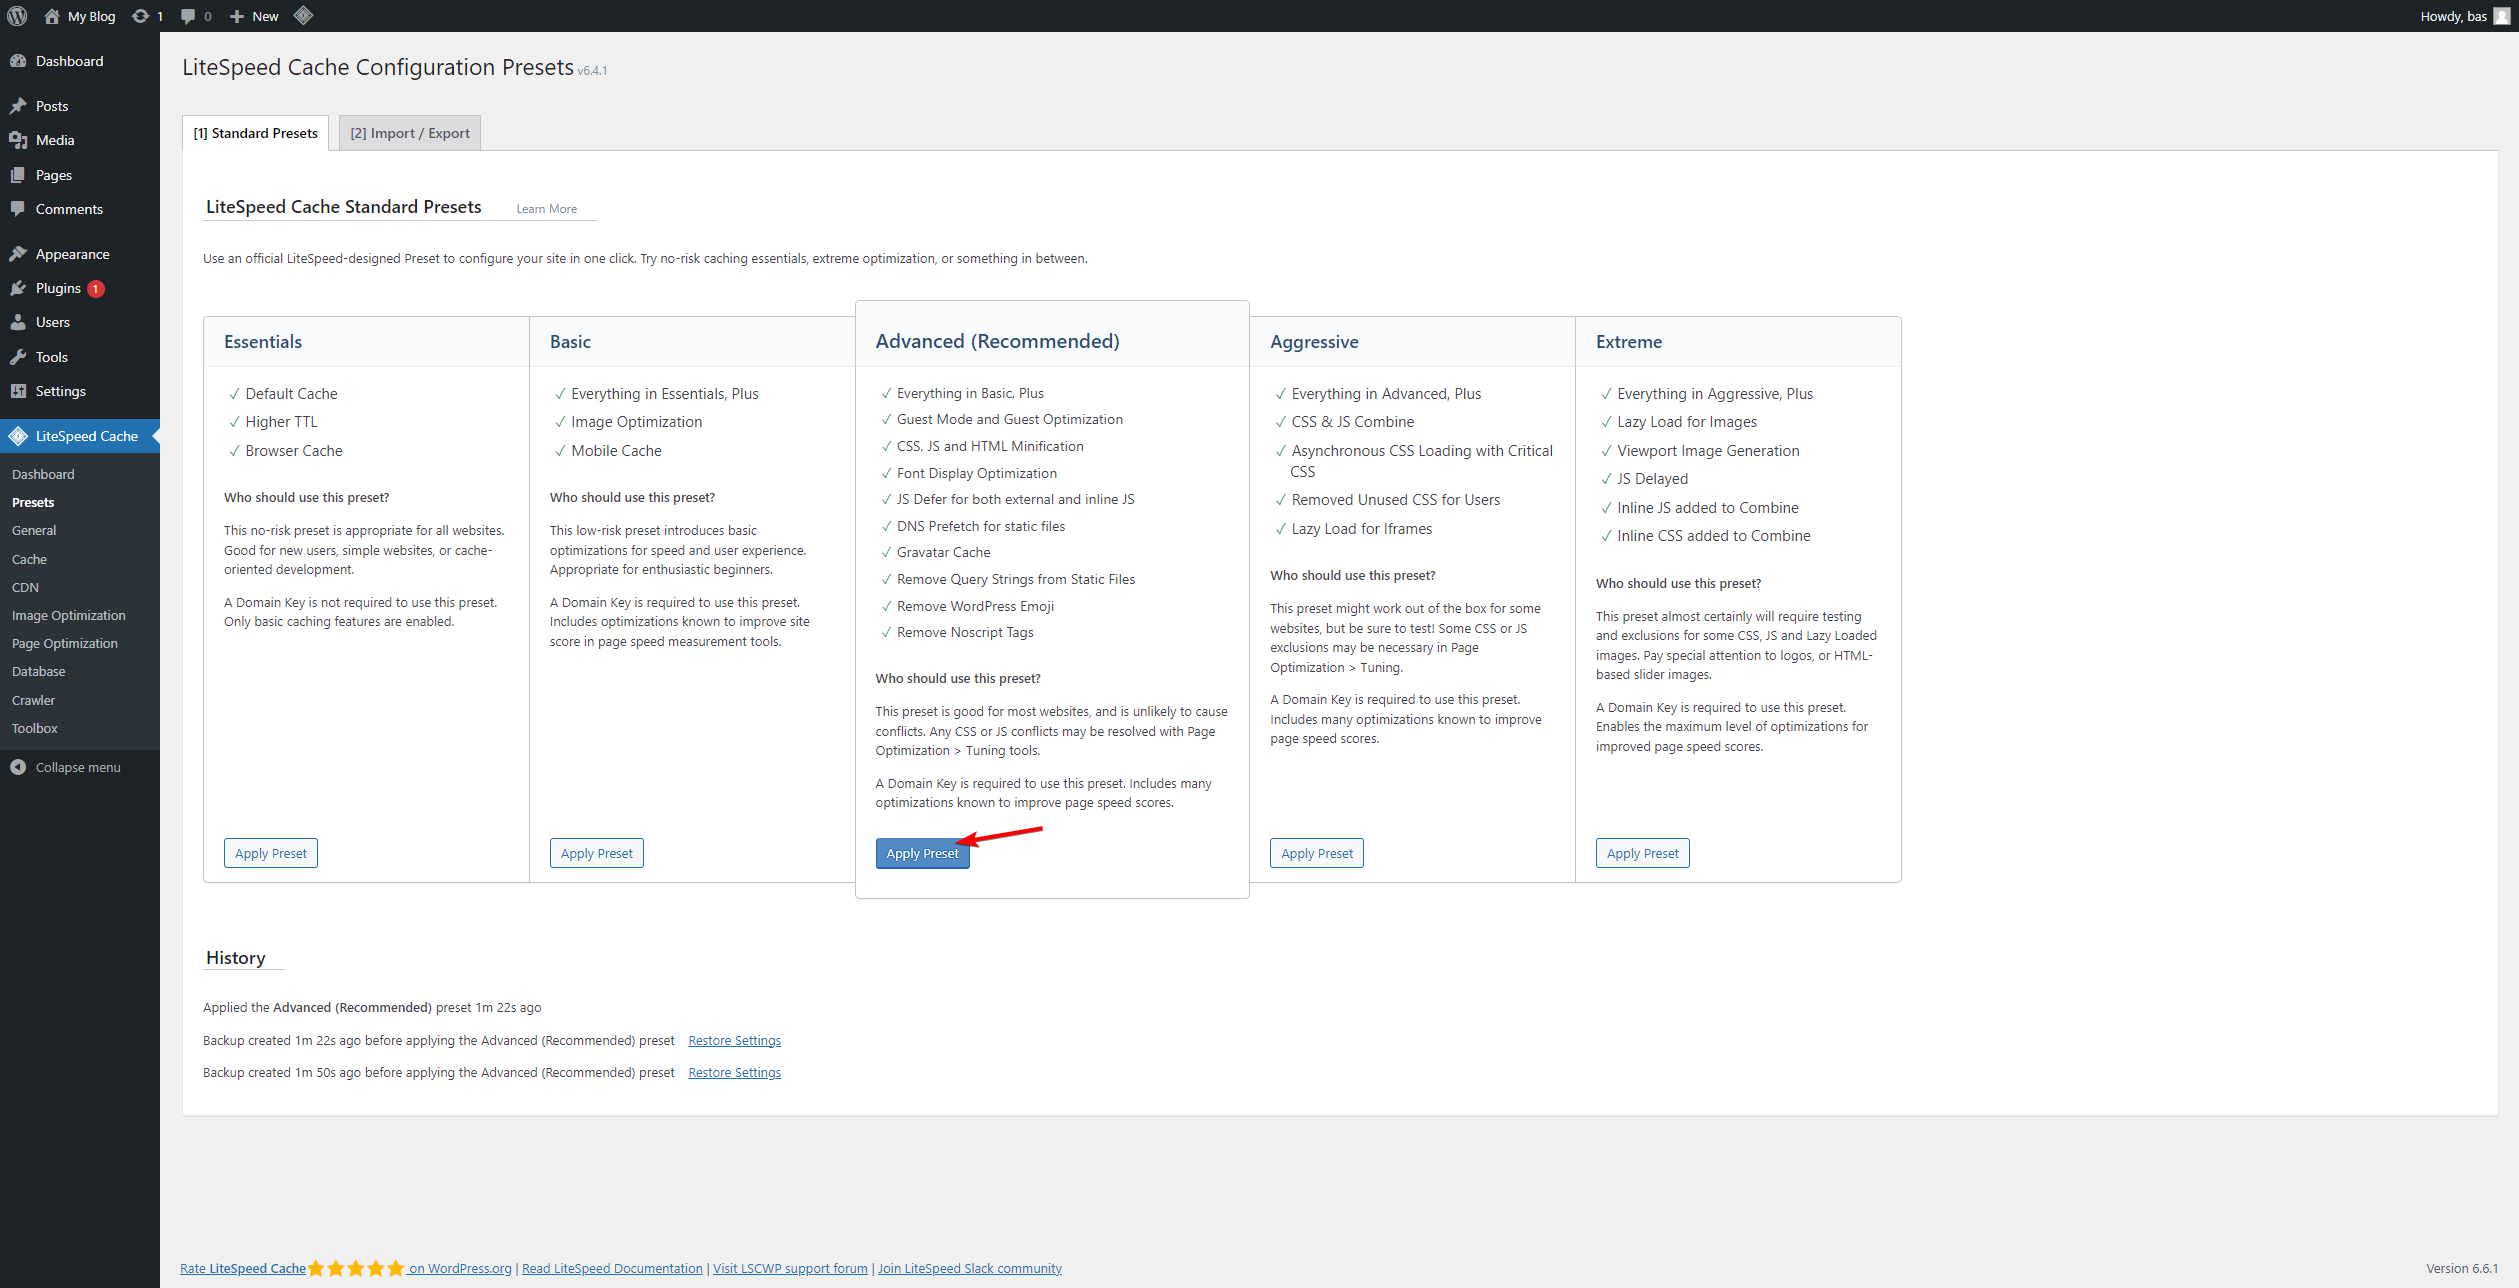
- On the left side, click on Presets.

- Select the desired preset and click Apply Preset.
We recommend the **Advanced **preset.
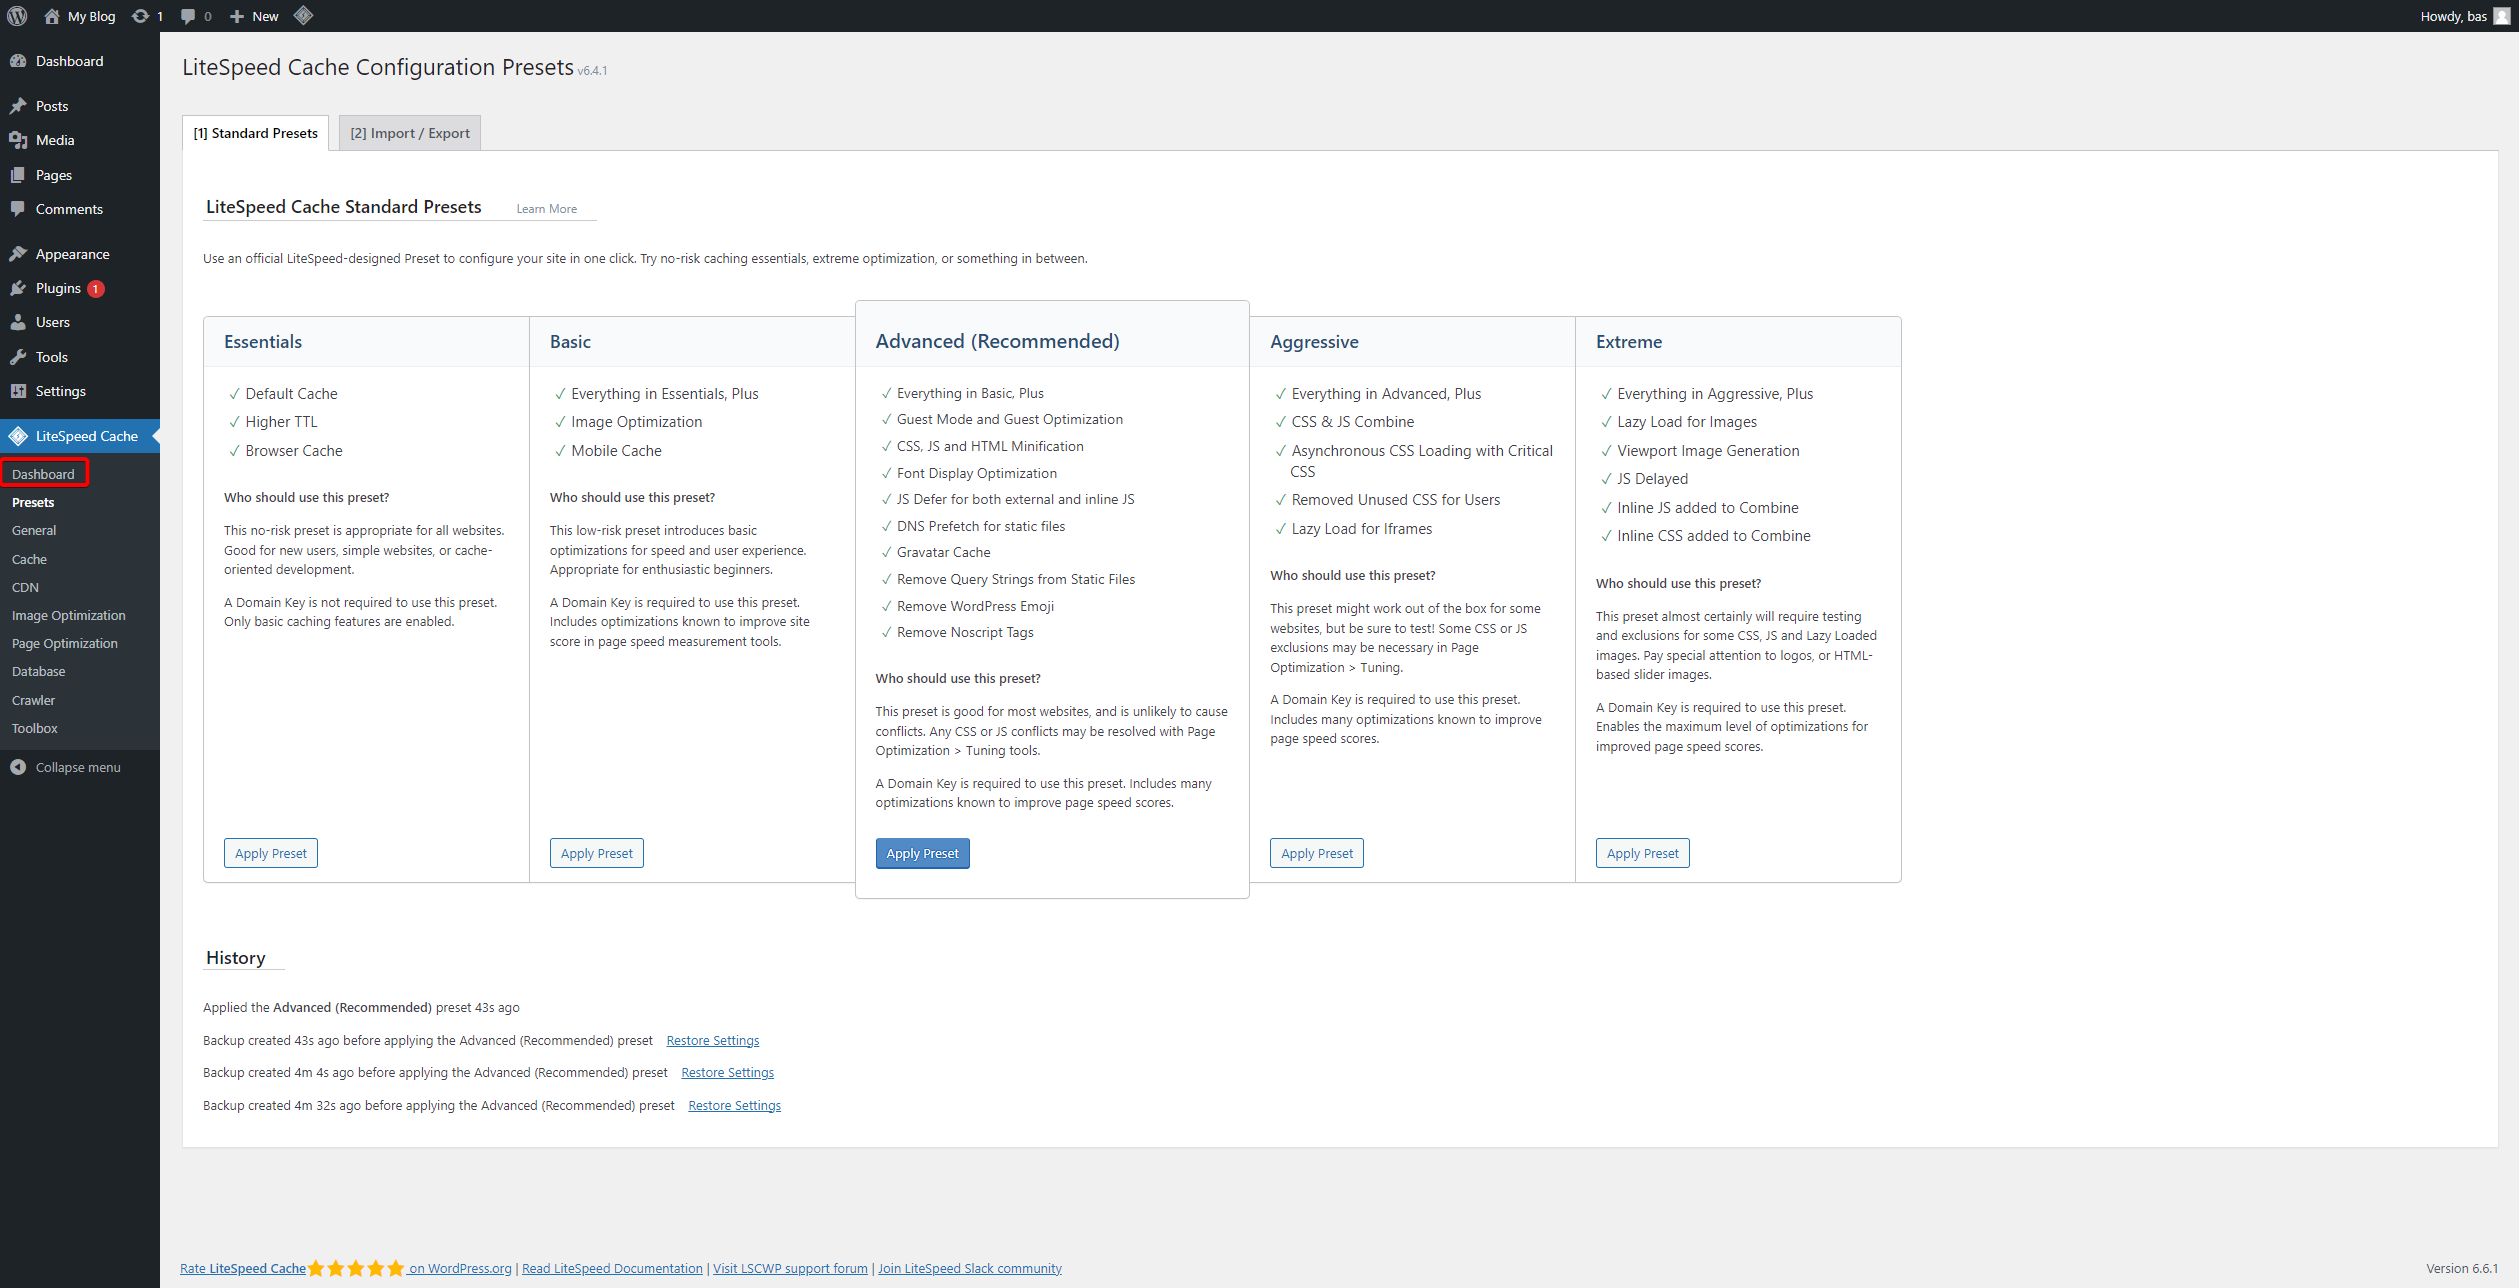
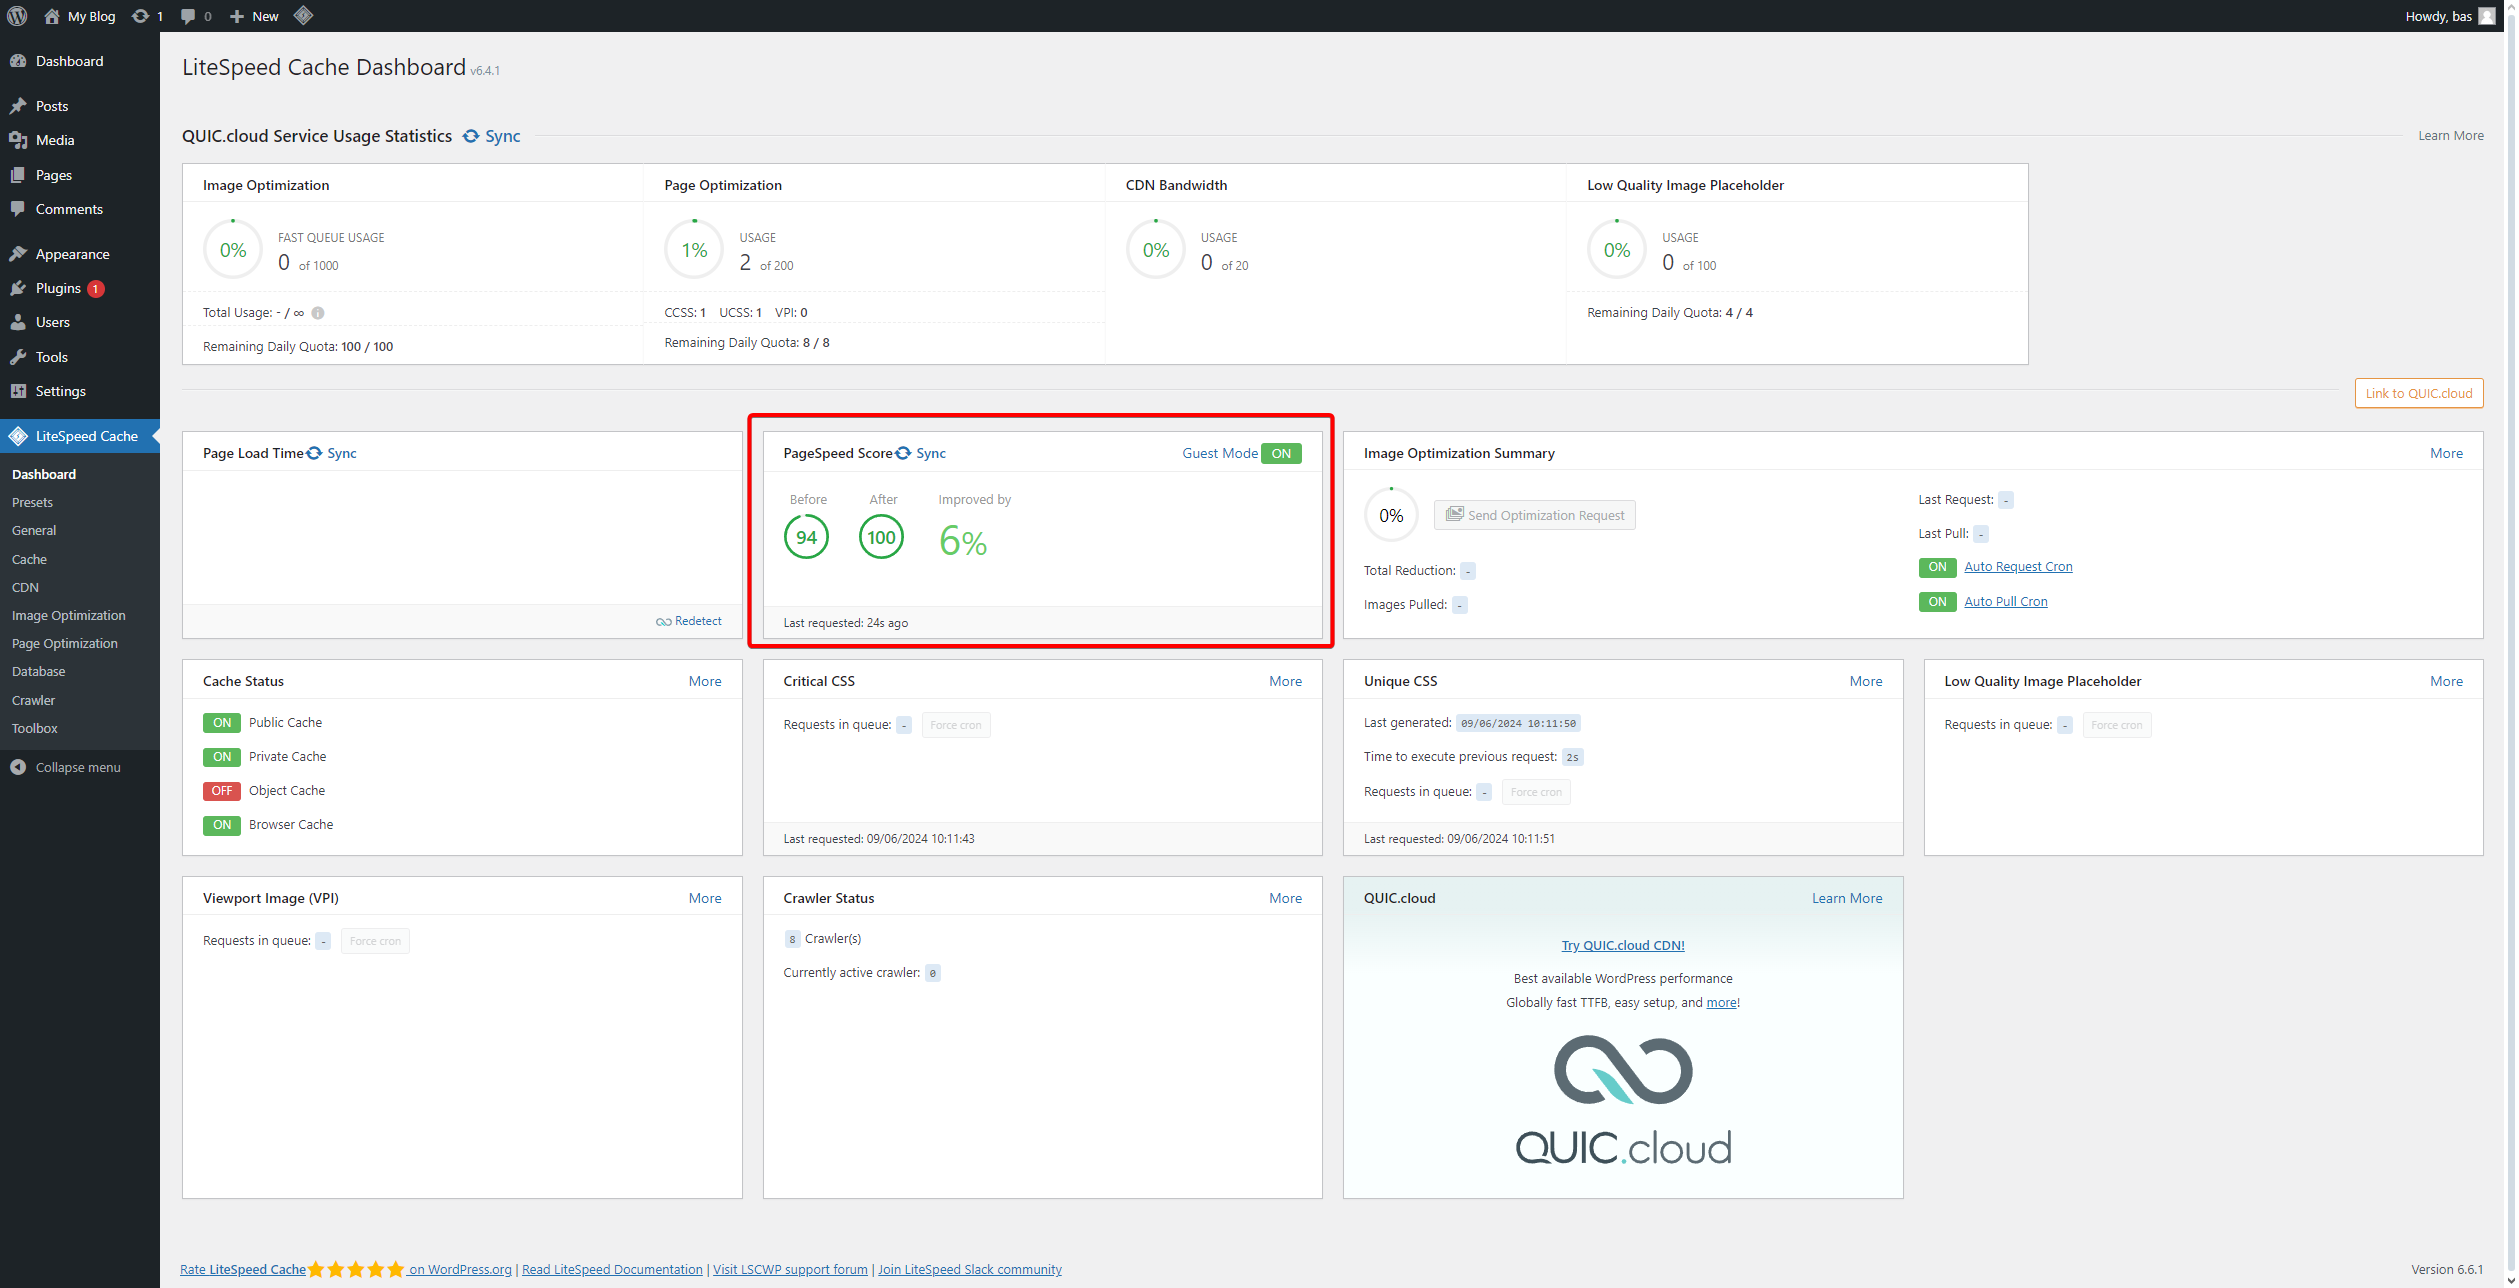
- Go to the Dashboard.
- You will now see your updated PageSpeed Score.
If needed, click Sync to refresh the data.
- Once these steps are completed, LiteSpeed Cache should be active! You can verify it through this link: check.lscache.io.
If you encounter any issues, feel free to reach out via Discord or create a support ticket through this link.
Lars
Updated on: 04/27/2026
Was this article helpful?