Here’s How to Install Ghost on Your Linux VPS
1. Go to the VPS panel and log in.
2. Click Manage on your desired (Linux) server.
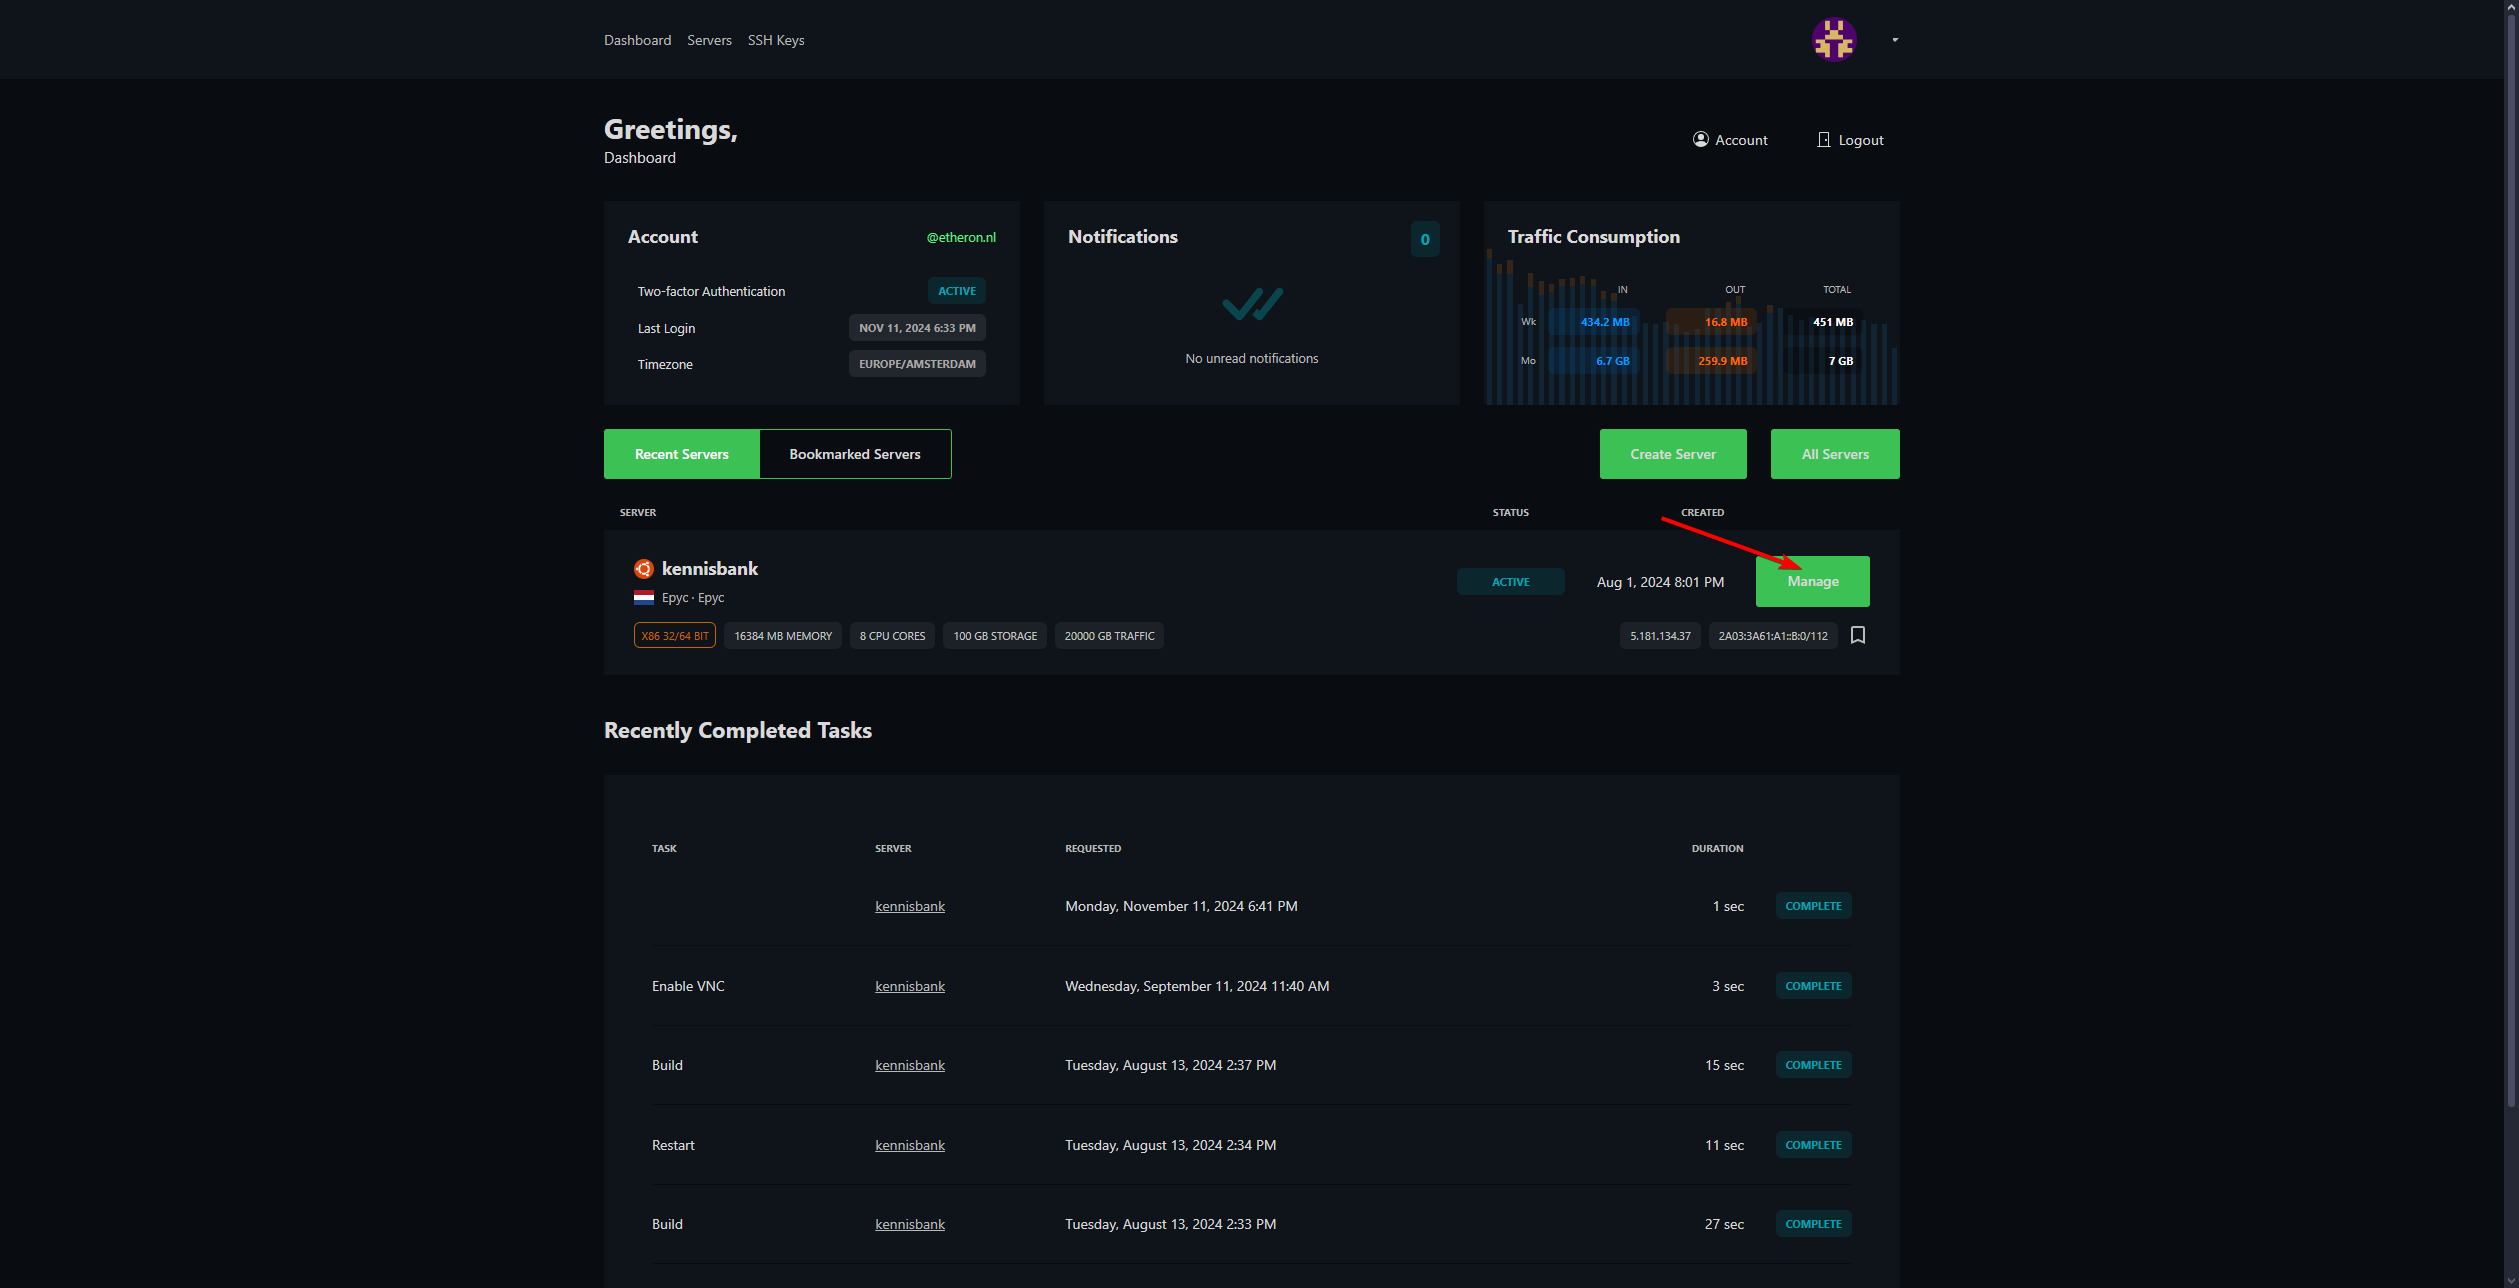
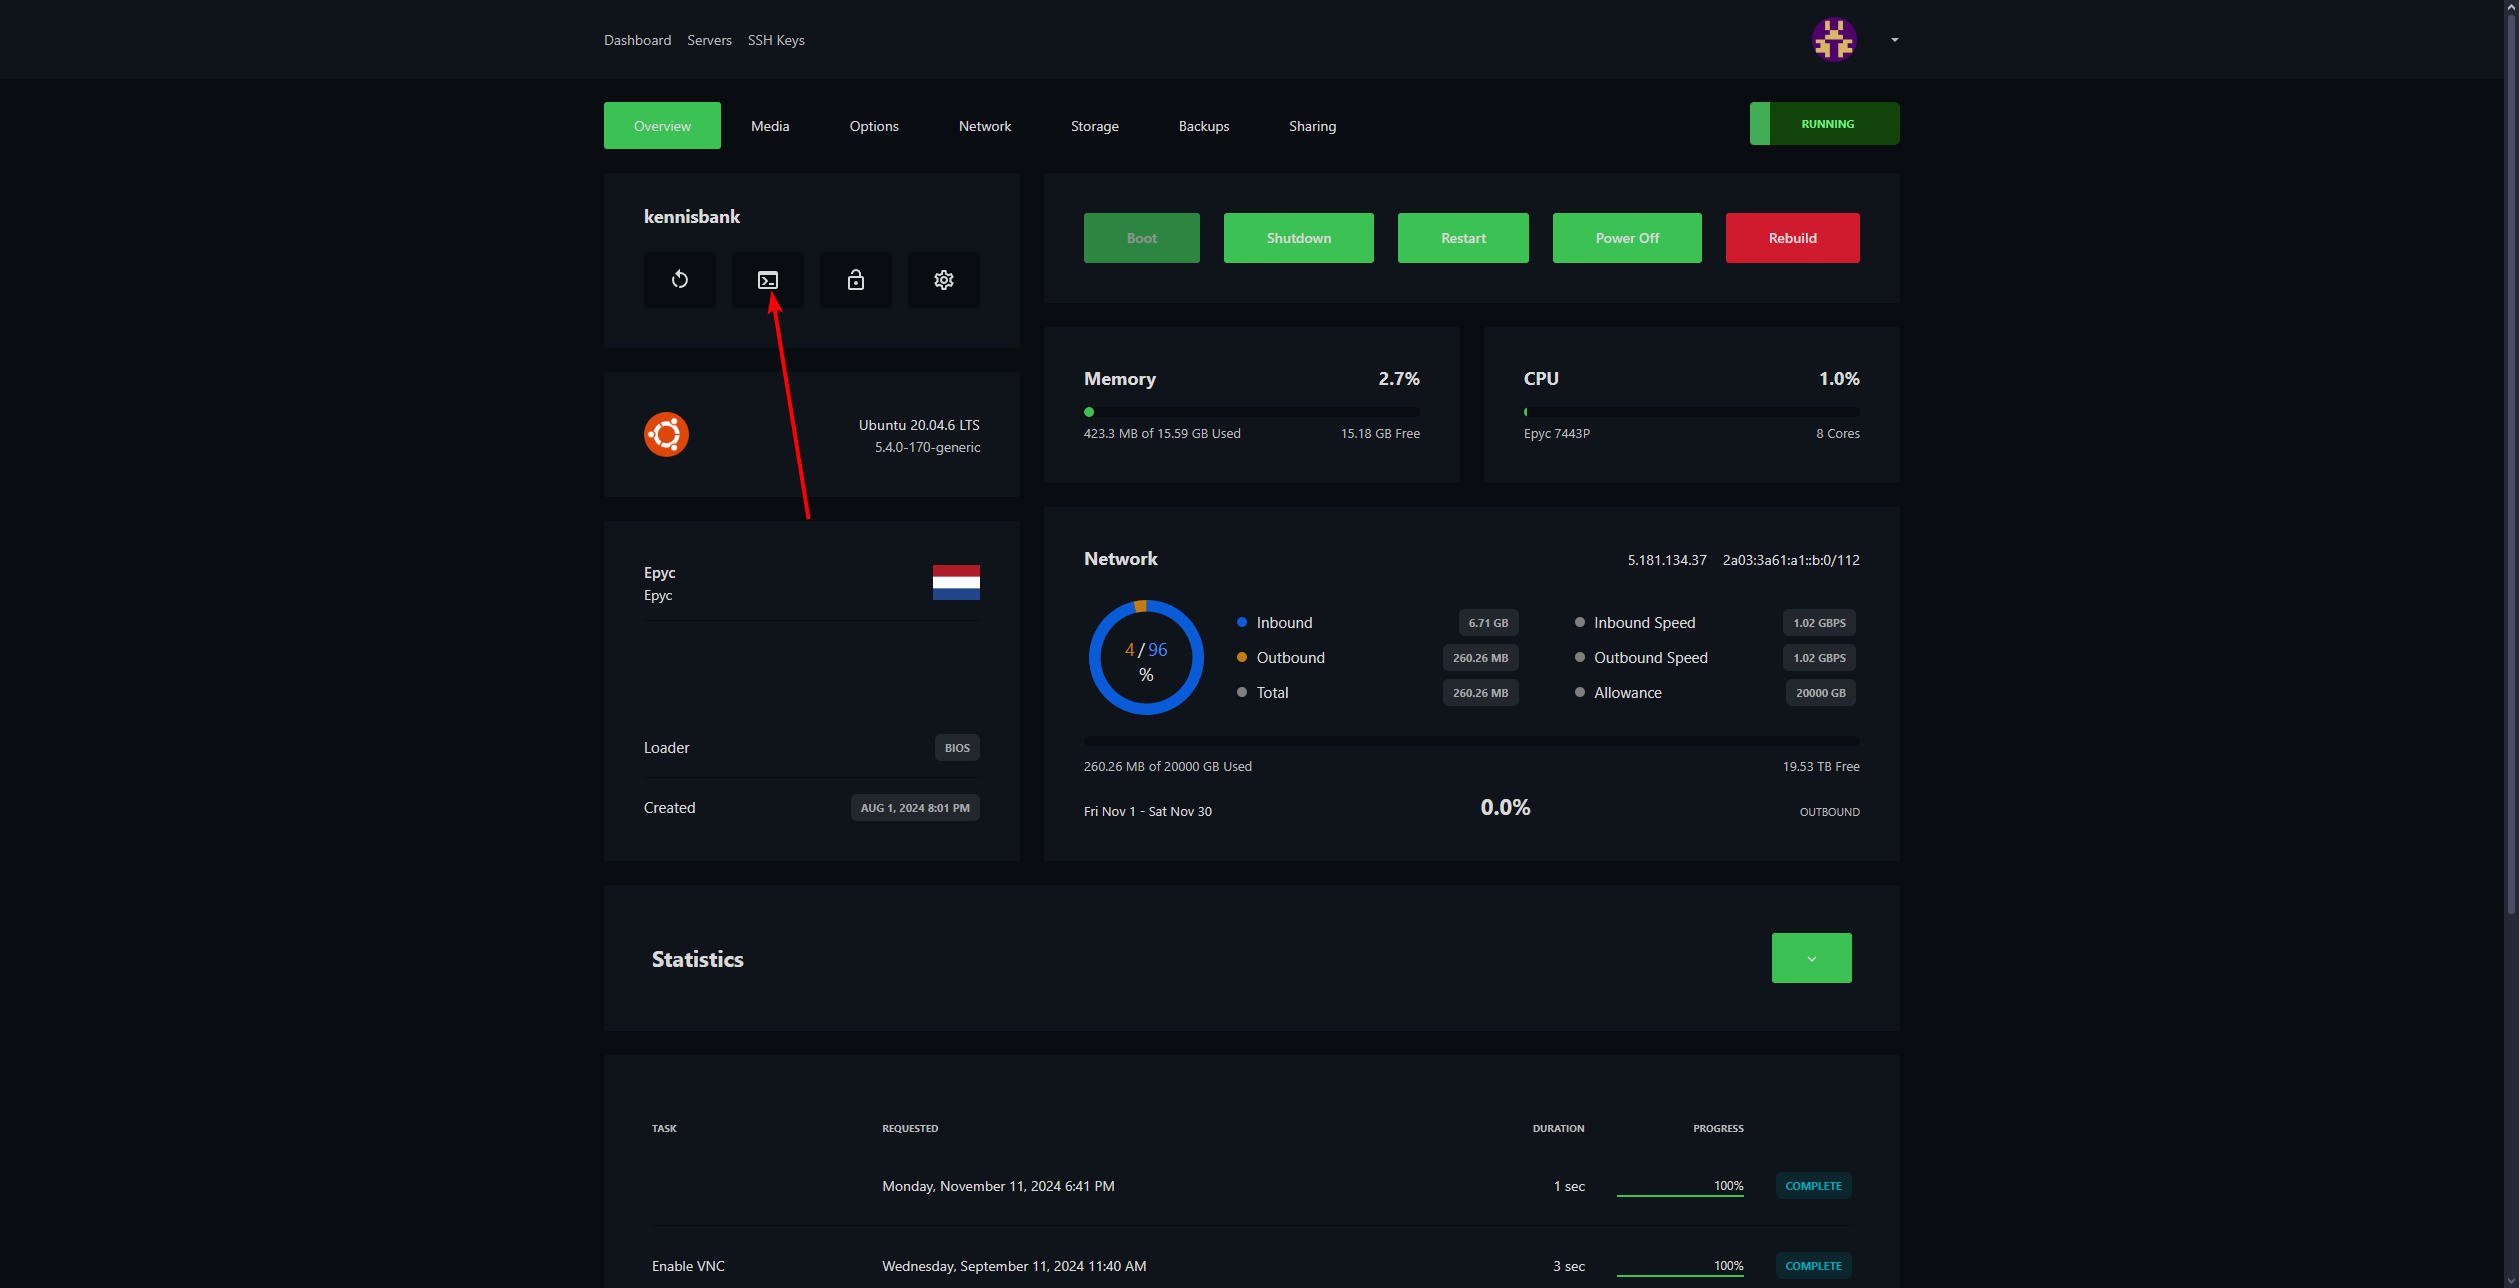
3. Ensure your VPS is running and click the VNC logo.
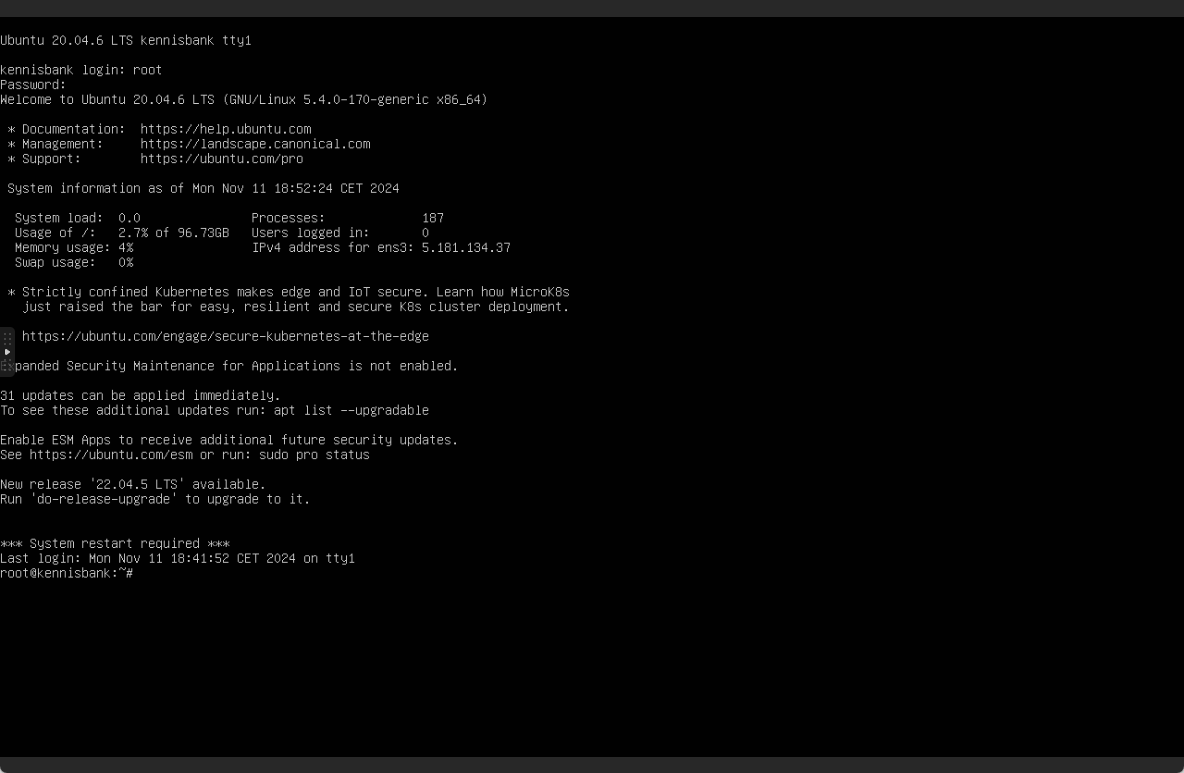
4. Log in.
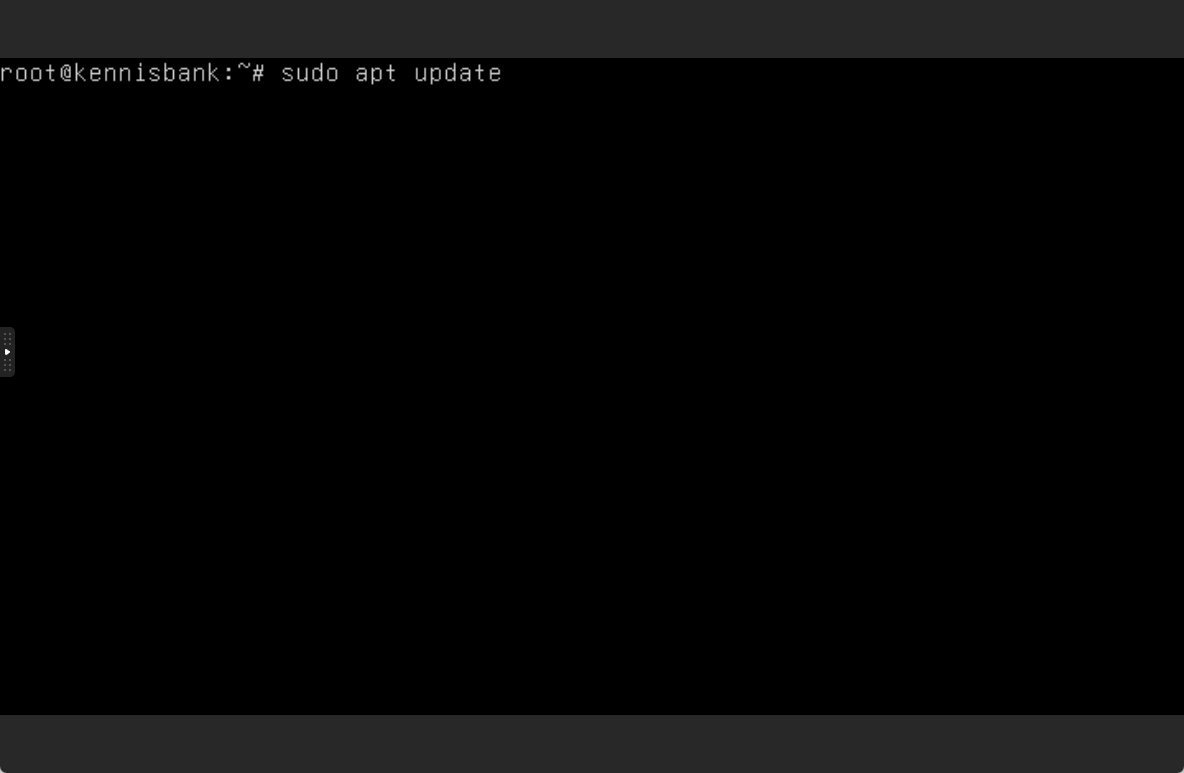
5. Begin by updating everything. Type: sudo apt update
6. Install MySql, Nginx, and Node.js on your VPS.
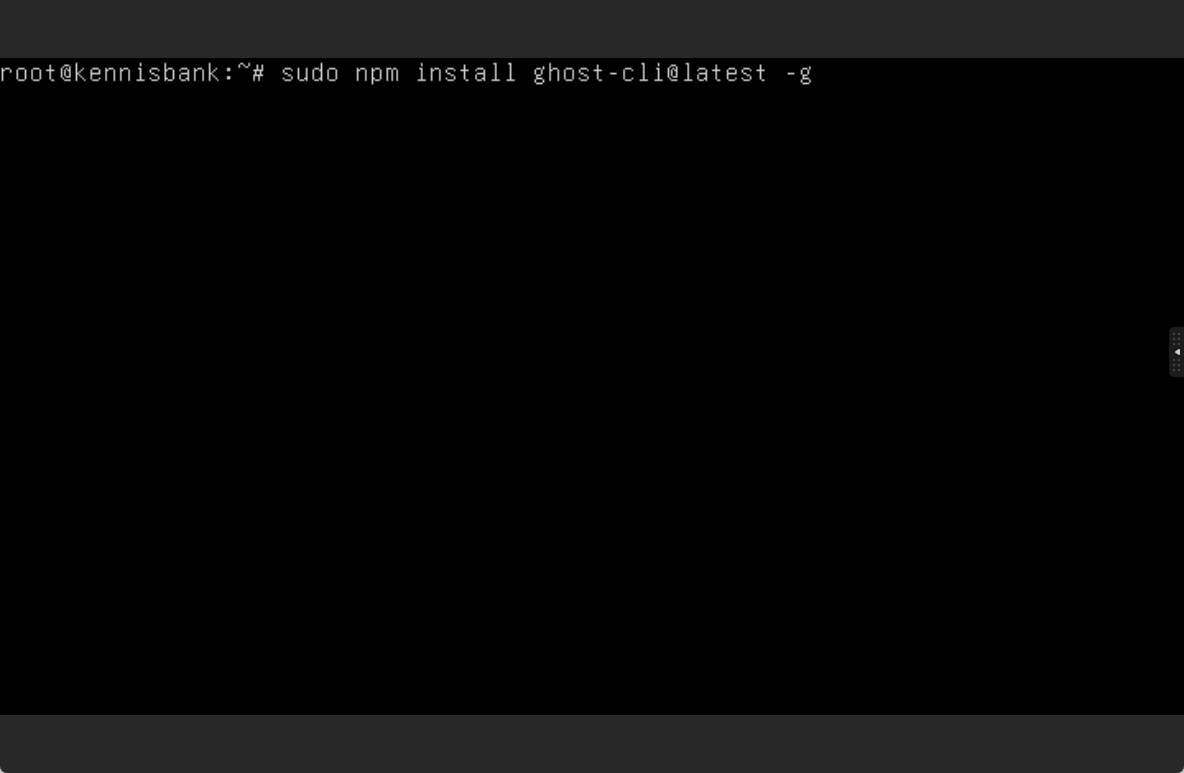
7. Now, install Ghost-CLI by typing:
sudo npm install ghost-cli@latest -g
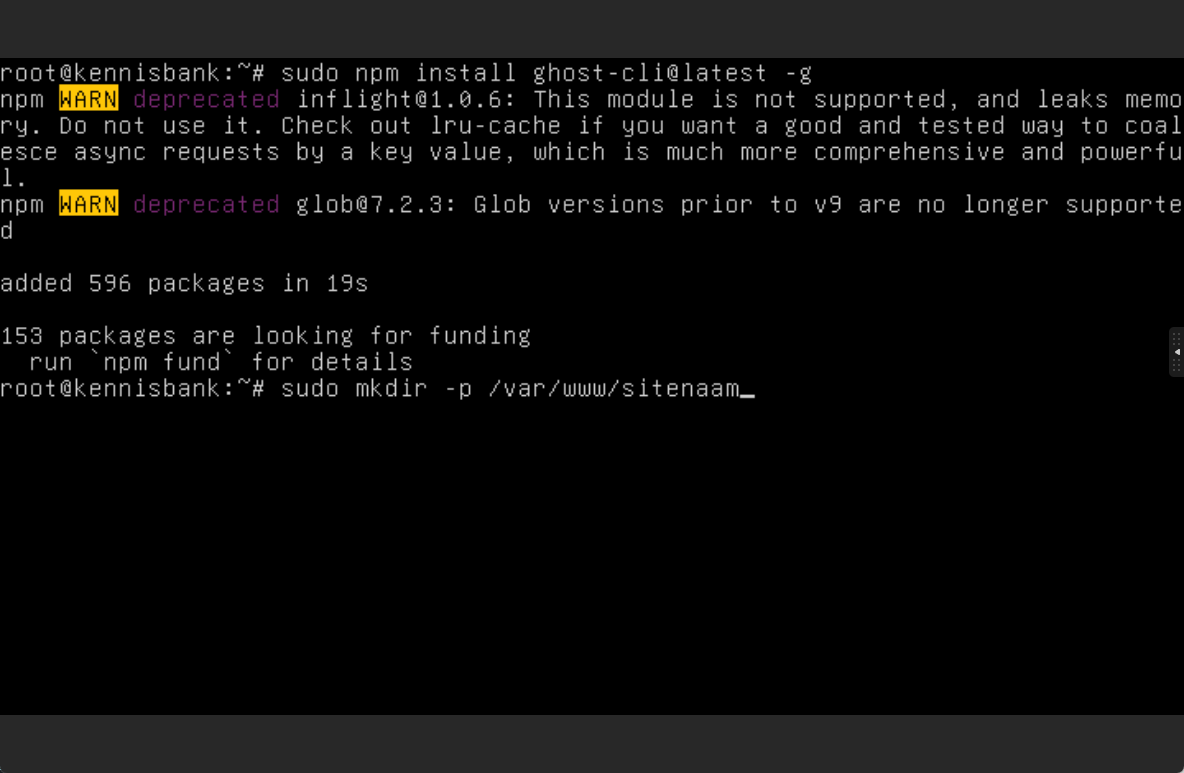
8. Create a directory for Ghost. Replace sitename with your desired site name:
sudo mkdir -p /var/www/sitename
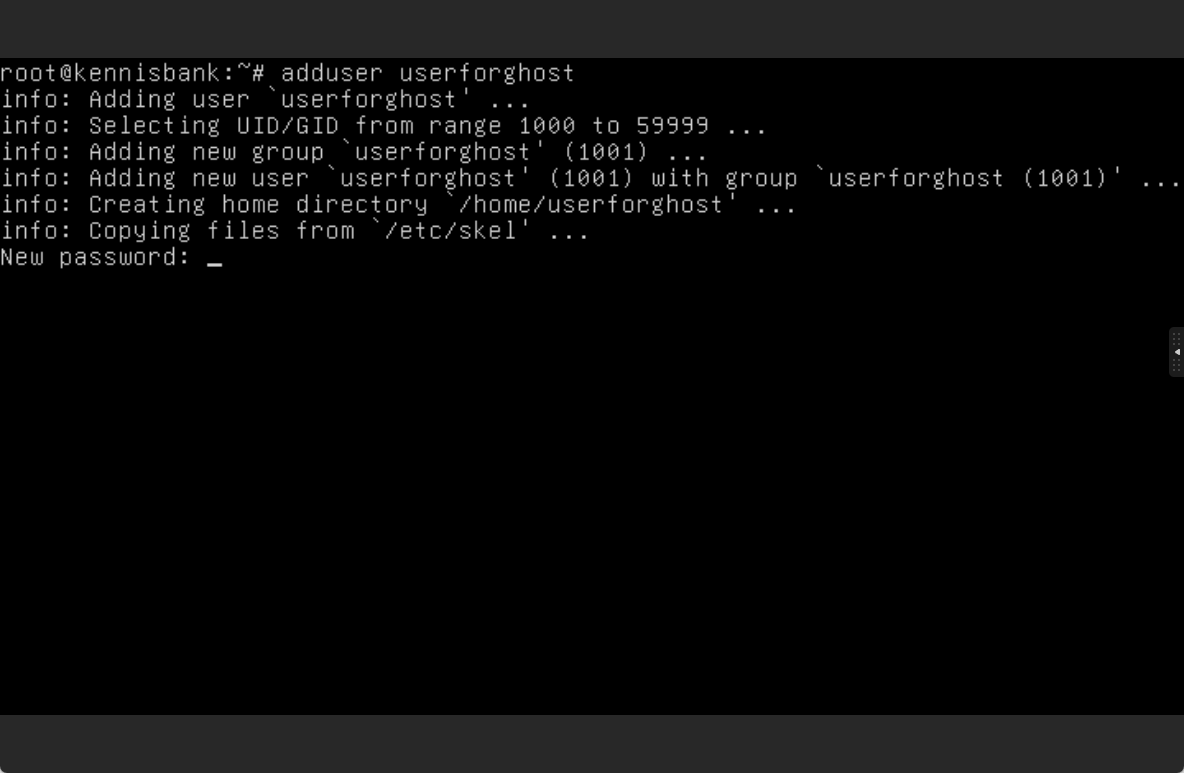
9. Create a new user. Type:
adduser <user>
Choose a username (do not use "Ghost" to avoid issues) and set a password.
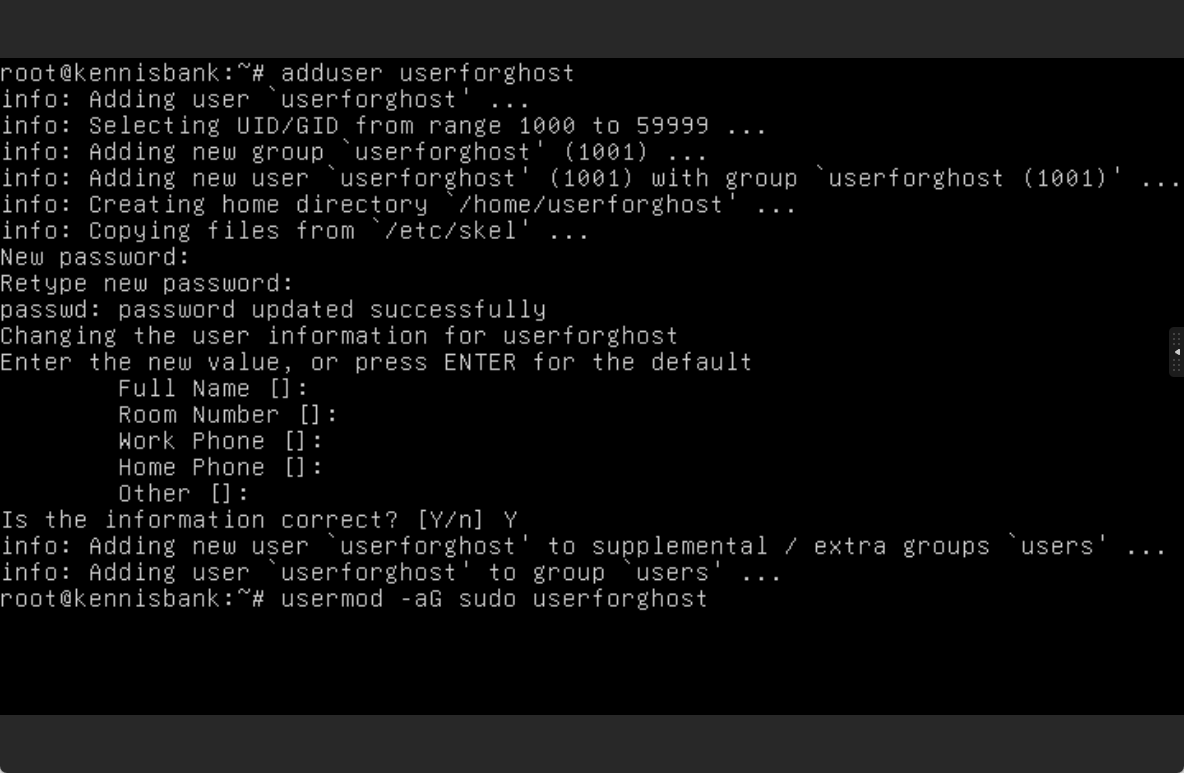
10. Add the user to the superuser group by typing:
usermod -aG sudo <user>
11. Log in as the new user:
su - <user>
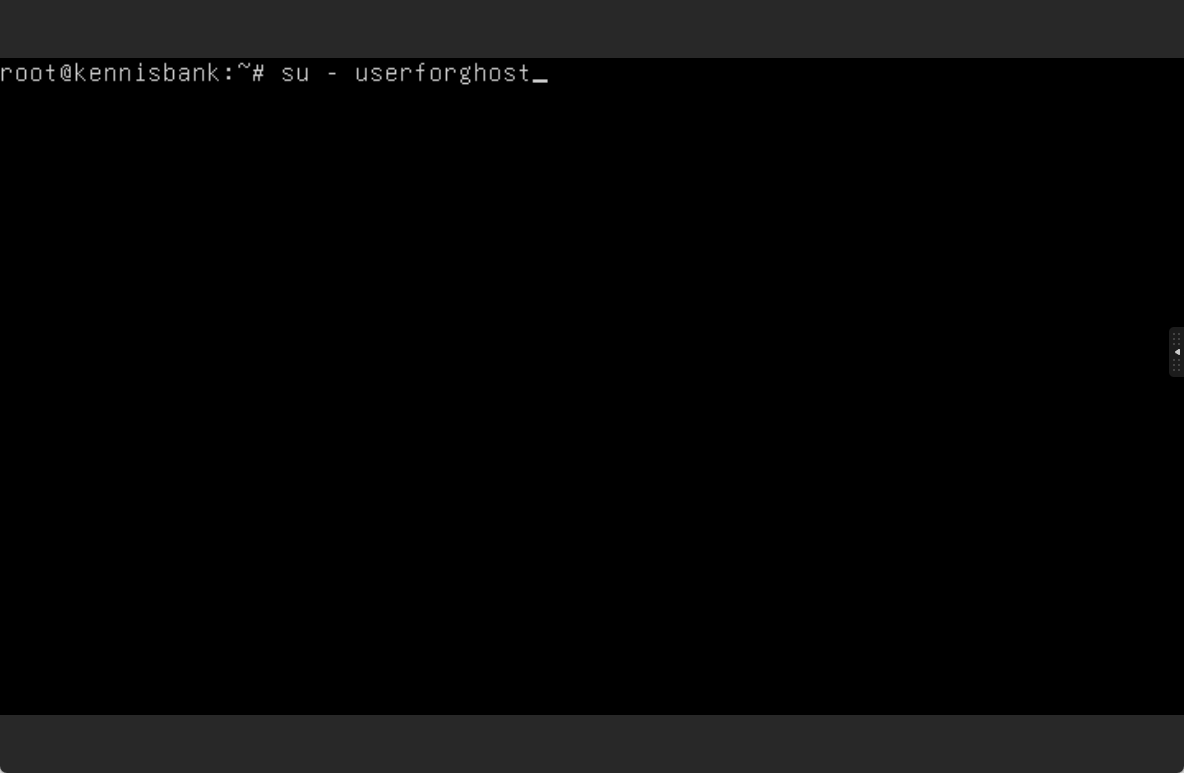
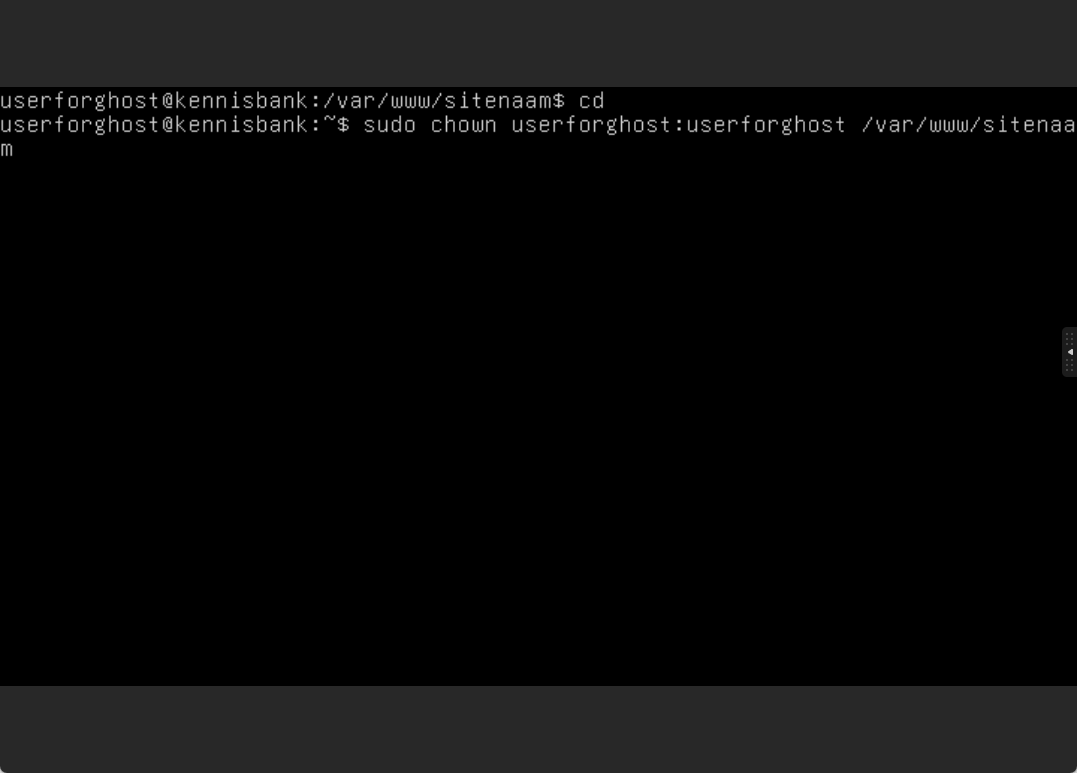
12. Set ownership of the directory to the new user:
sudo chown <user>:<user> /var/www/sitename
Replace <user> with your username.
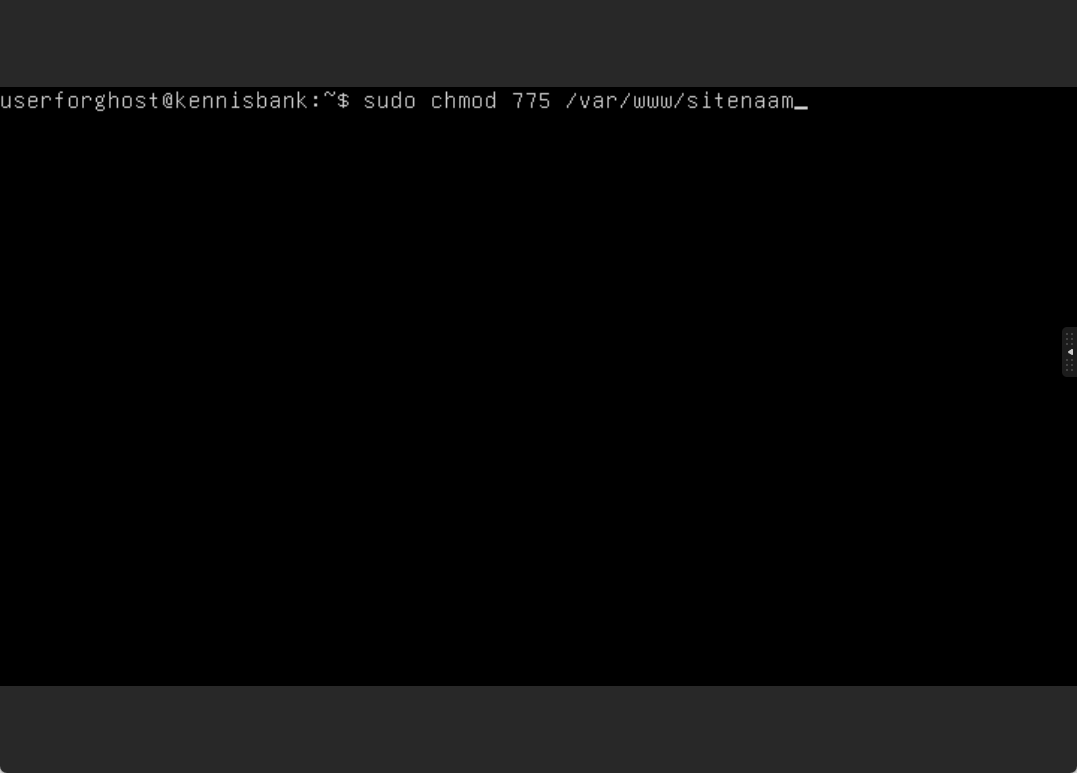
13. Set the correct permissions for the directory:
sudo chmod 775 /var/www/sitename
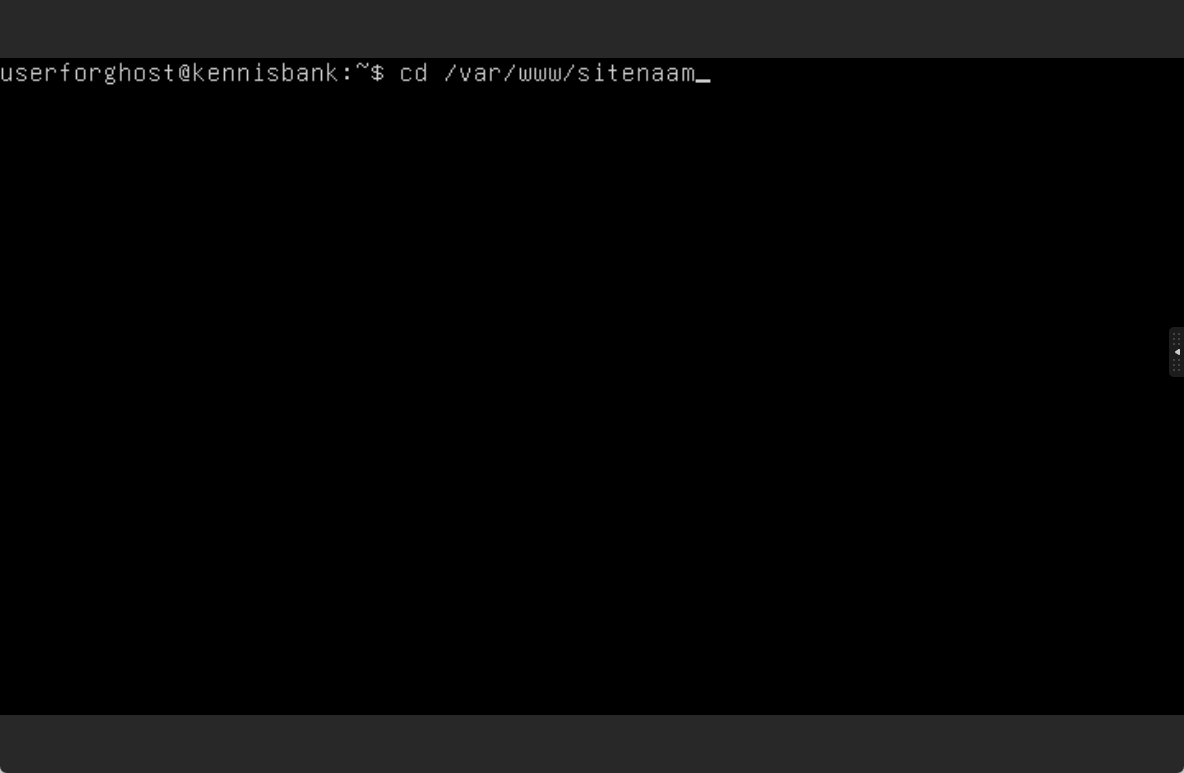
14. Navigate into the directory:
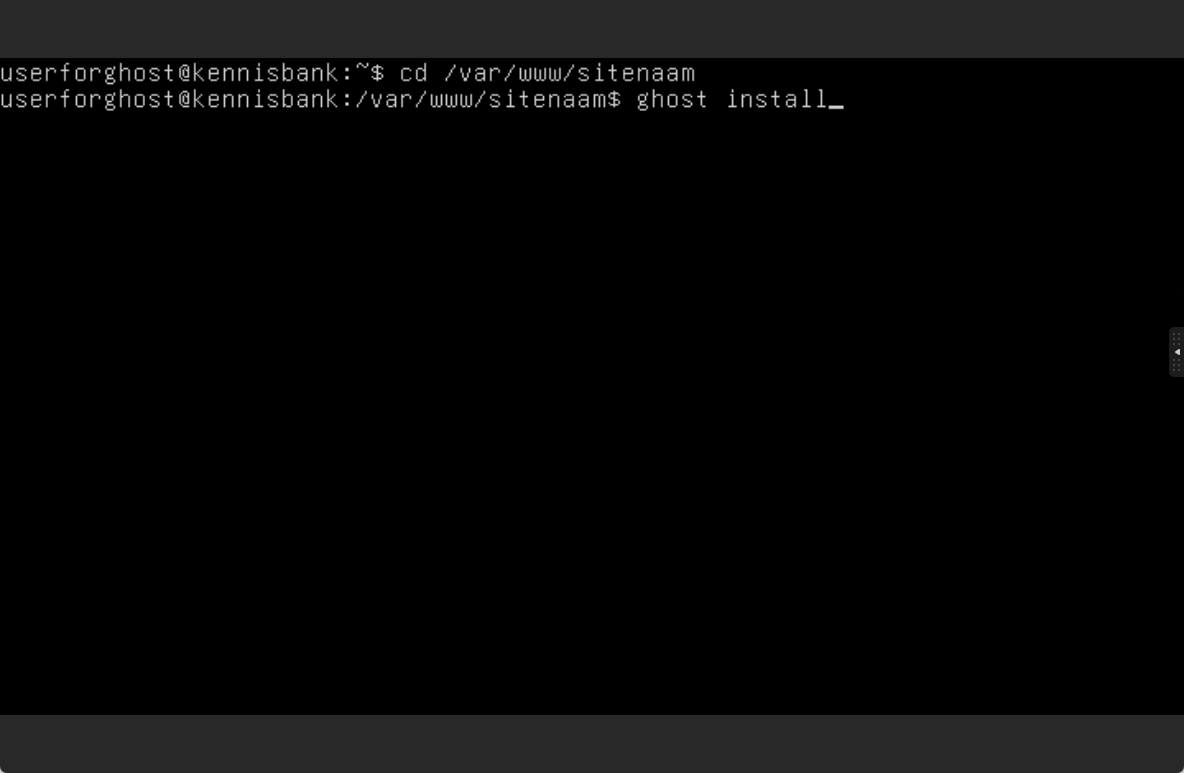
cd /var/www/sitename
15. Install Ghost:
For a live site, type: ghost install
For local testing, type: ghost install local
16. Follow the prompts and answer the questions. Once the process is complete, Ghost is installed!
