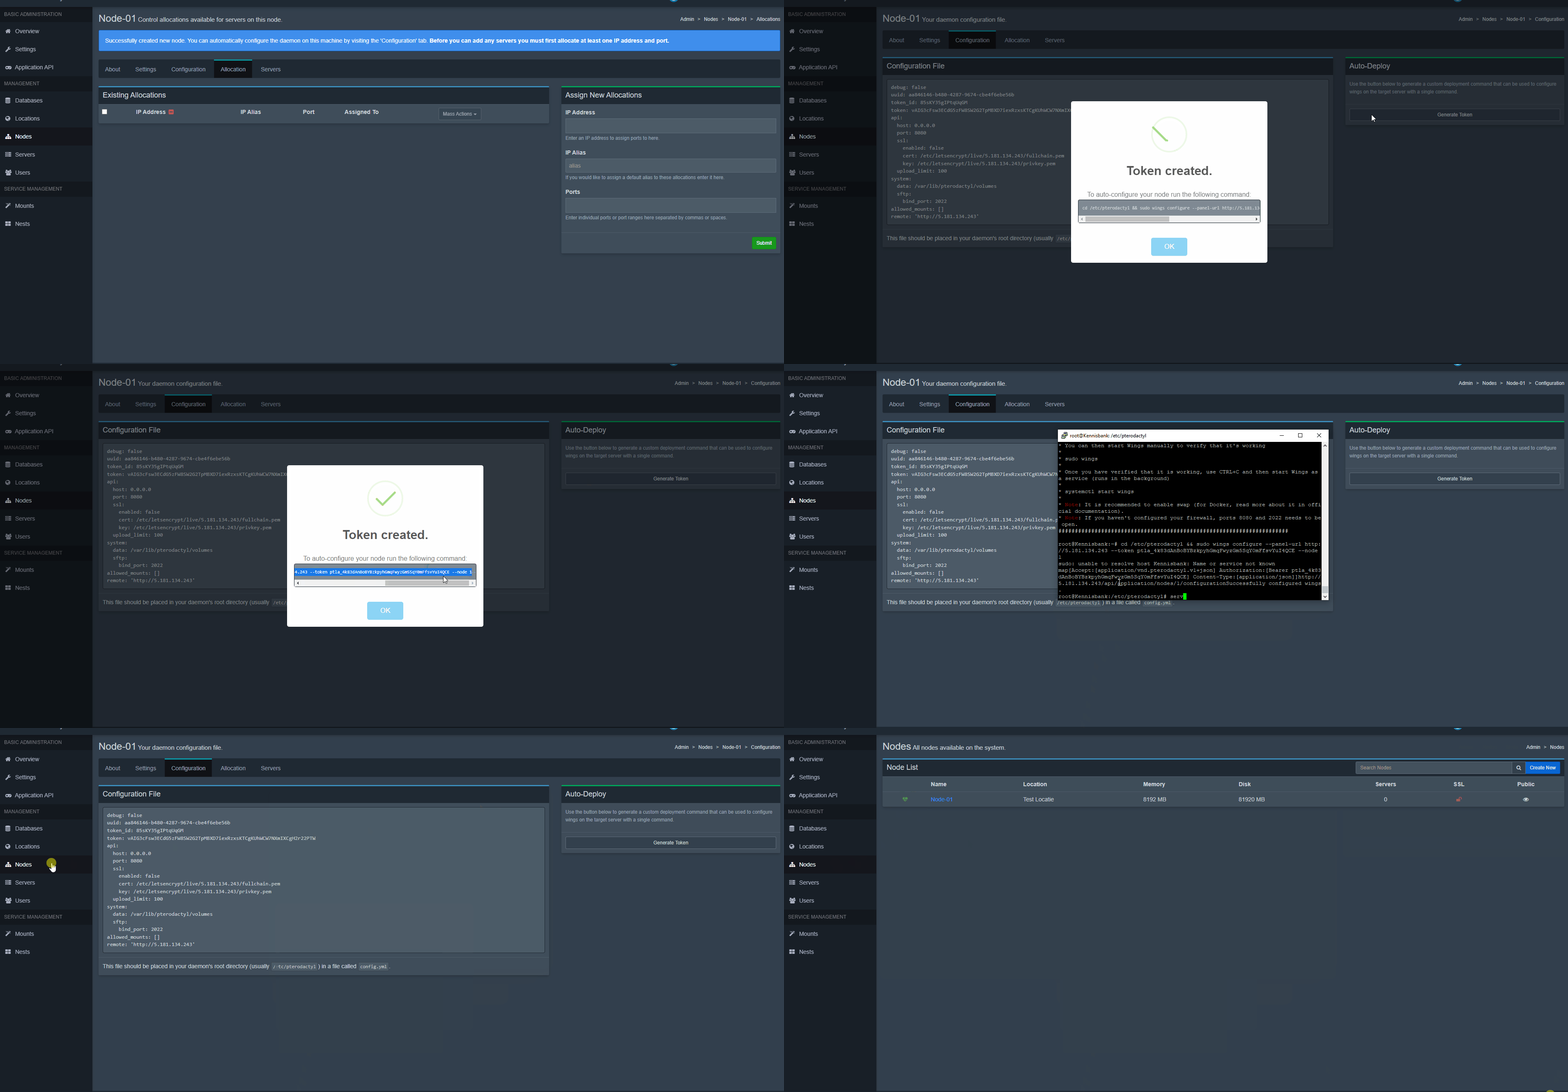
Here is a detailed guide on how to install the Pterodactyl panel on your VPS.
Connect via SSH
1. Ensure you have Ubuntu installed on your VPS.
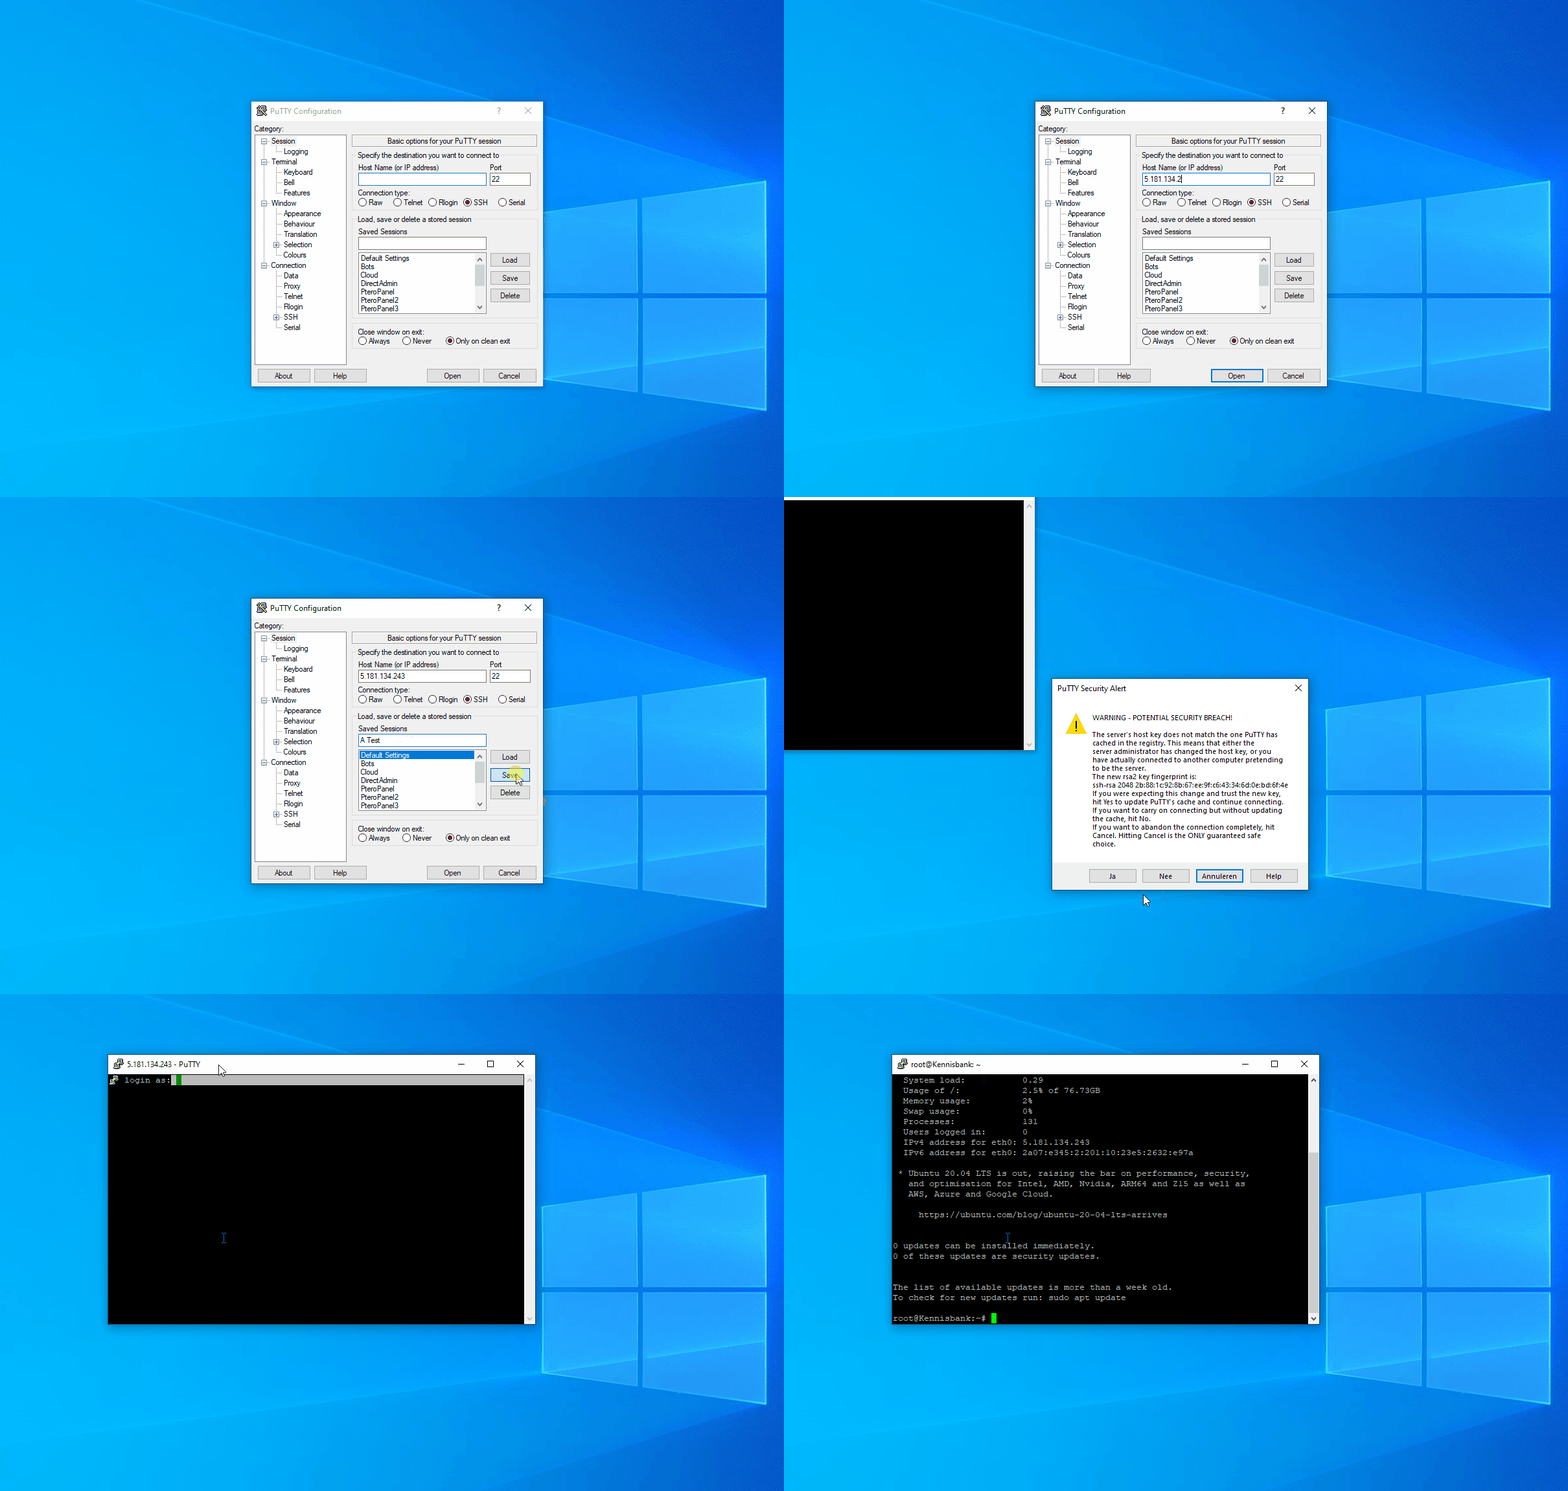
2. Connect to your VPS via SSH. You can easily do this using the program Putty.
Panel + Wings Installation
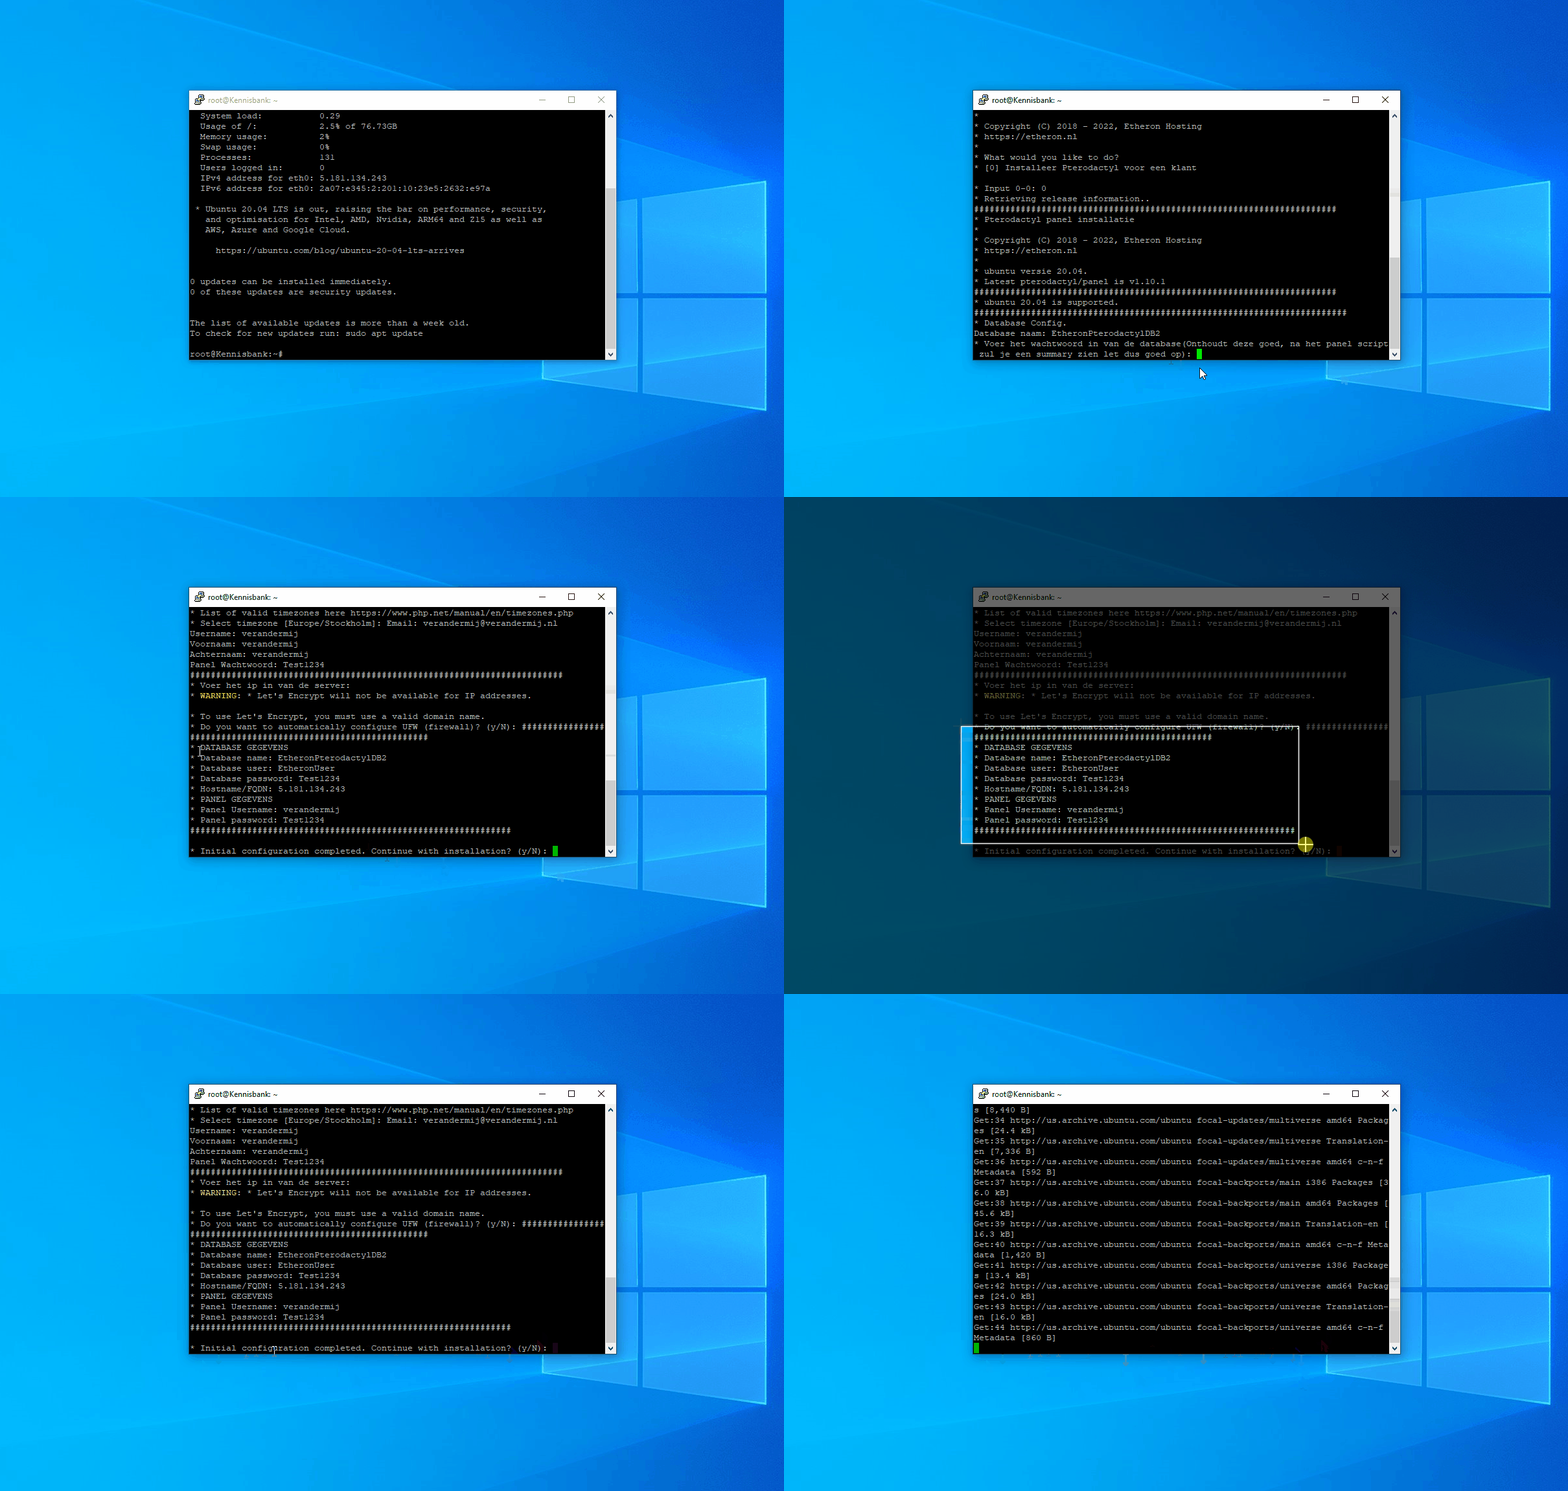
1. Use the Pterodactyl installation script we’ve created:
bash <(curl -s https://files.etheron.nl/Pterodactyl/install.sh)
2. Choose your password and press Enter.
After entering your password, the terminal will show an overview of all important information. We recommend you take a screenshot of this!
3. When prompted with "Continue with installation (Y/n)?", type y and press Enter.
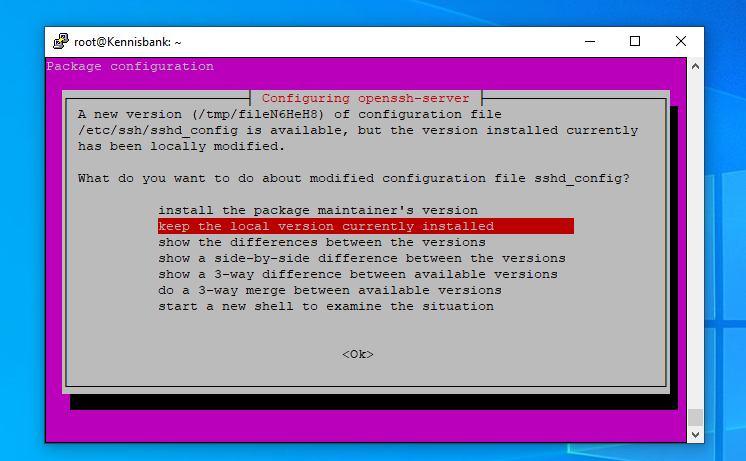
4. When you see Package Configuration, choose Keep the local version currently installed and press Enter.
5. Once the script is complete, you can enter your VPS IP address in your browser to access the panel.
Default Username: verandermij
Password: The password you entered during installation.
Database Configuration
1. Go to the Admin panel and navigate to Databases.
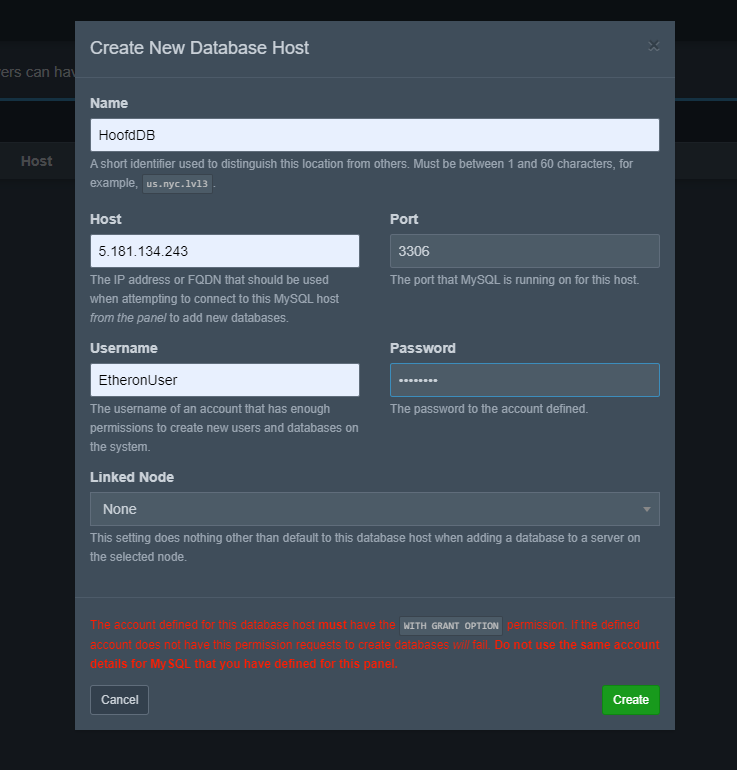
2. Click Create New.
Host: The IP address of your VPS.
Default Username: EtheronUser
Password: The password you entered during the installation.
3. Click on Create
Node Configuration
1. Go to the Admin panel and navigate to Locations.
2. Click Create New.
3. Choose a name for your location (e.g., Test Location).
4. Click Create.

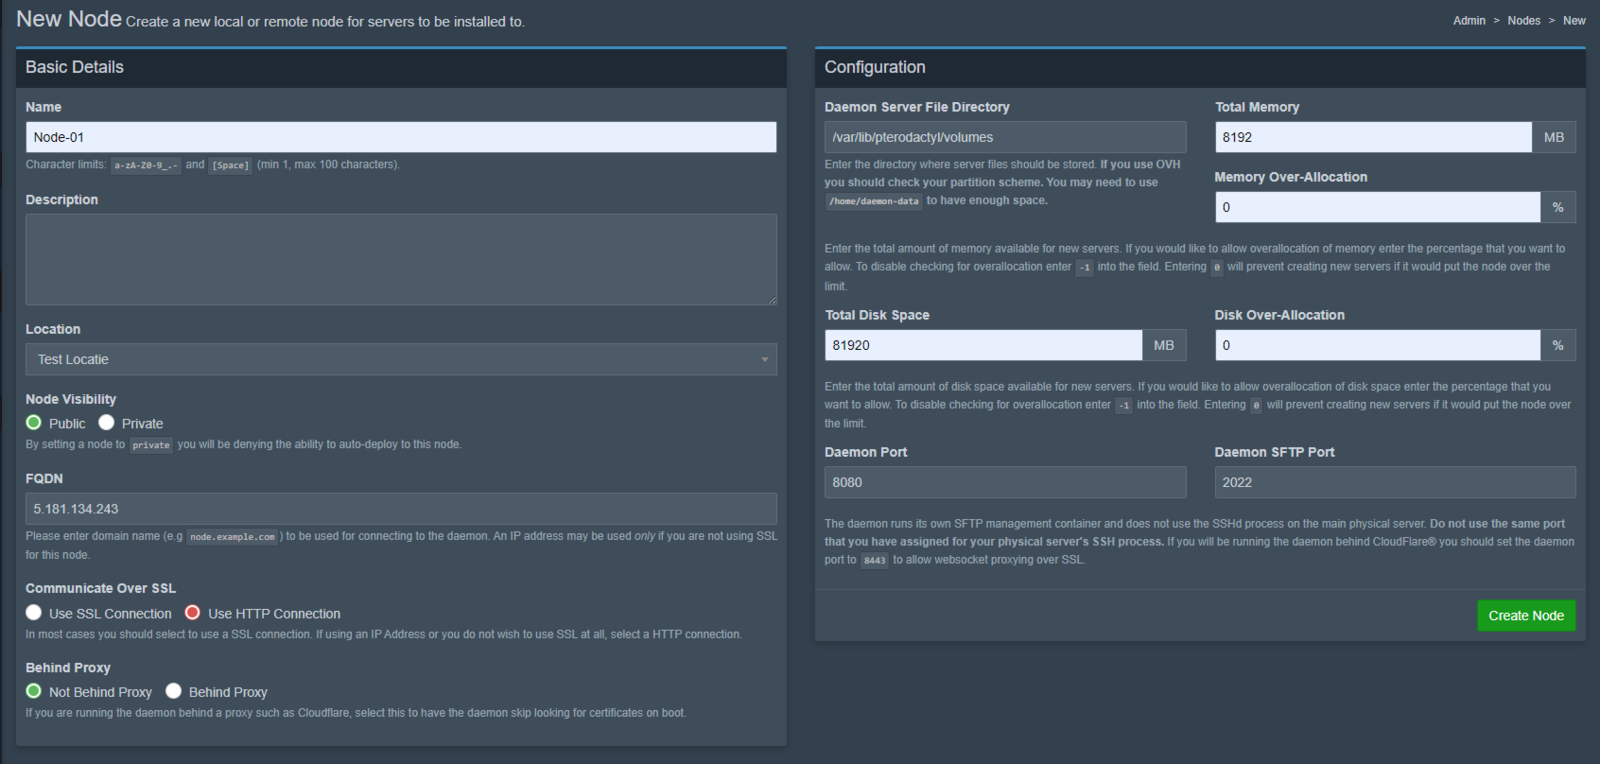
5. Then navigate to Nodes.
6. Click Create New.
7. Check how much storage and RAM your VPS has and enter these values (example below).
8. Click Create Node.
9. Click on Configuration and auto-deploy the node using SSH
10. Enter the following command: service wings start.
