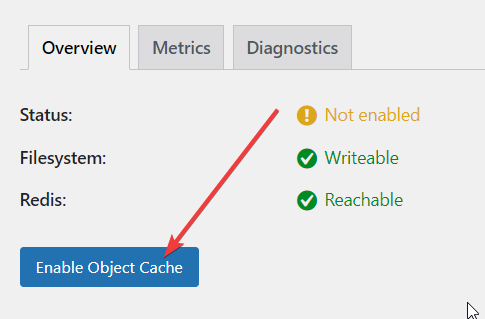
Here’s how to enable Redis cache
1. Go to the website and log in to the WordPress admin panel.
2. Navigate to Plugins and click on Add New.
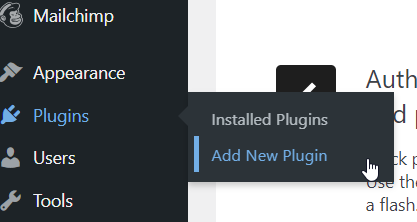
3. Search for Redis Object Cache, install the plugin, and once it’s done, click Activate.

4. Go to your website's DirectAdmin panel by addomg :2222 at the end of your URL (e.g., yourwebsite.com:2222).
5. Go to Advanced Features > Redis.

6. Enable Redis and save the Path to Redis socket file for later.

7. Return to the main dashboard and navigate to System Info & Files > File Manager.

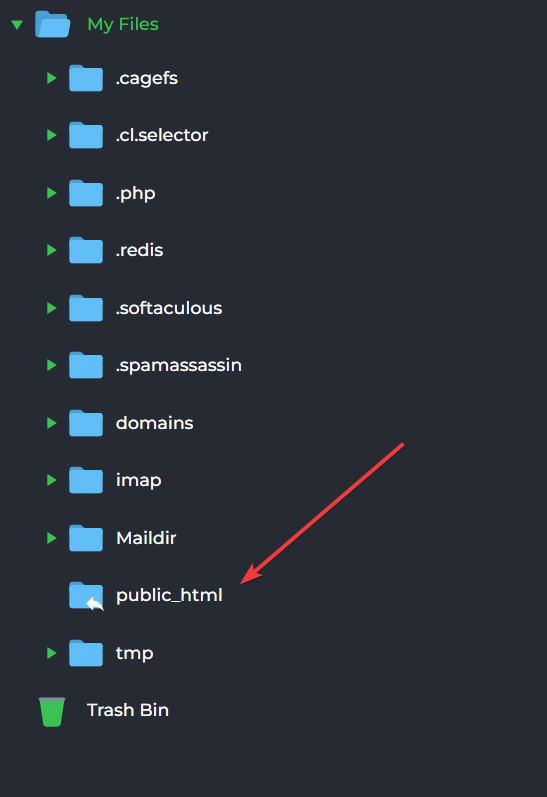
8. Open the public_html folder by double-clicking.
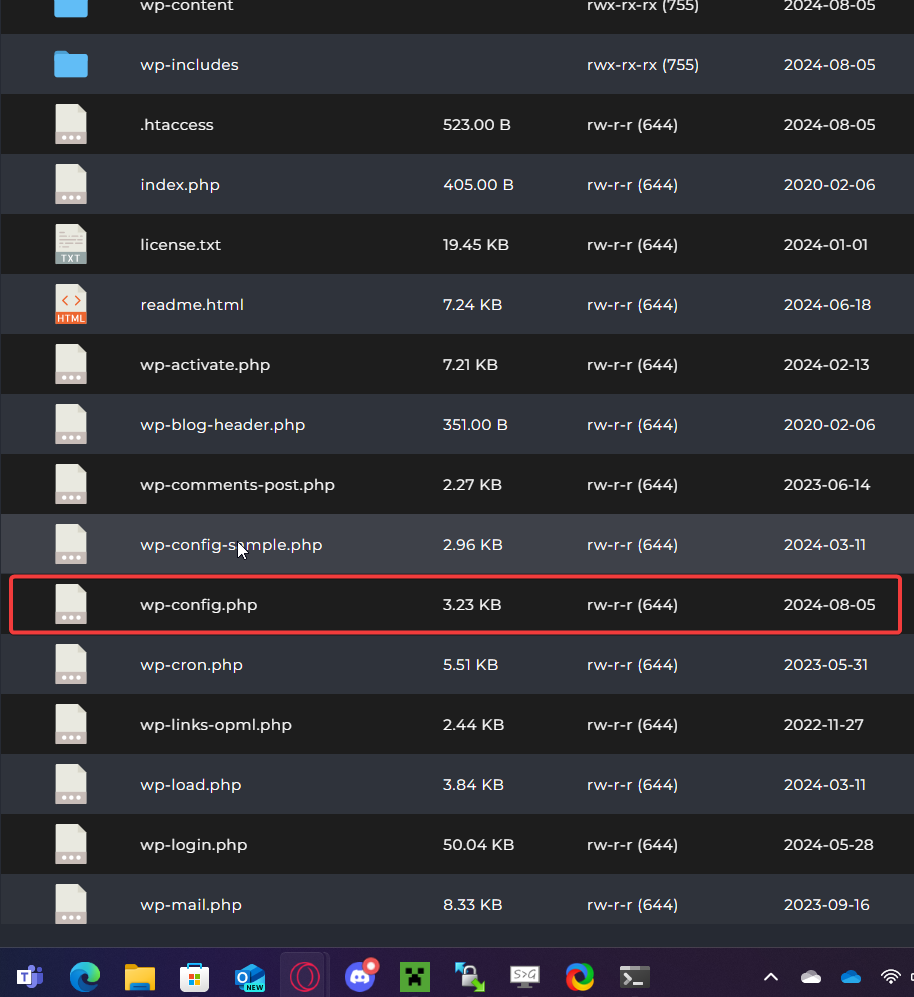
9. Open the wp-config.php file.
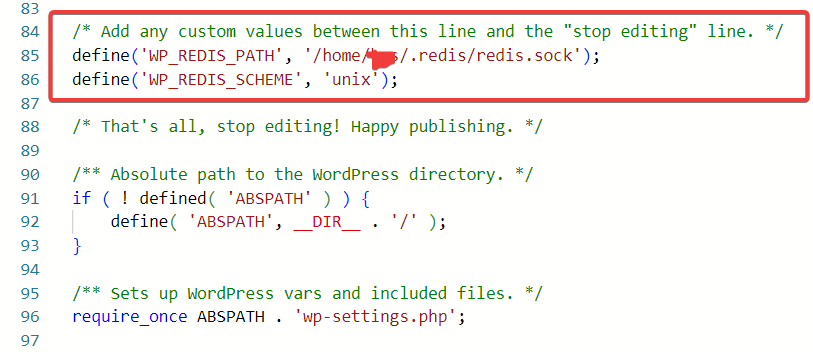
10. Scroll down until you see "/* That's all, stop editing! Happy publishing. */".
11. Add the following code right above that line:
define('WP_REDIS_PATH', '**');
define('WP_REDIS_SCHEME', 'unix');
12. Replace the ** with the Redis socket path you saved in step 6.
13. Go back to the WordPress dashboard. Navigate to Plugins > Installed Plugins. Under Redis Object Cache, click Settings.

14. Click Enable Object Cache.
