We’ll explain how to set up Velocity on your Minecraft server here!
1. Log in to the game panel and navigate to the desired Bungee server.
2. Click on More.
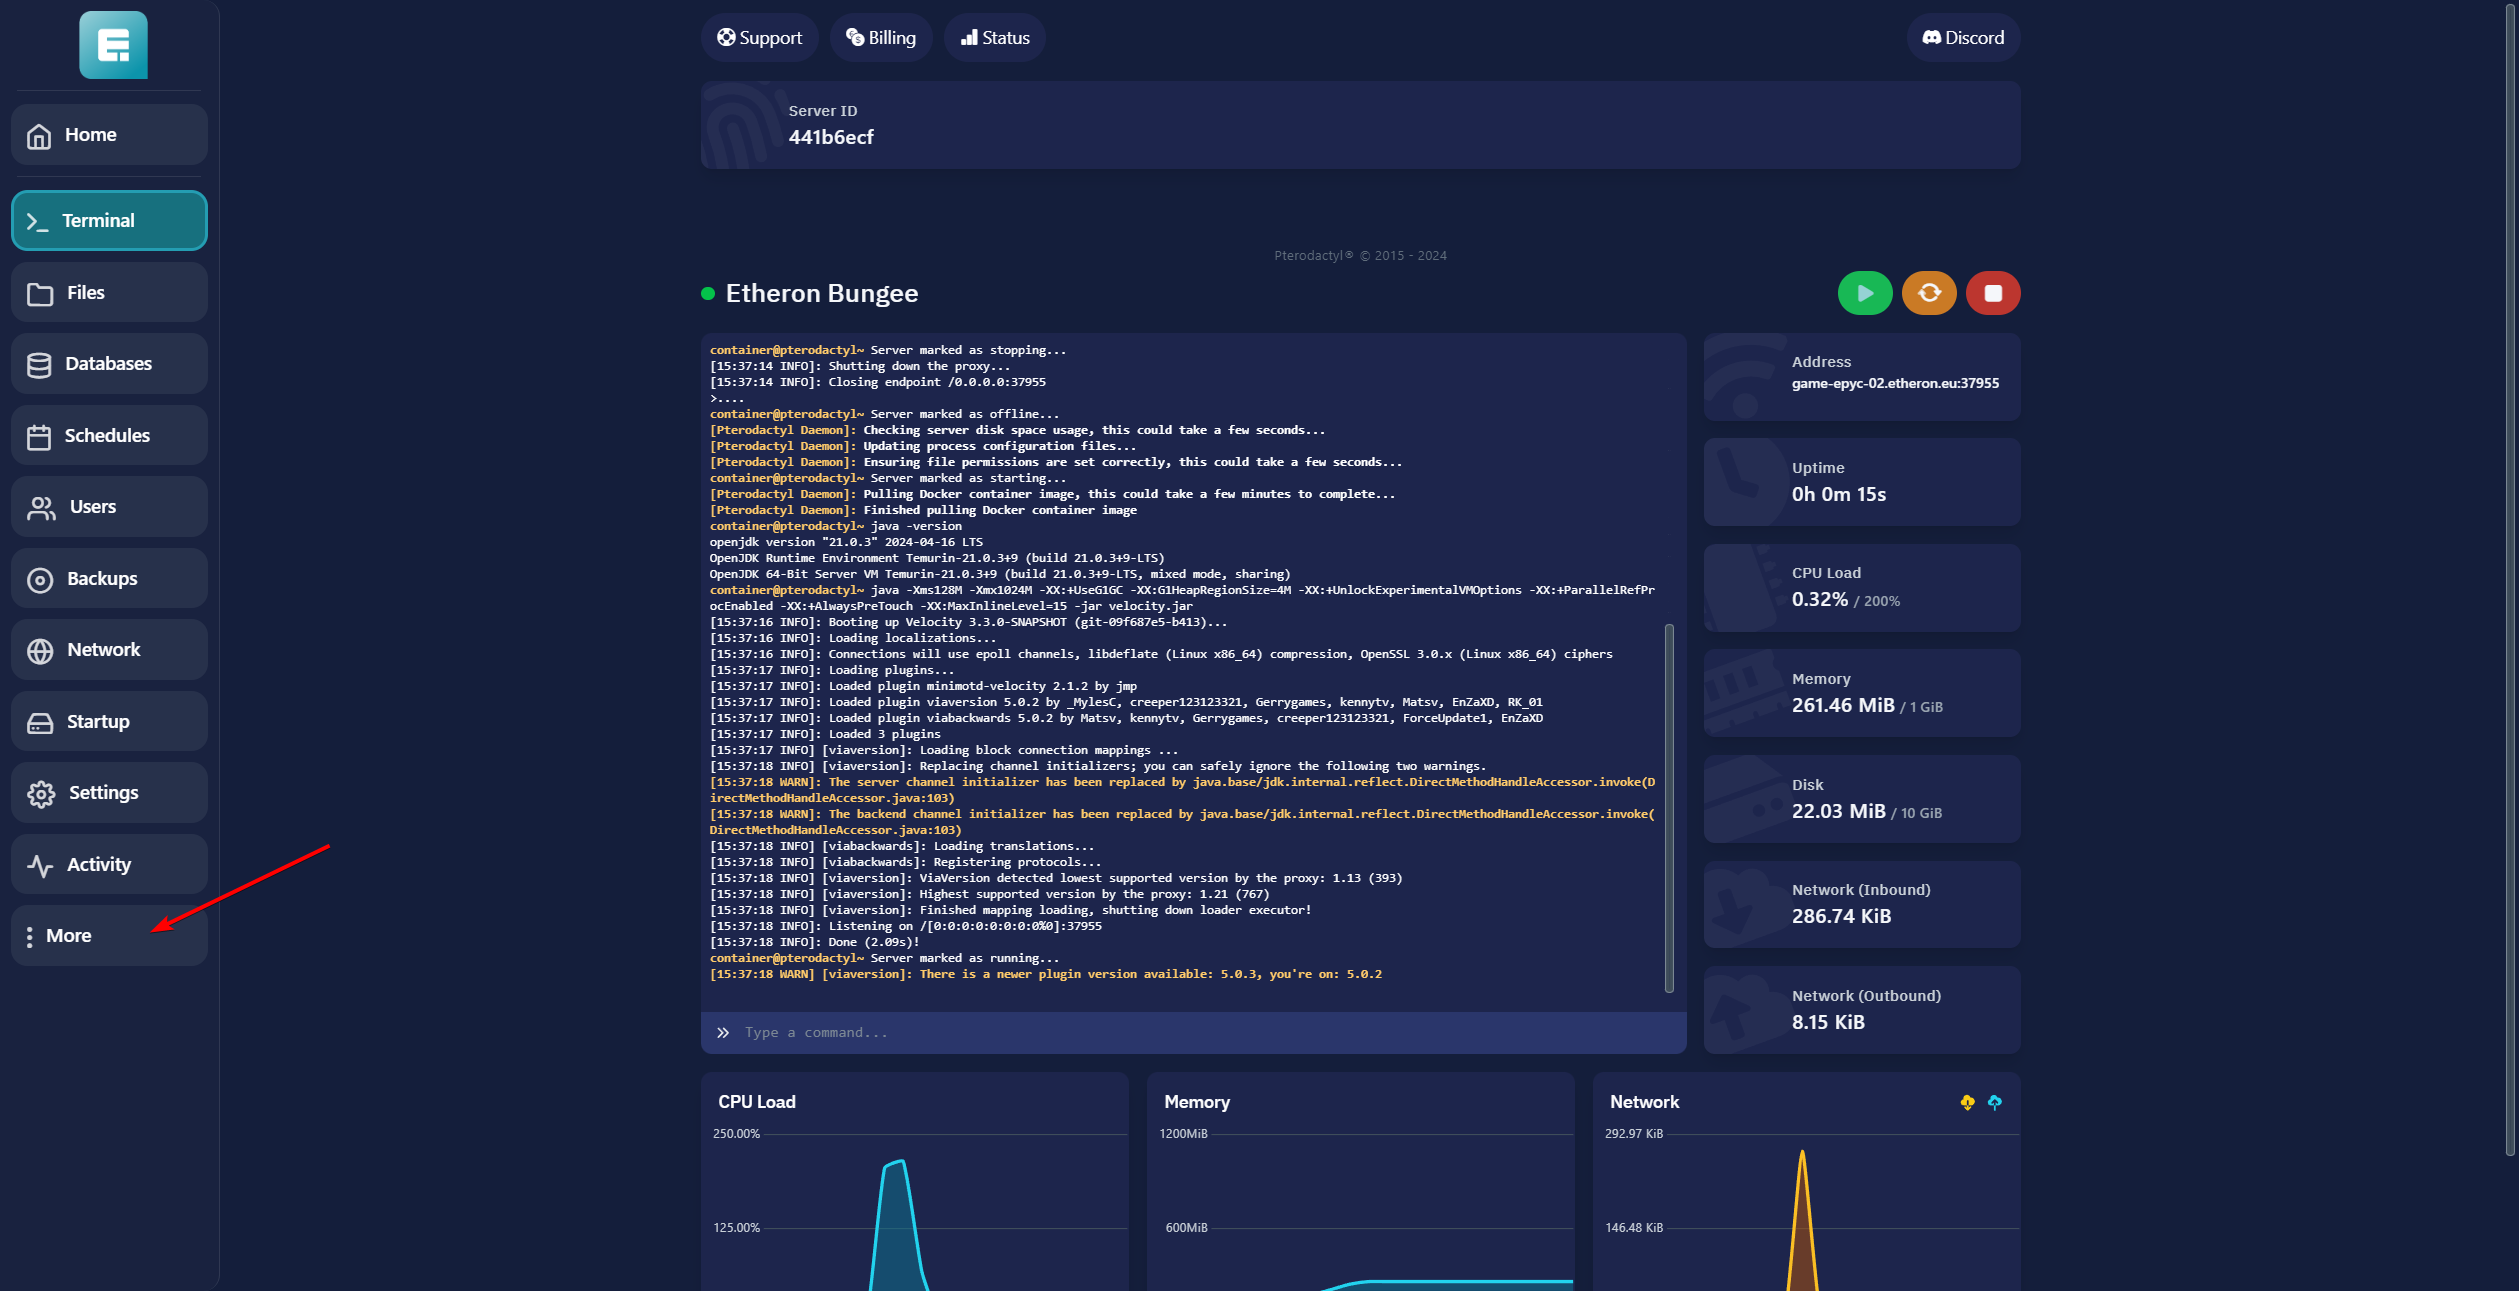
3. Click on Version Changer.
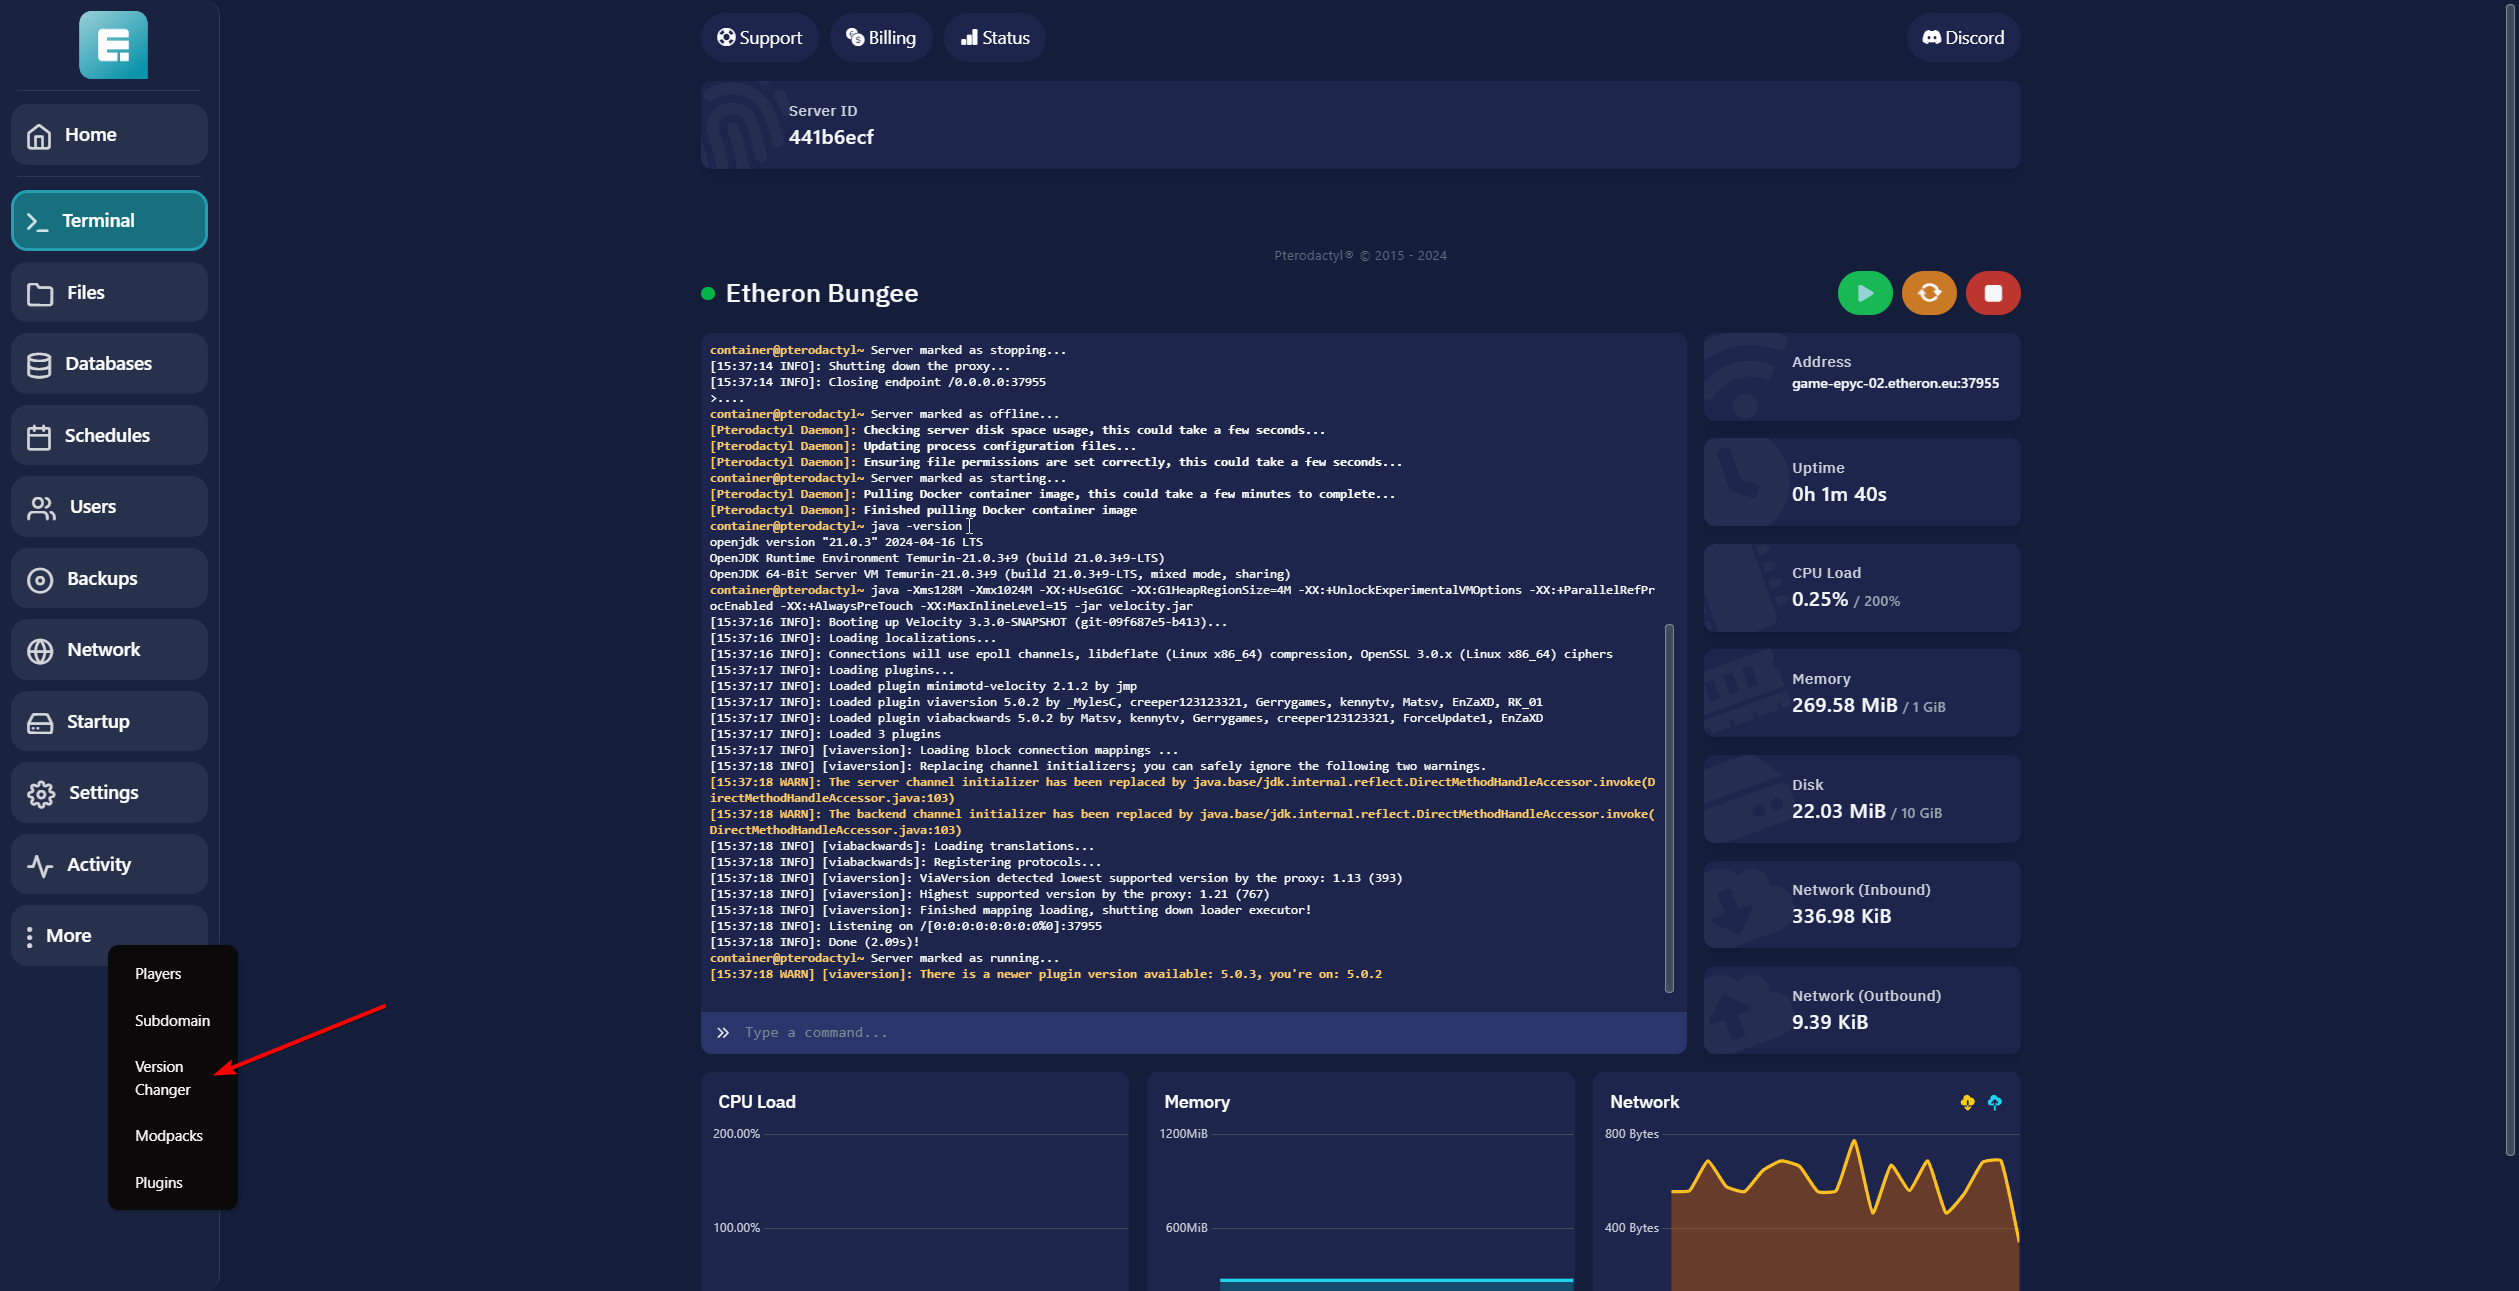
4. Click View next to Velocity.
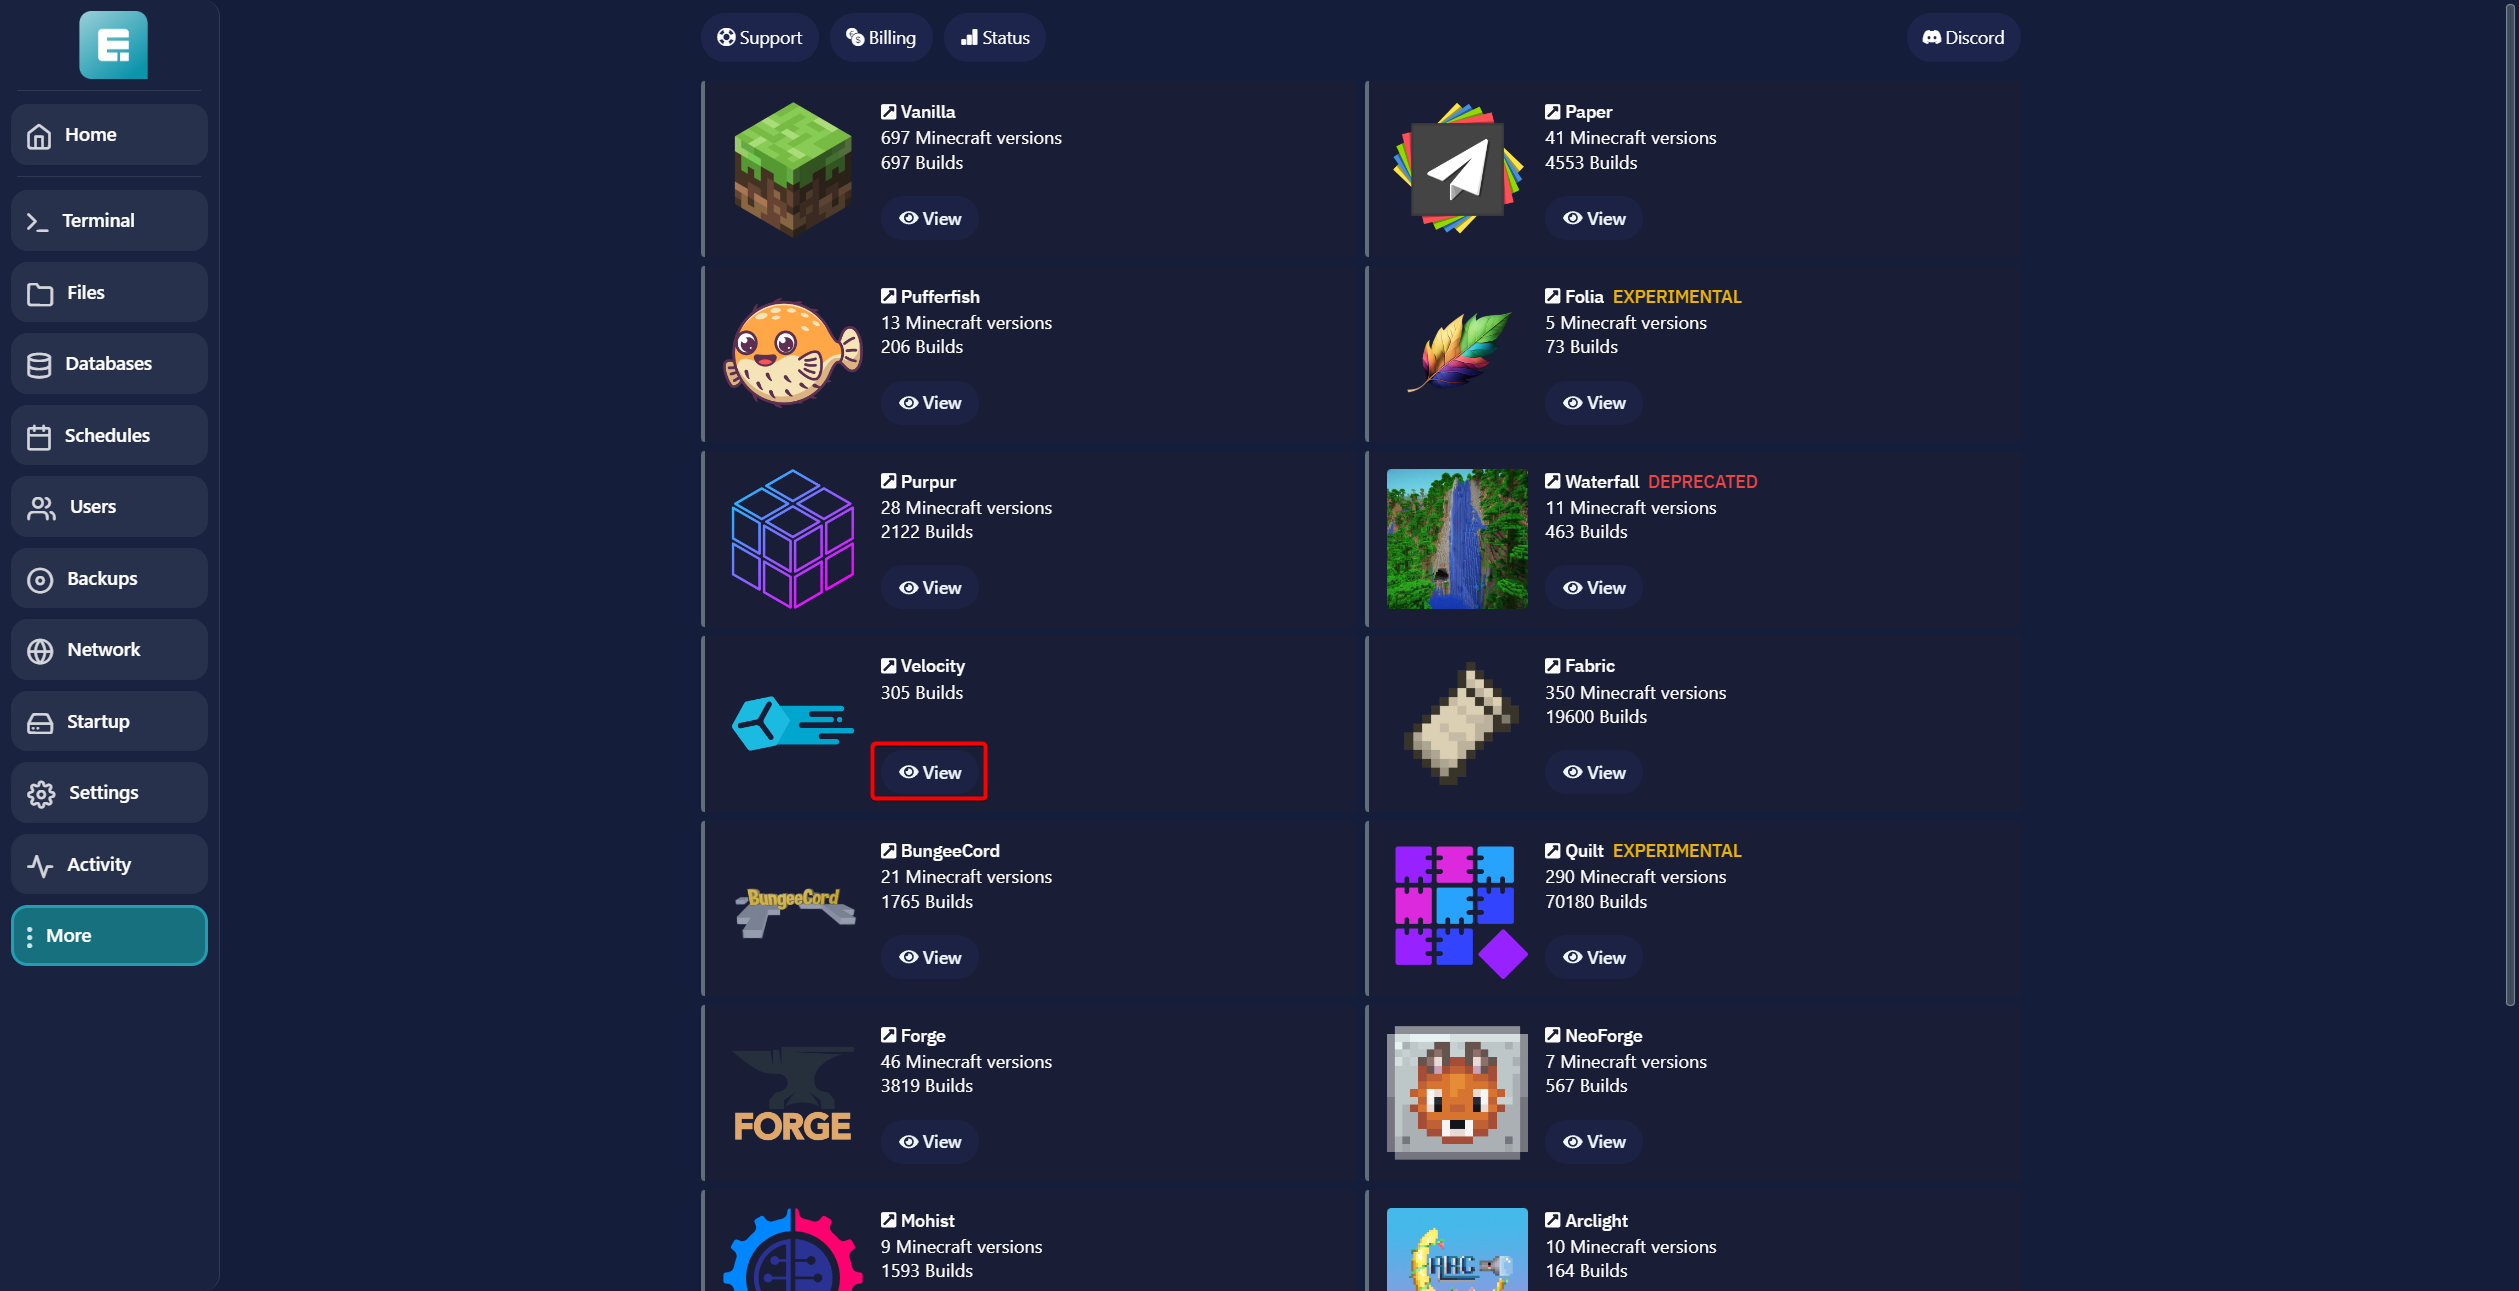
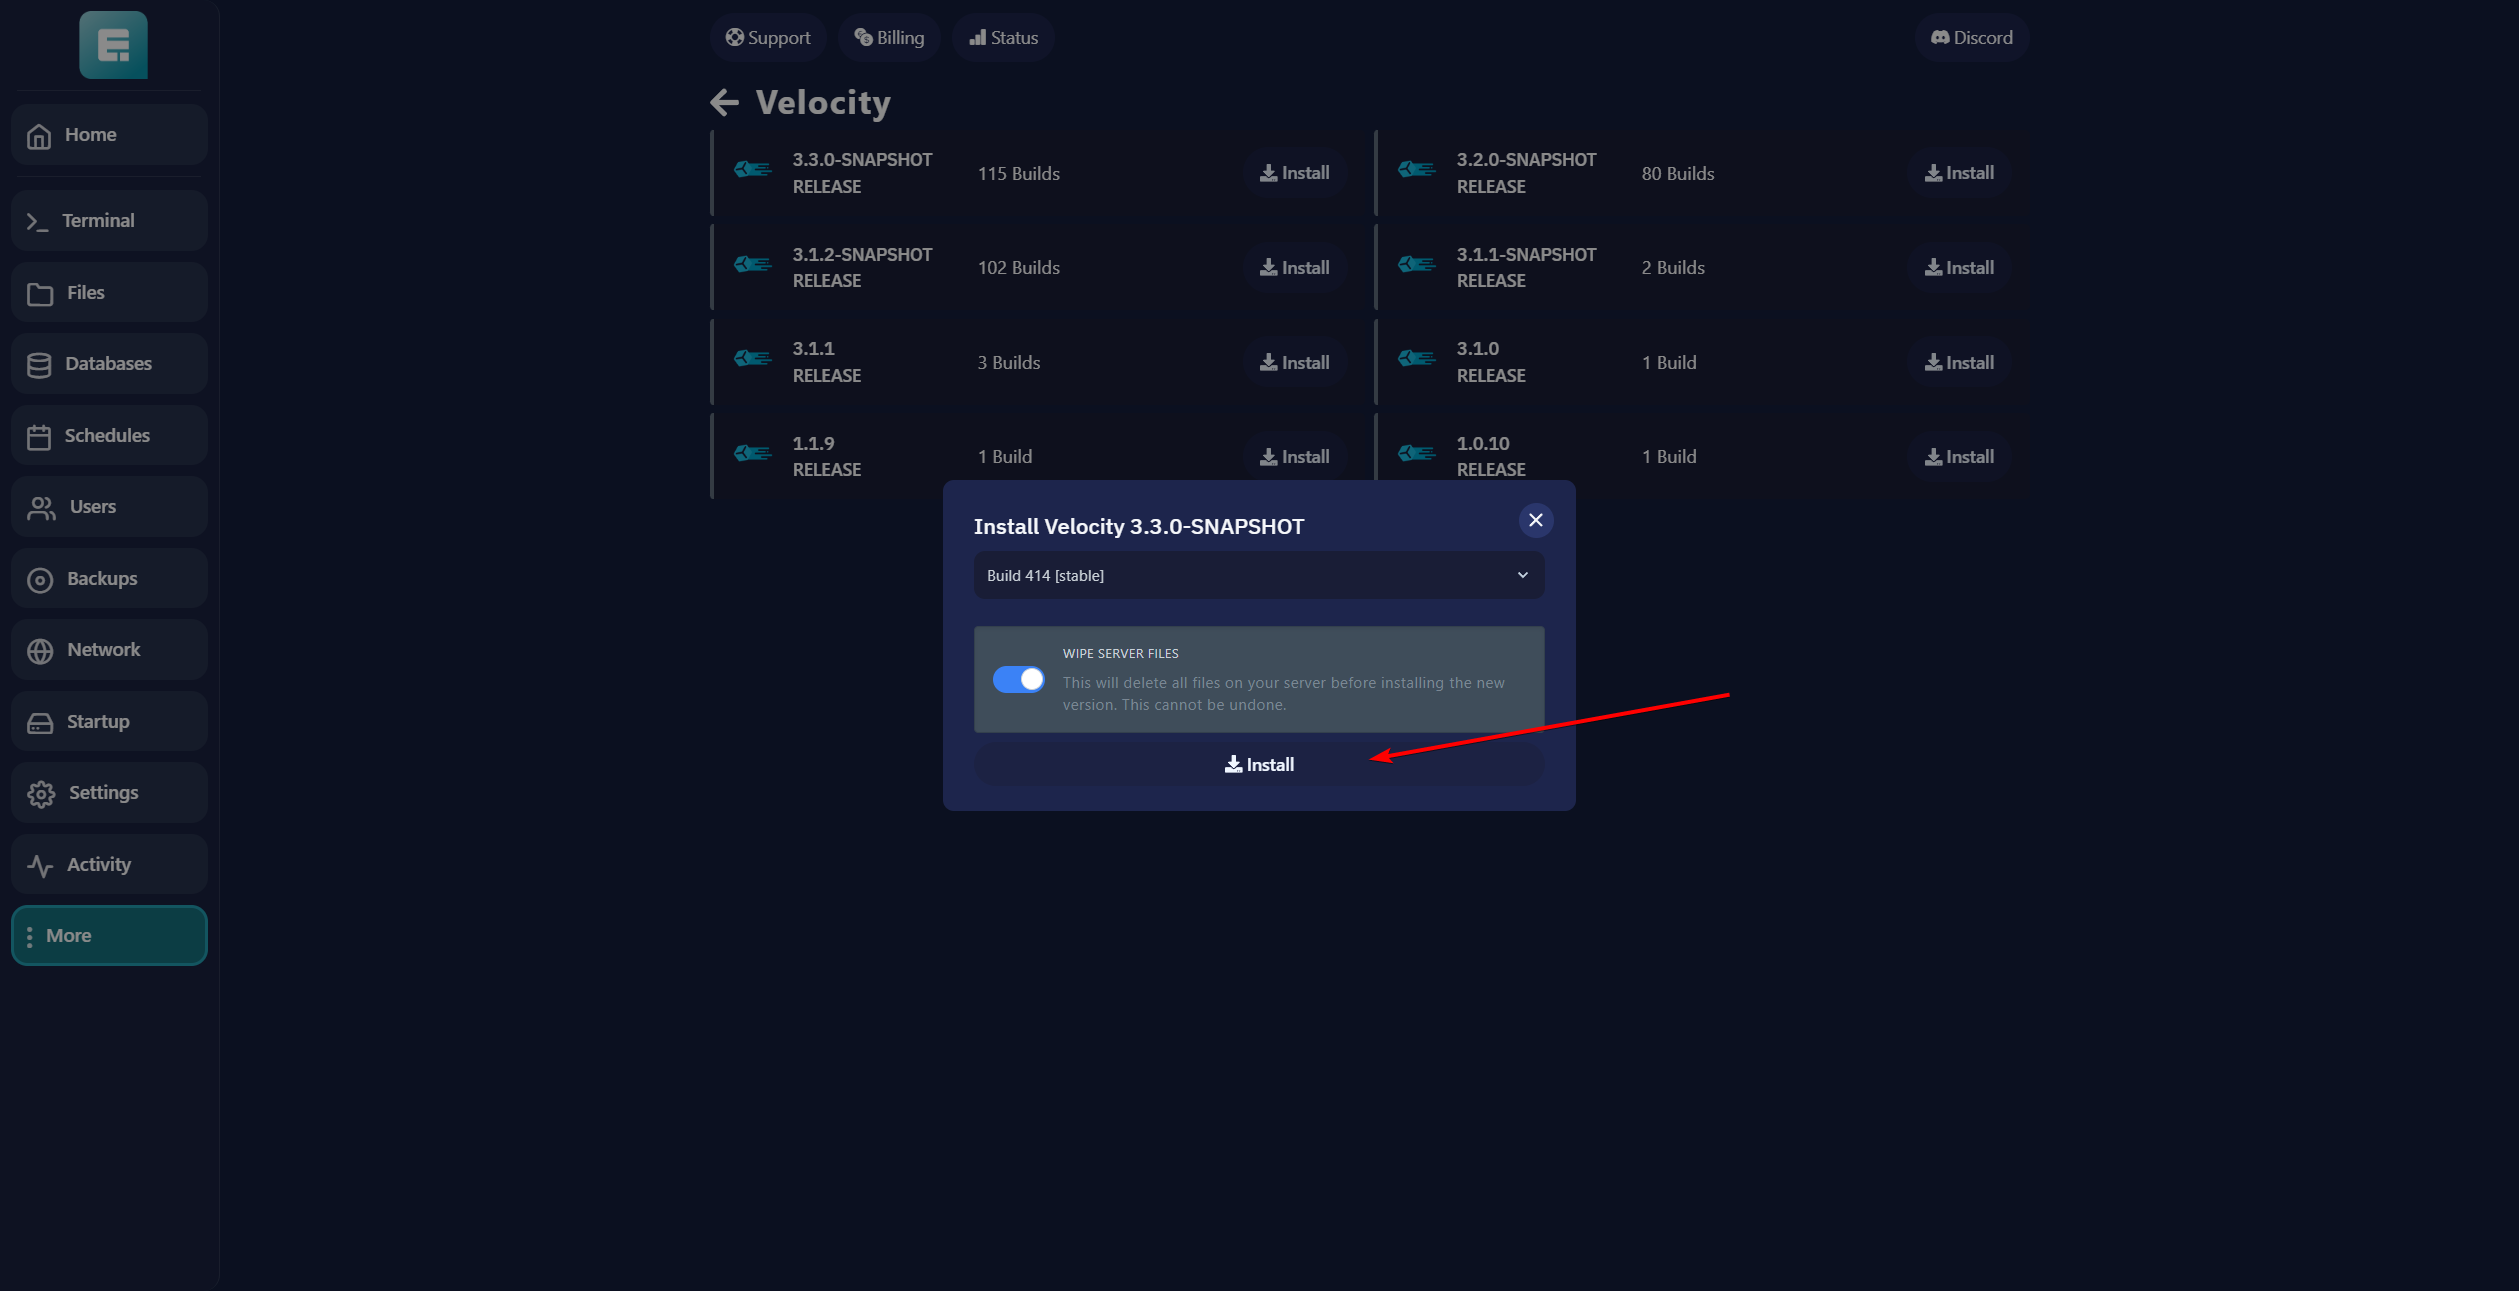
5. Click Install for the latest version (located in the top-left corner).
6. If you want to start fresh, click WIPE SERVER FILES. Make sure the server is turned off if you want to keep any plugins.
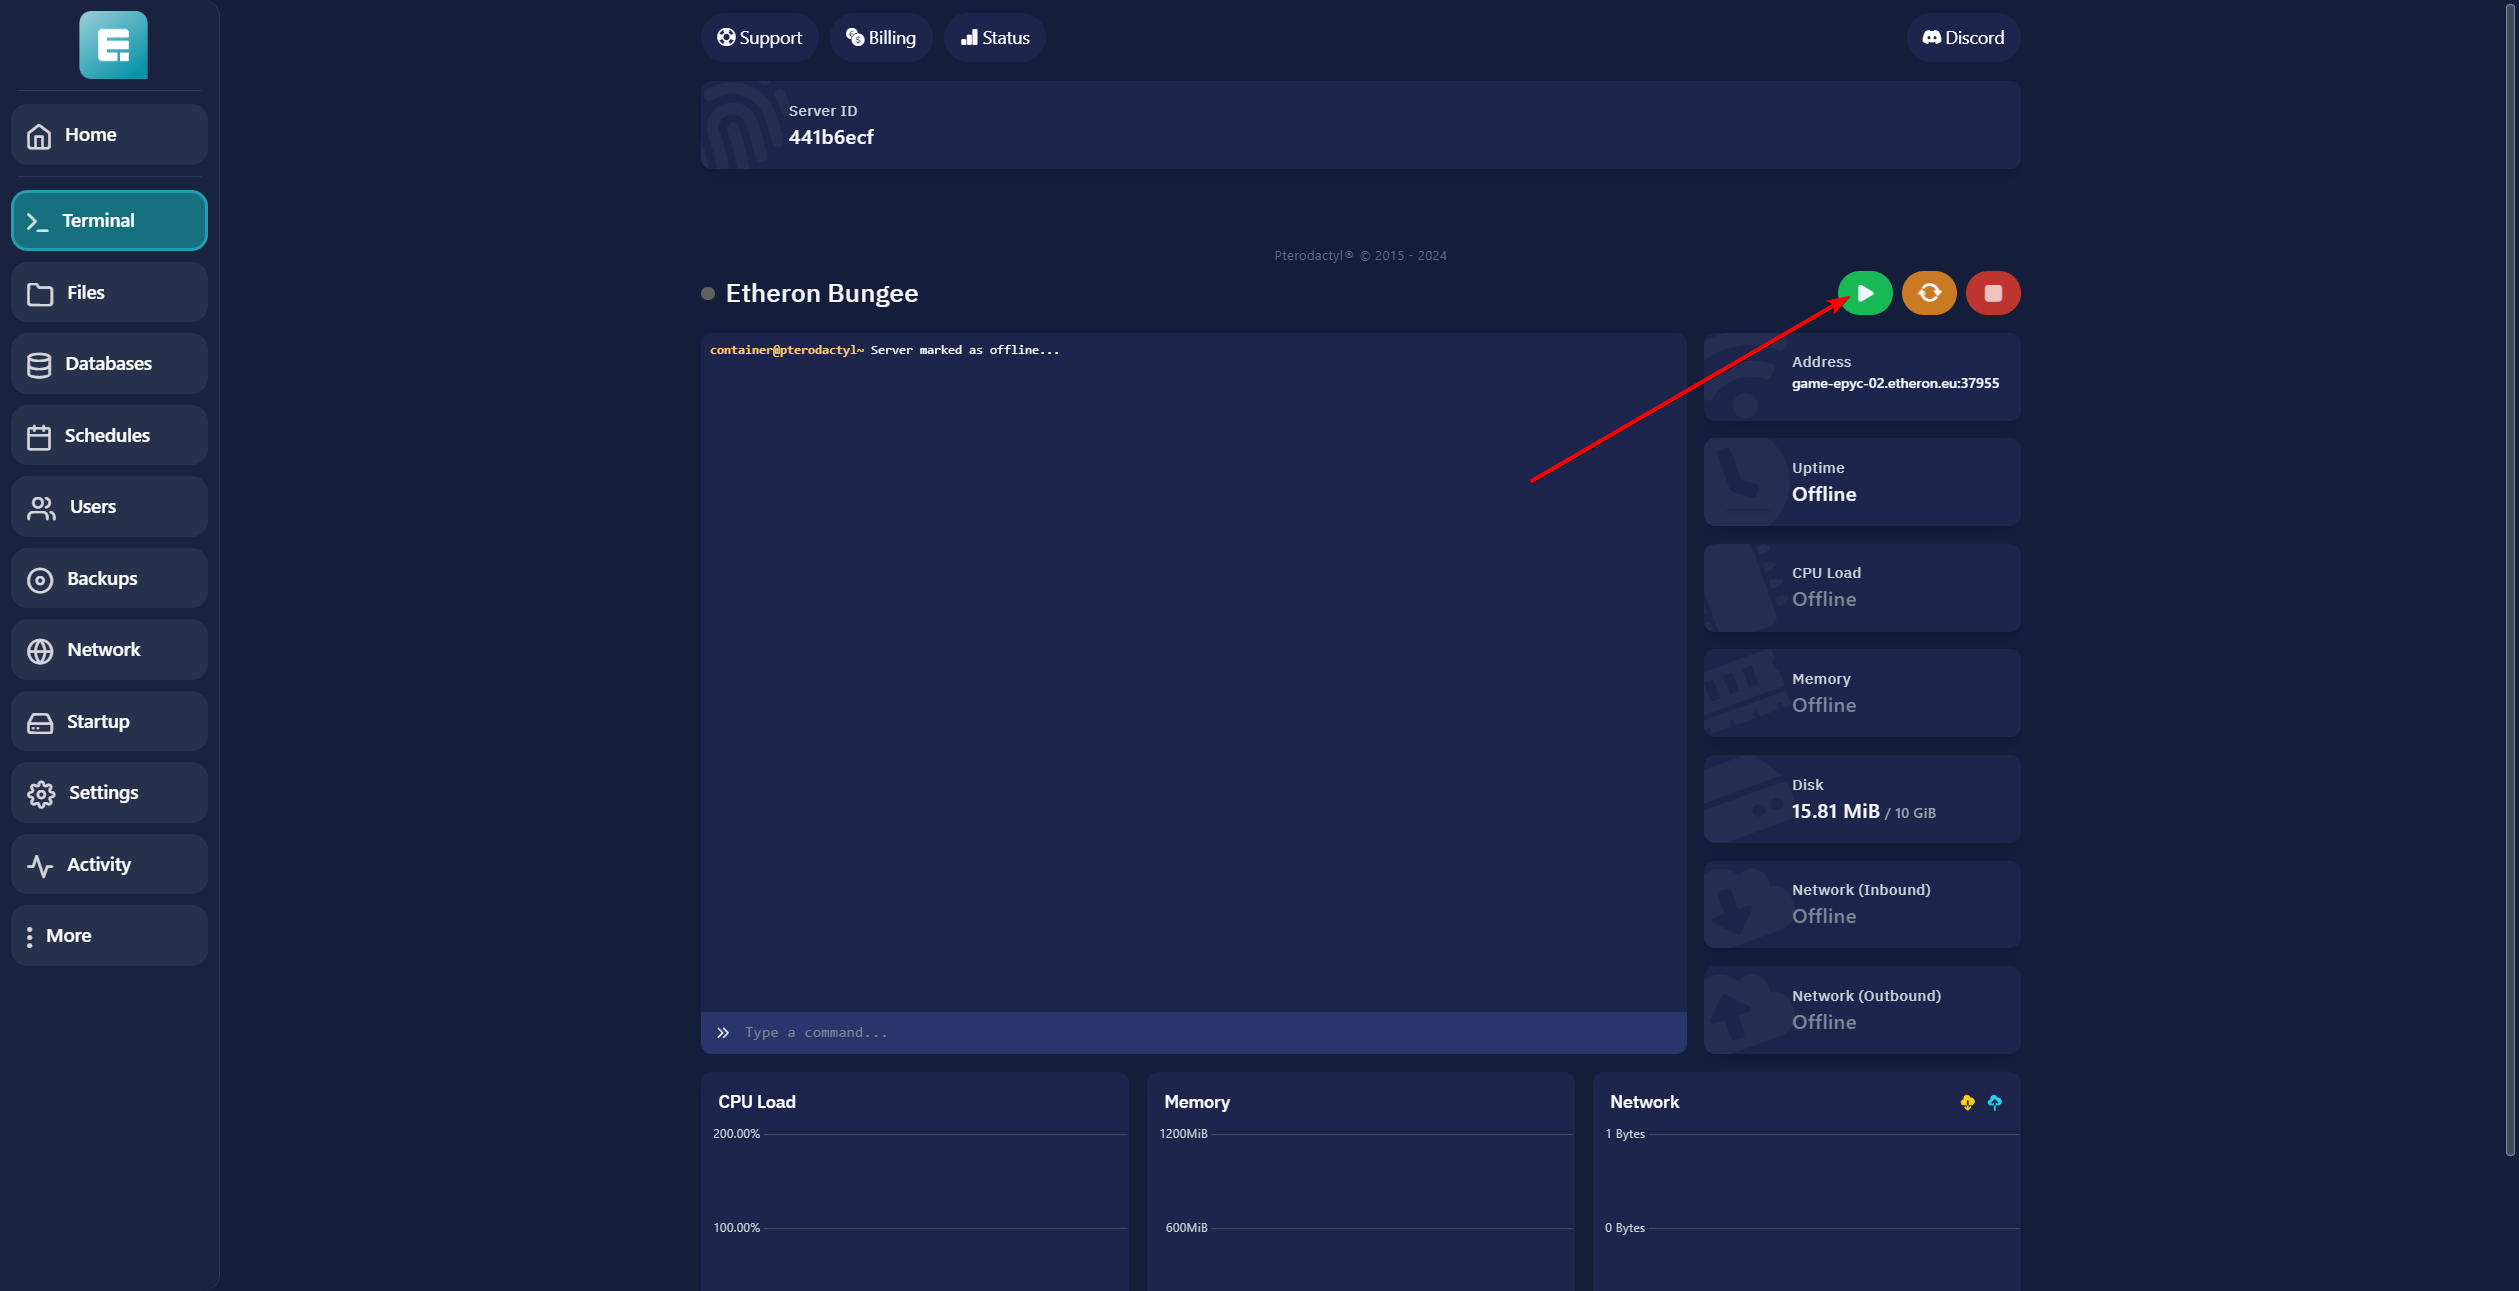
7. Go to the Terminal on the left side of the screen and start the server.
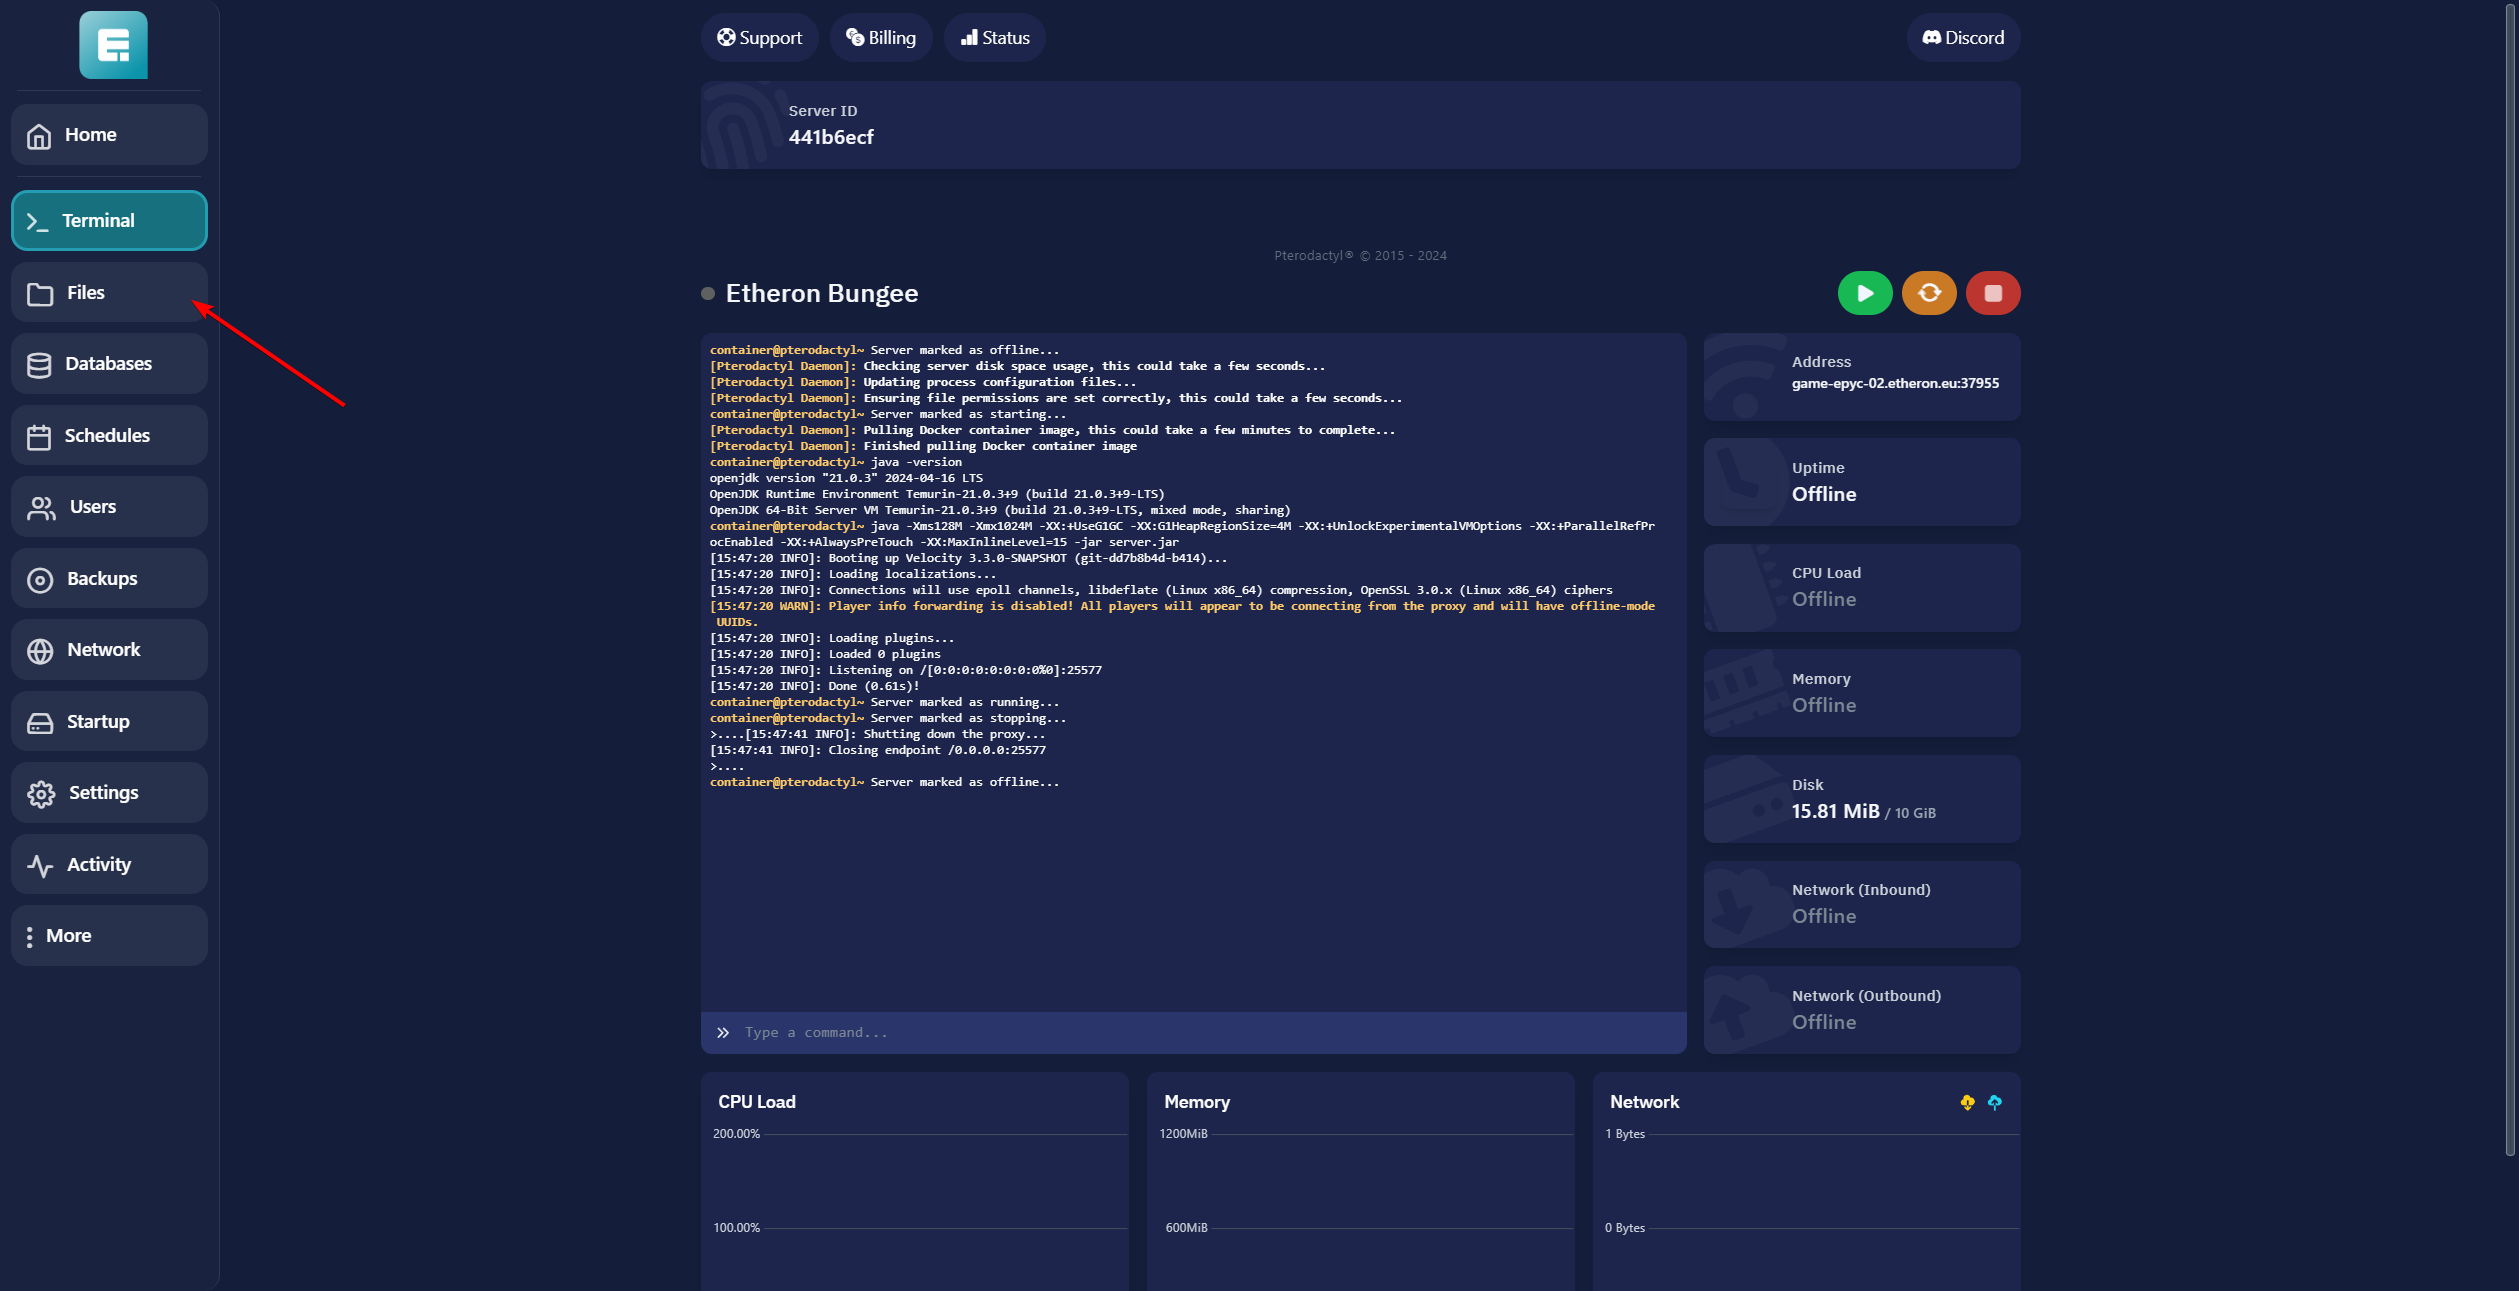
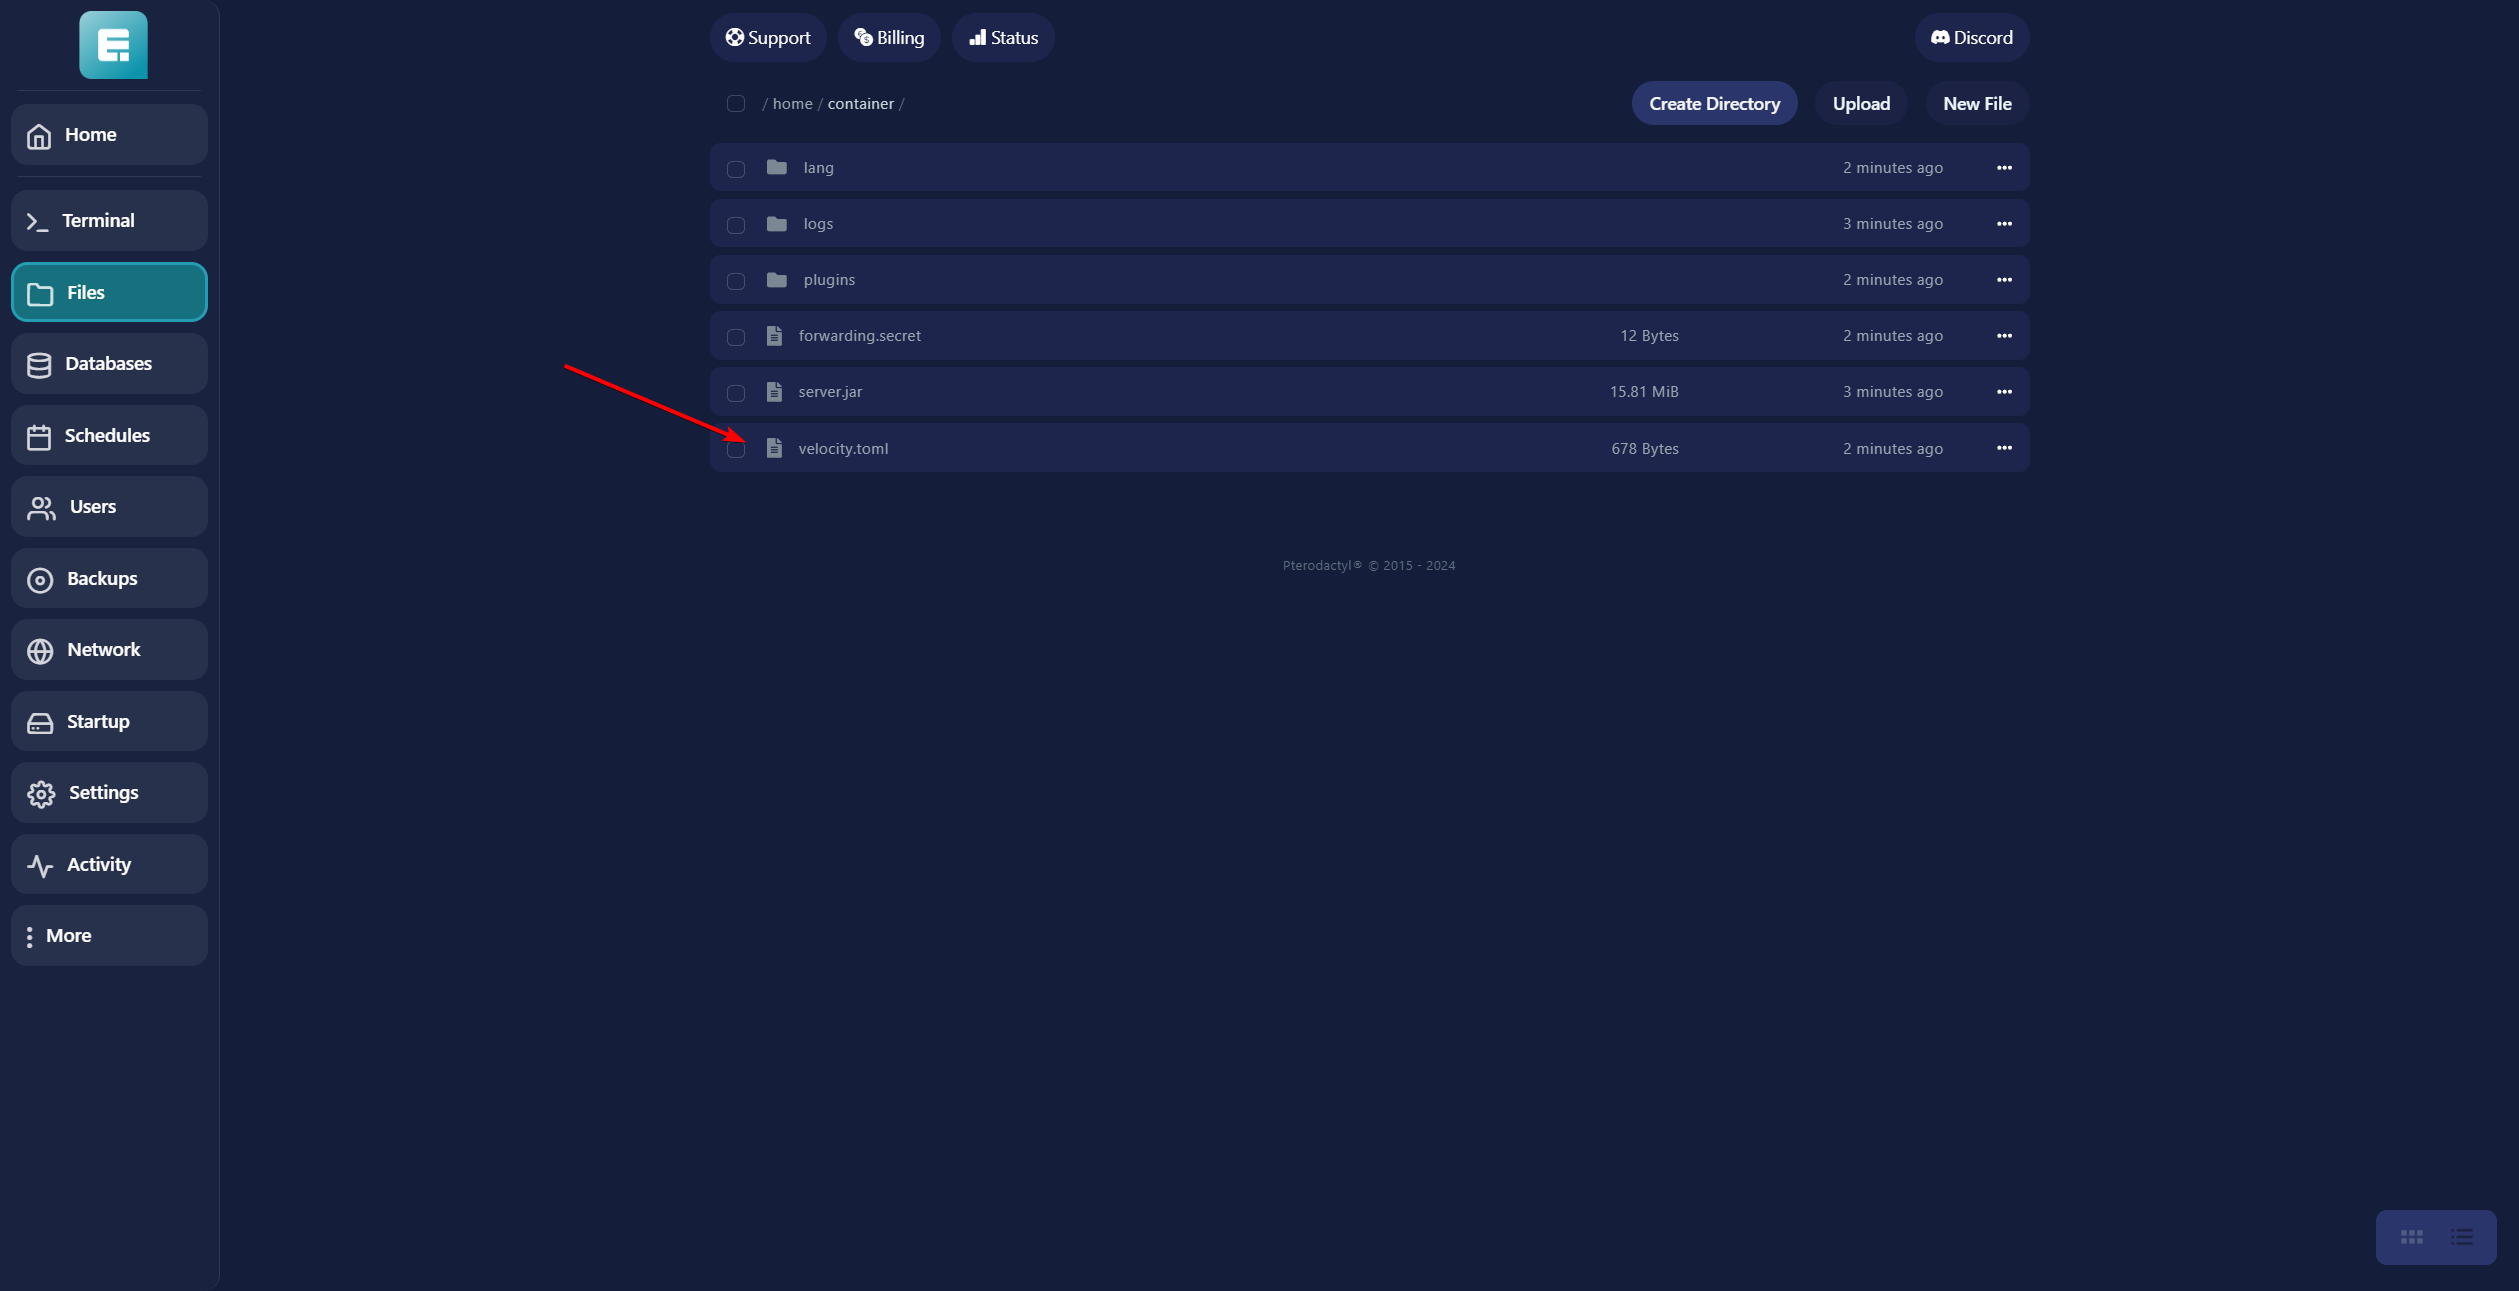
8. Once the server has finished loading, turn it off again and go to Files on the left.
9. Open the file forwarding.secret under Files.
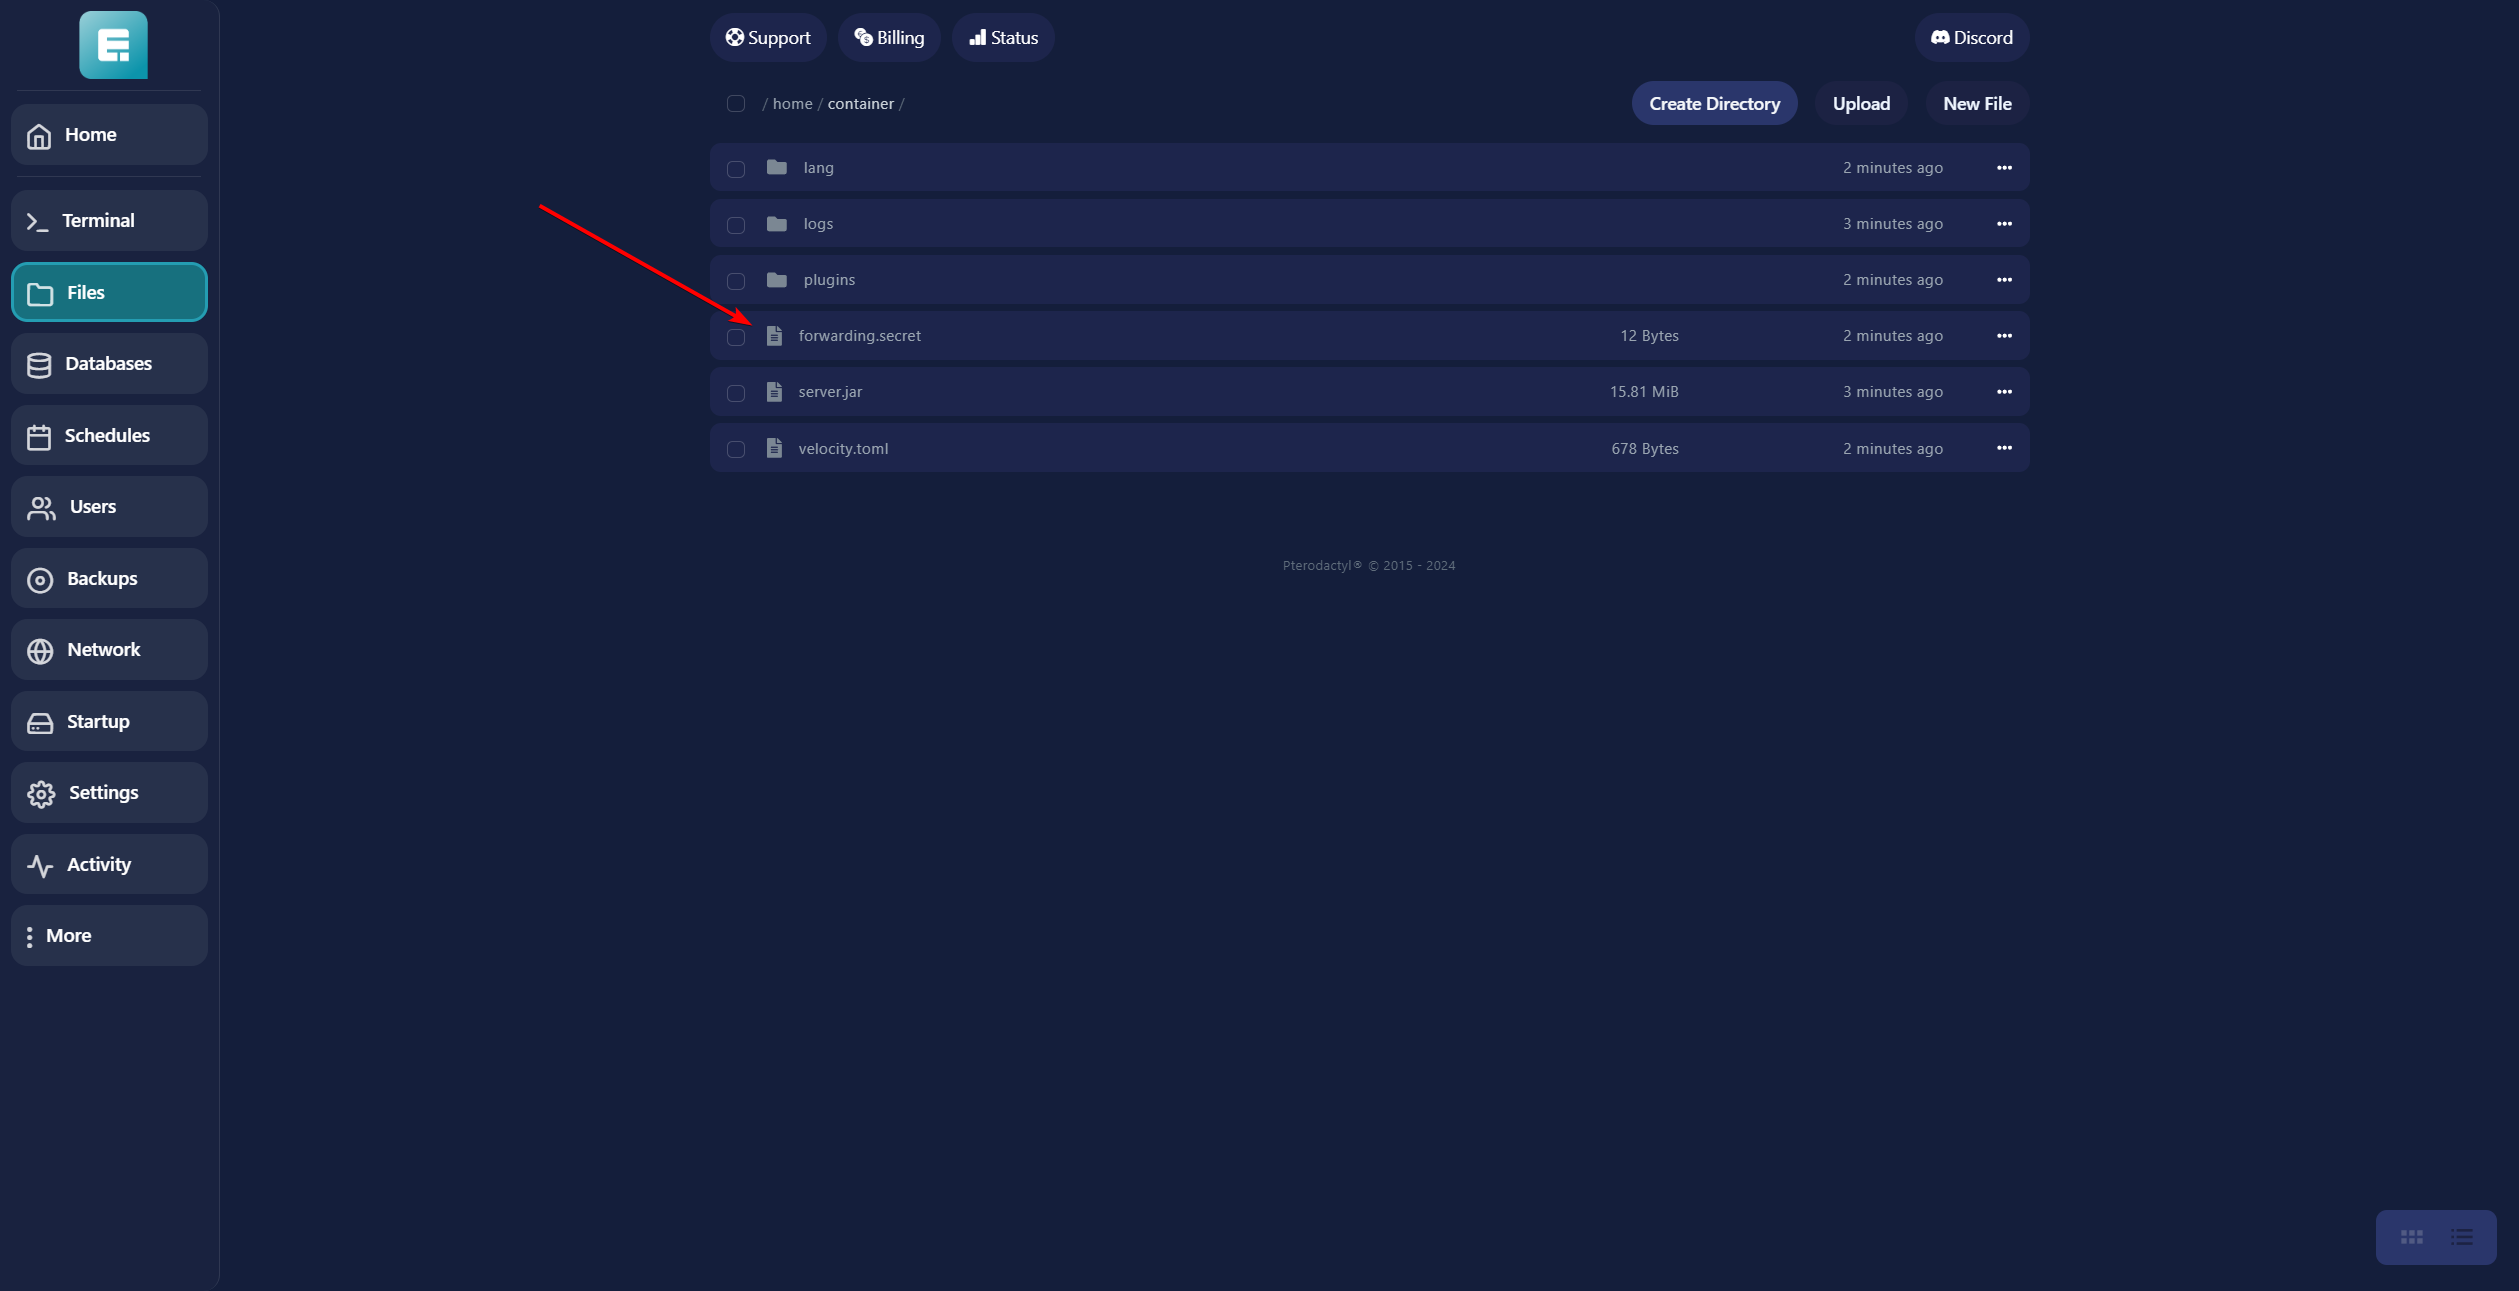
10. save the text for later use.
11. Go back to Files and open the velocity.toml file.
12. Scroll down to "[servers]" and replace the Address after "lobby" with your server address. If you don't know where to find it, click here.
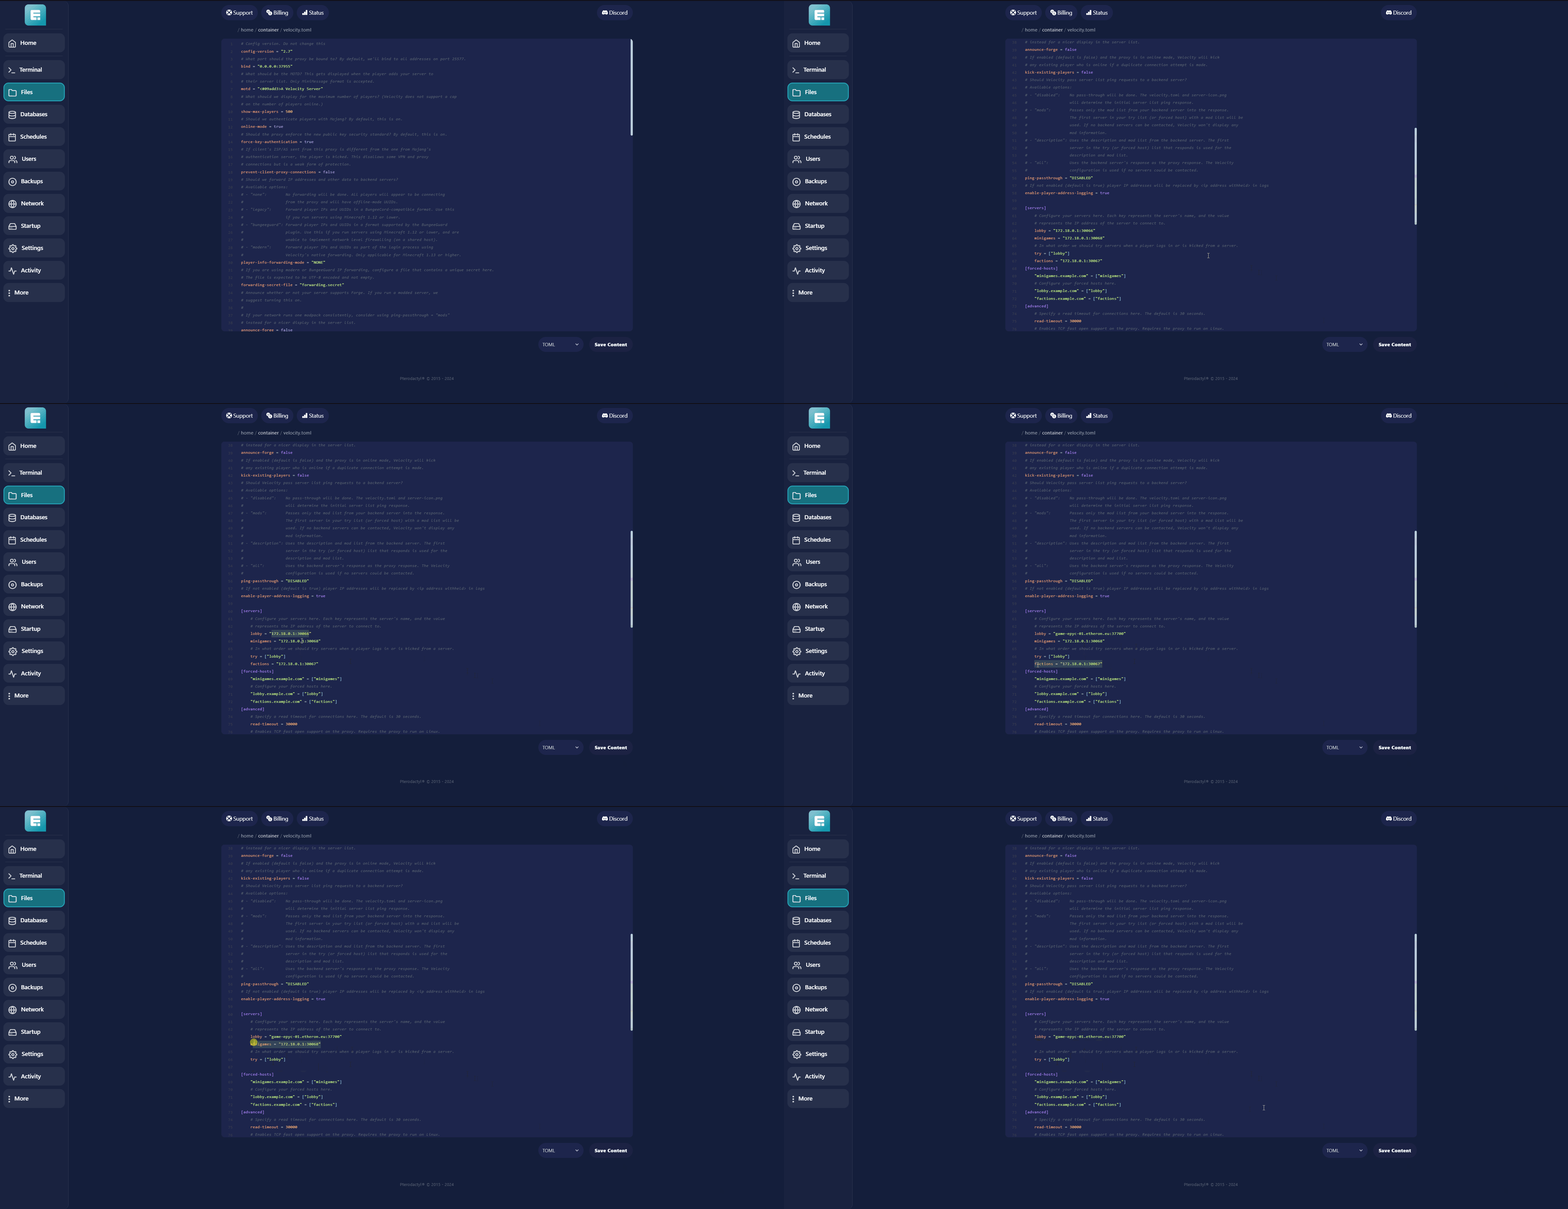
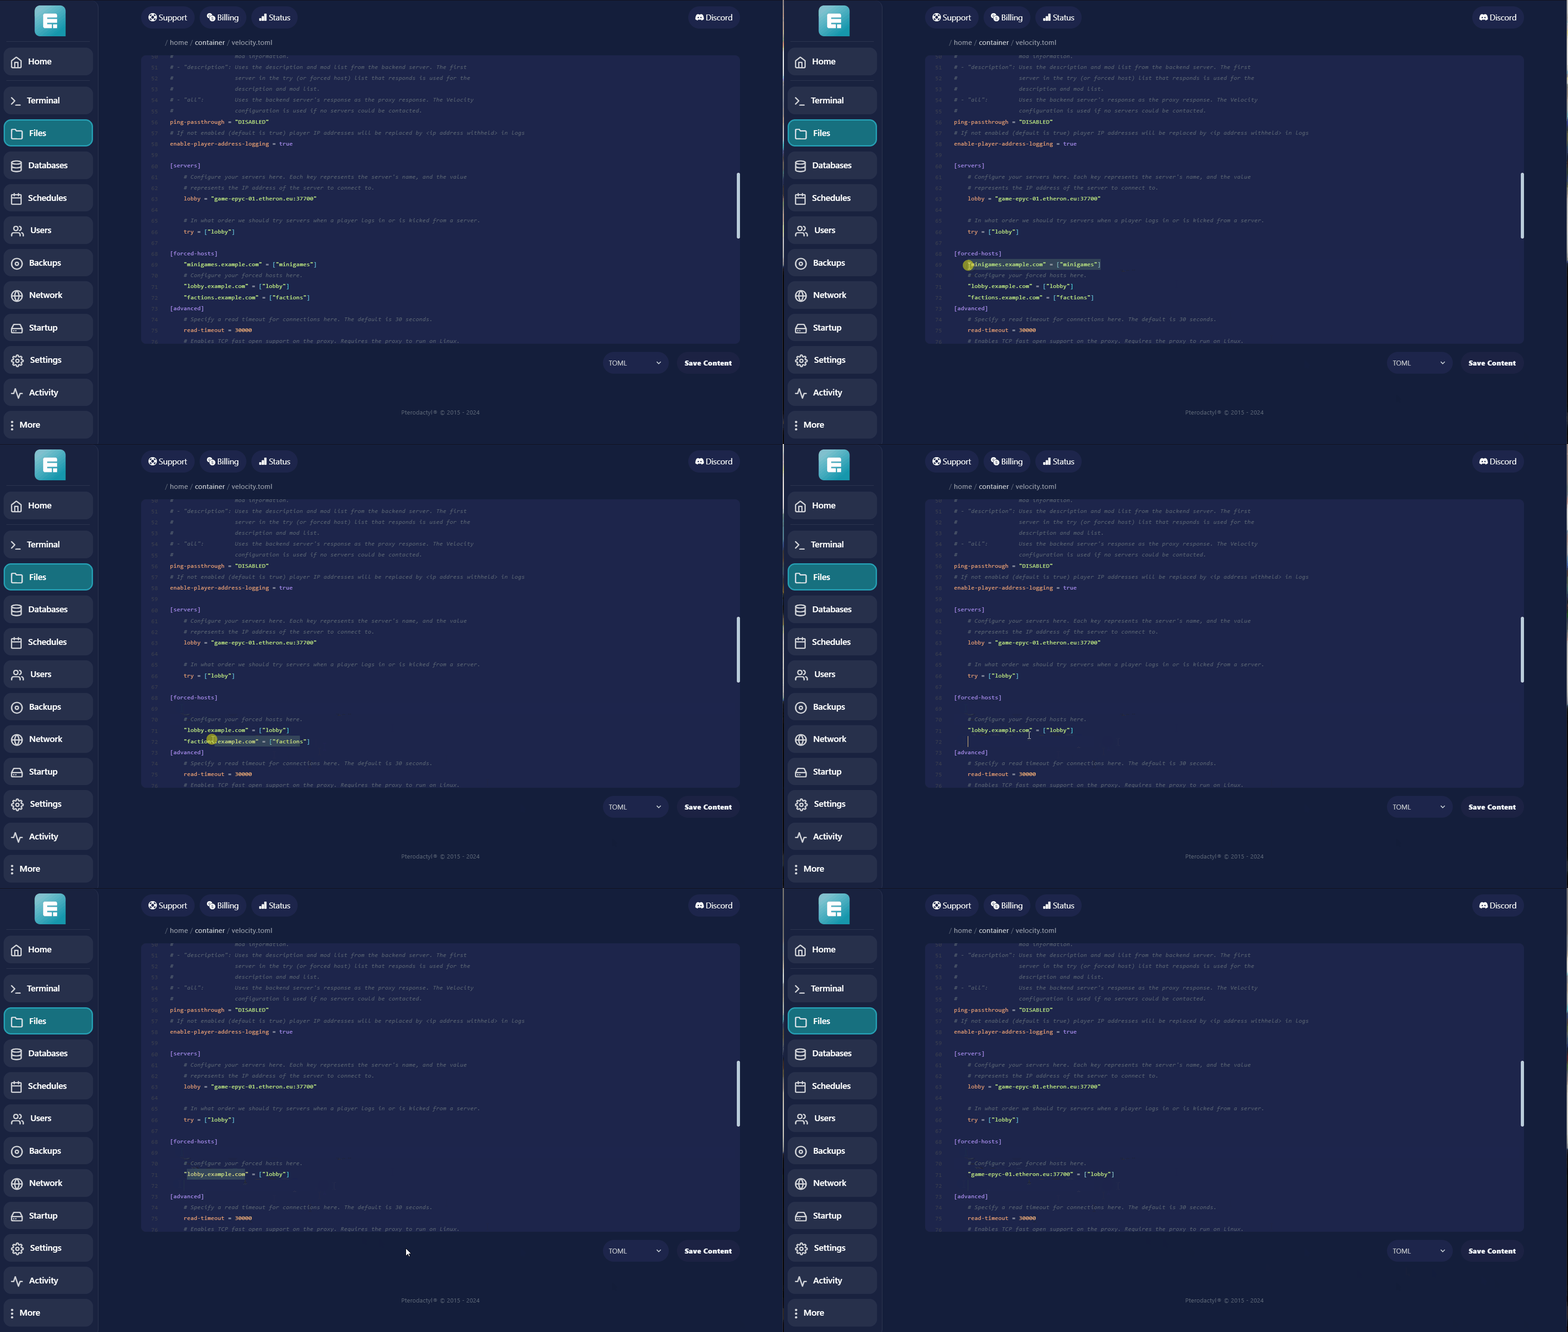
13. If you have multiple servers, add their details under the other entries.
If not, remove the extra servers listed there but leave "try = ["lobby"]" as is.
In "[forced-hosts]," replace "lobby.example.com" with the address you just filled in.
Remove anything you removed in the previous step or modify it accordingly.
Click Save Content when done.
14. Now go to the other Minecraft server you want to connect to Velocity.
Turn it off and install Paper.
Go to More > Version Changer.
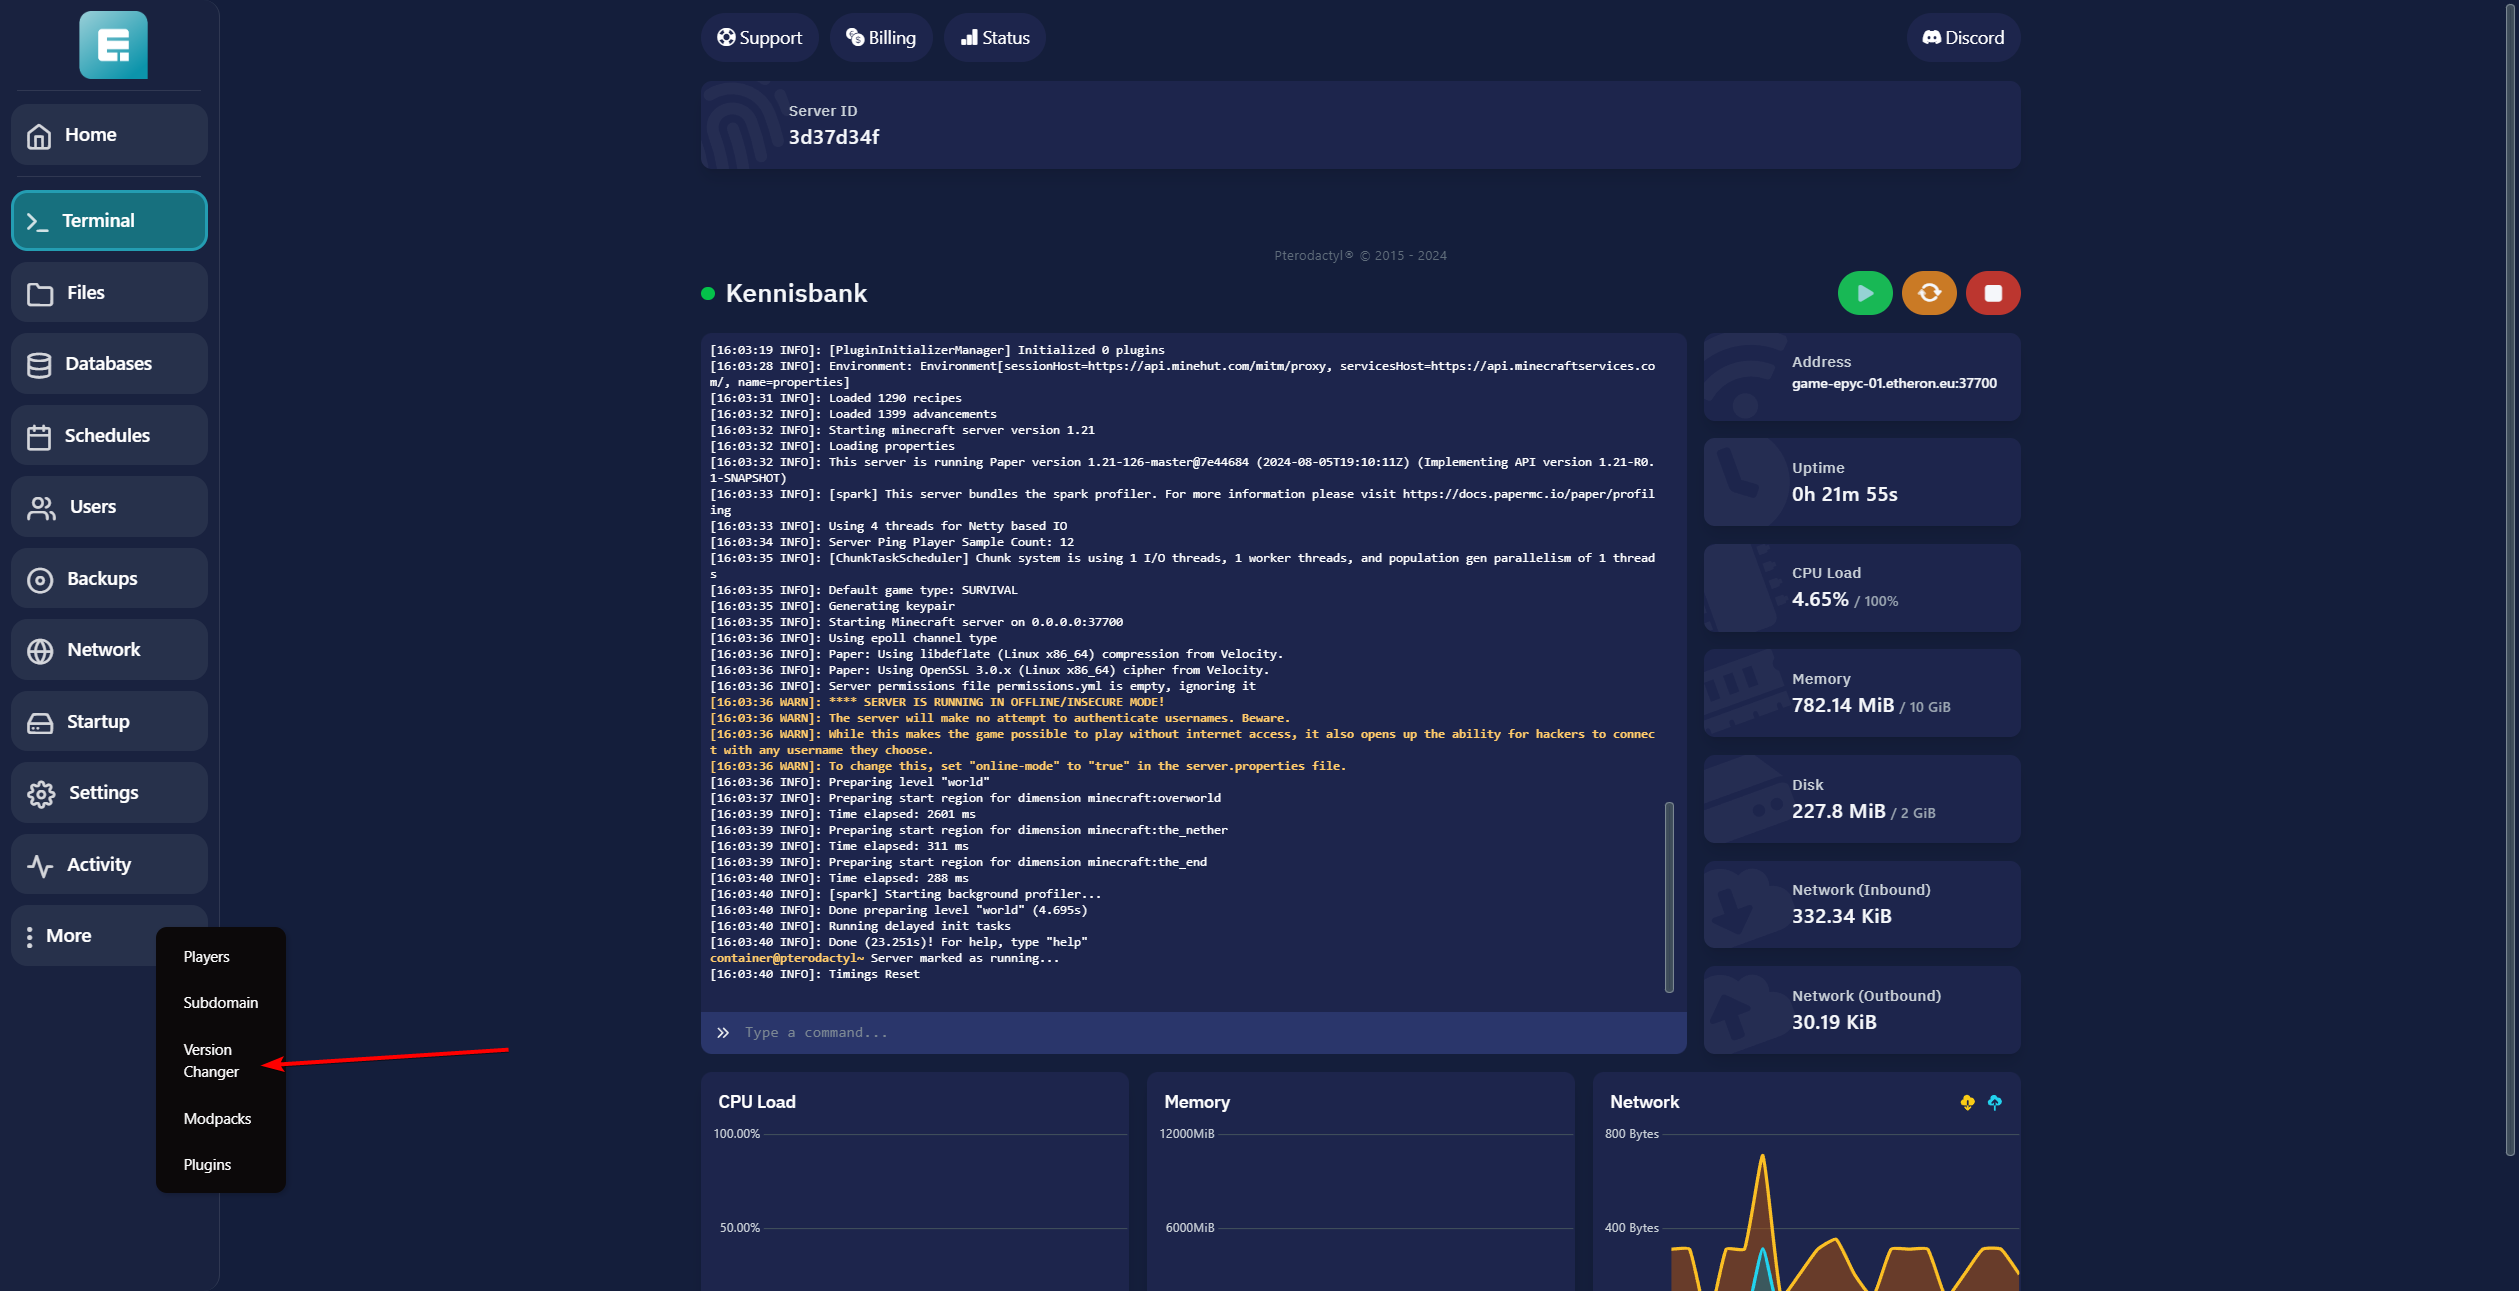
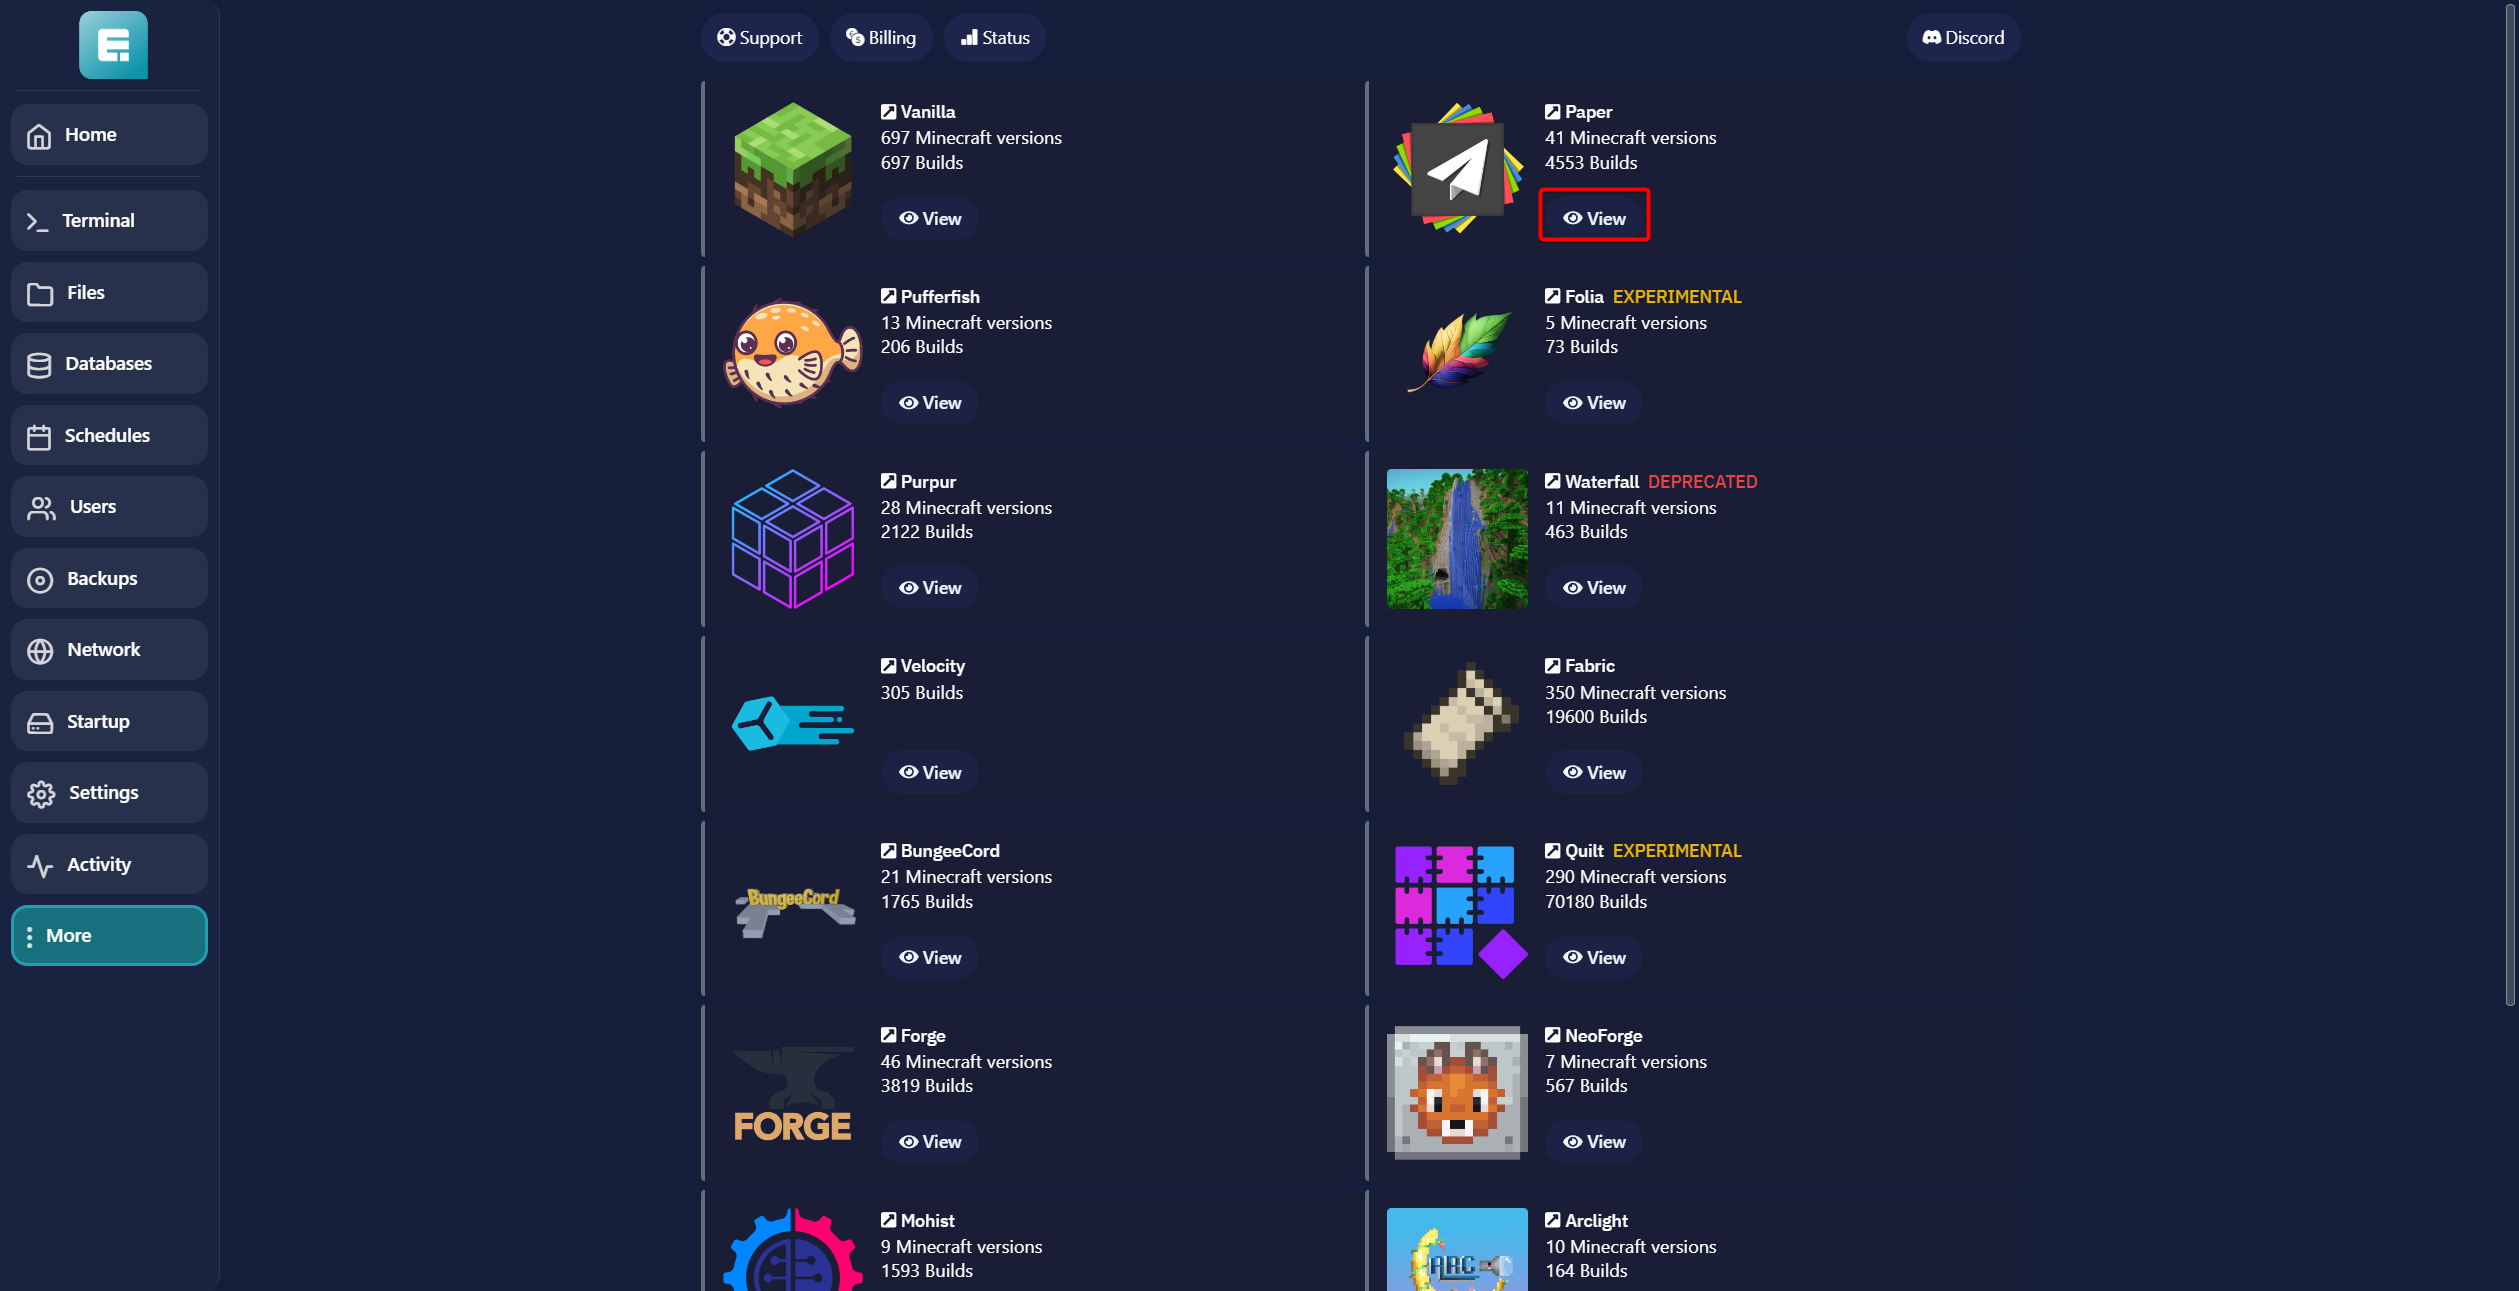
15. Click View next to Paper.
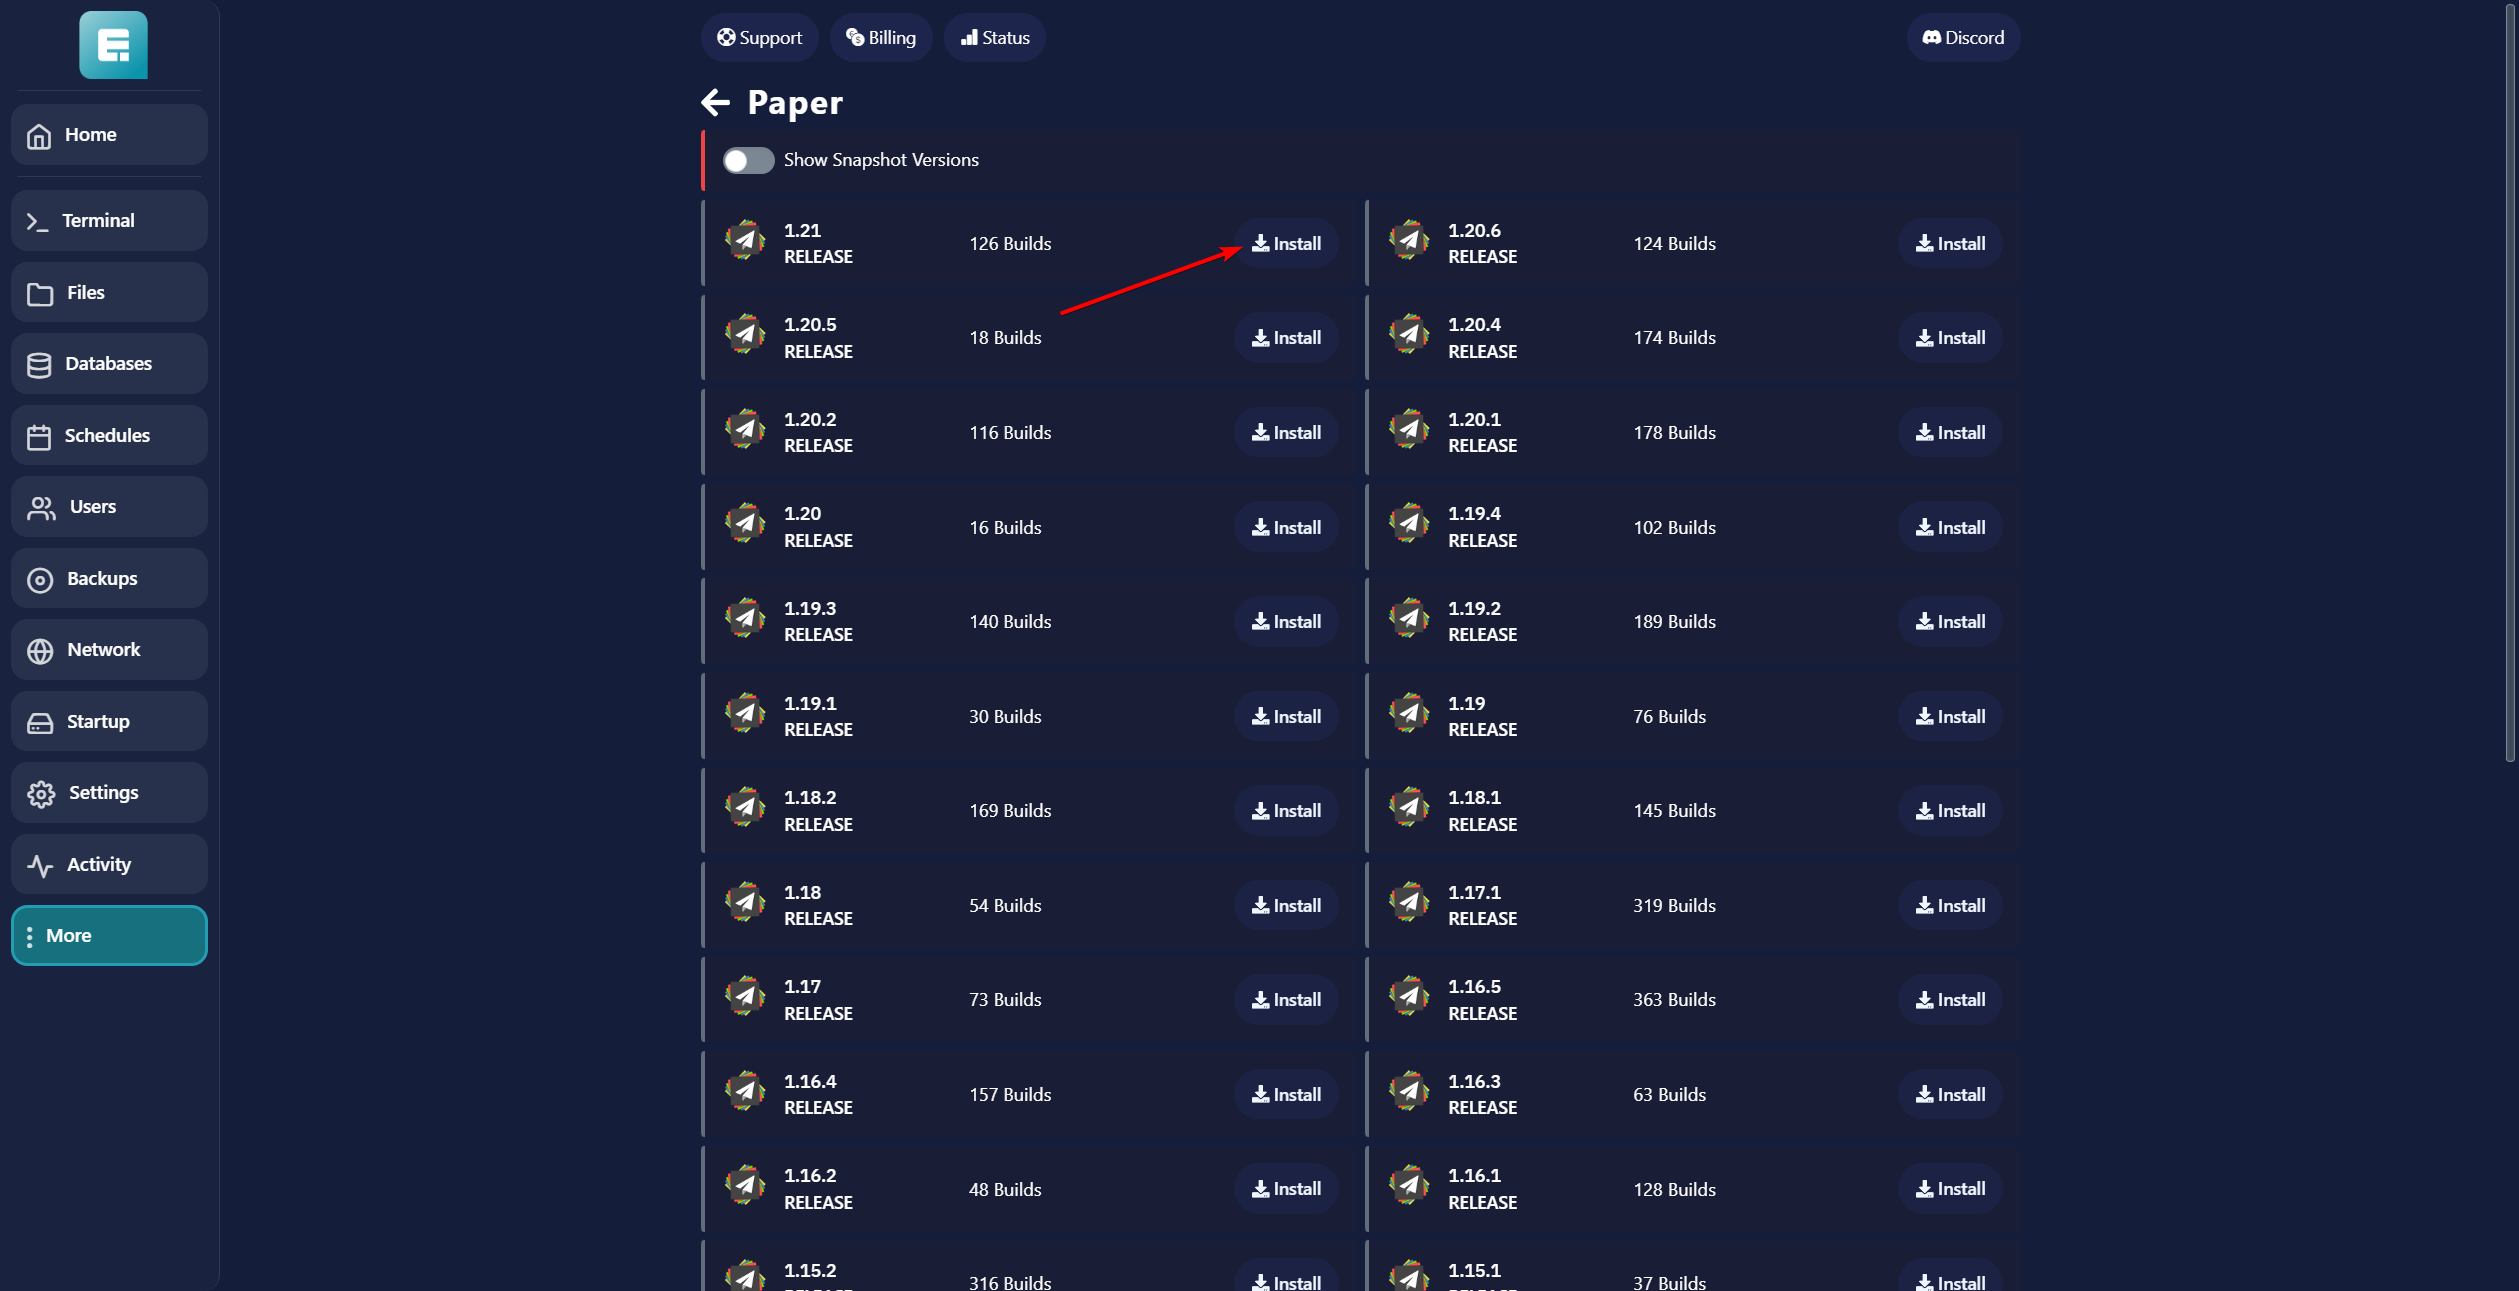
16. Click Install for the desired Minecraft version (in this example, we’re using Minecraft 1.21).
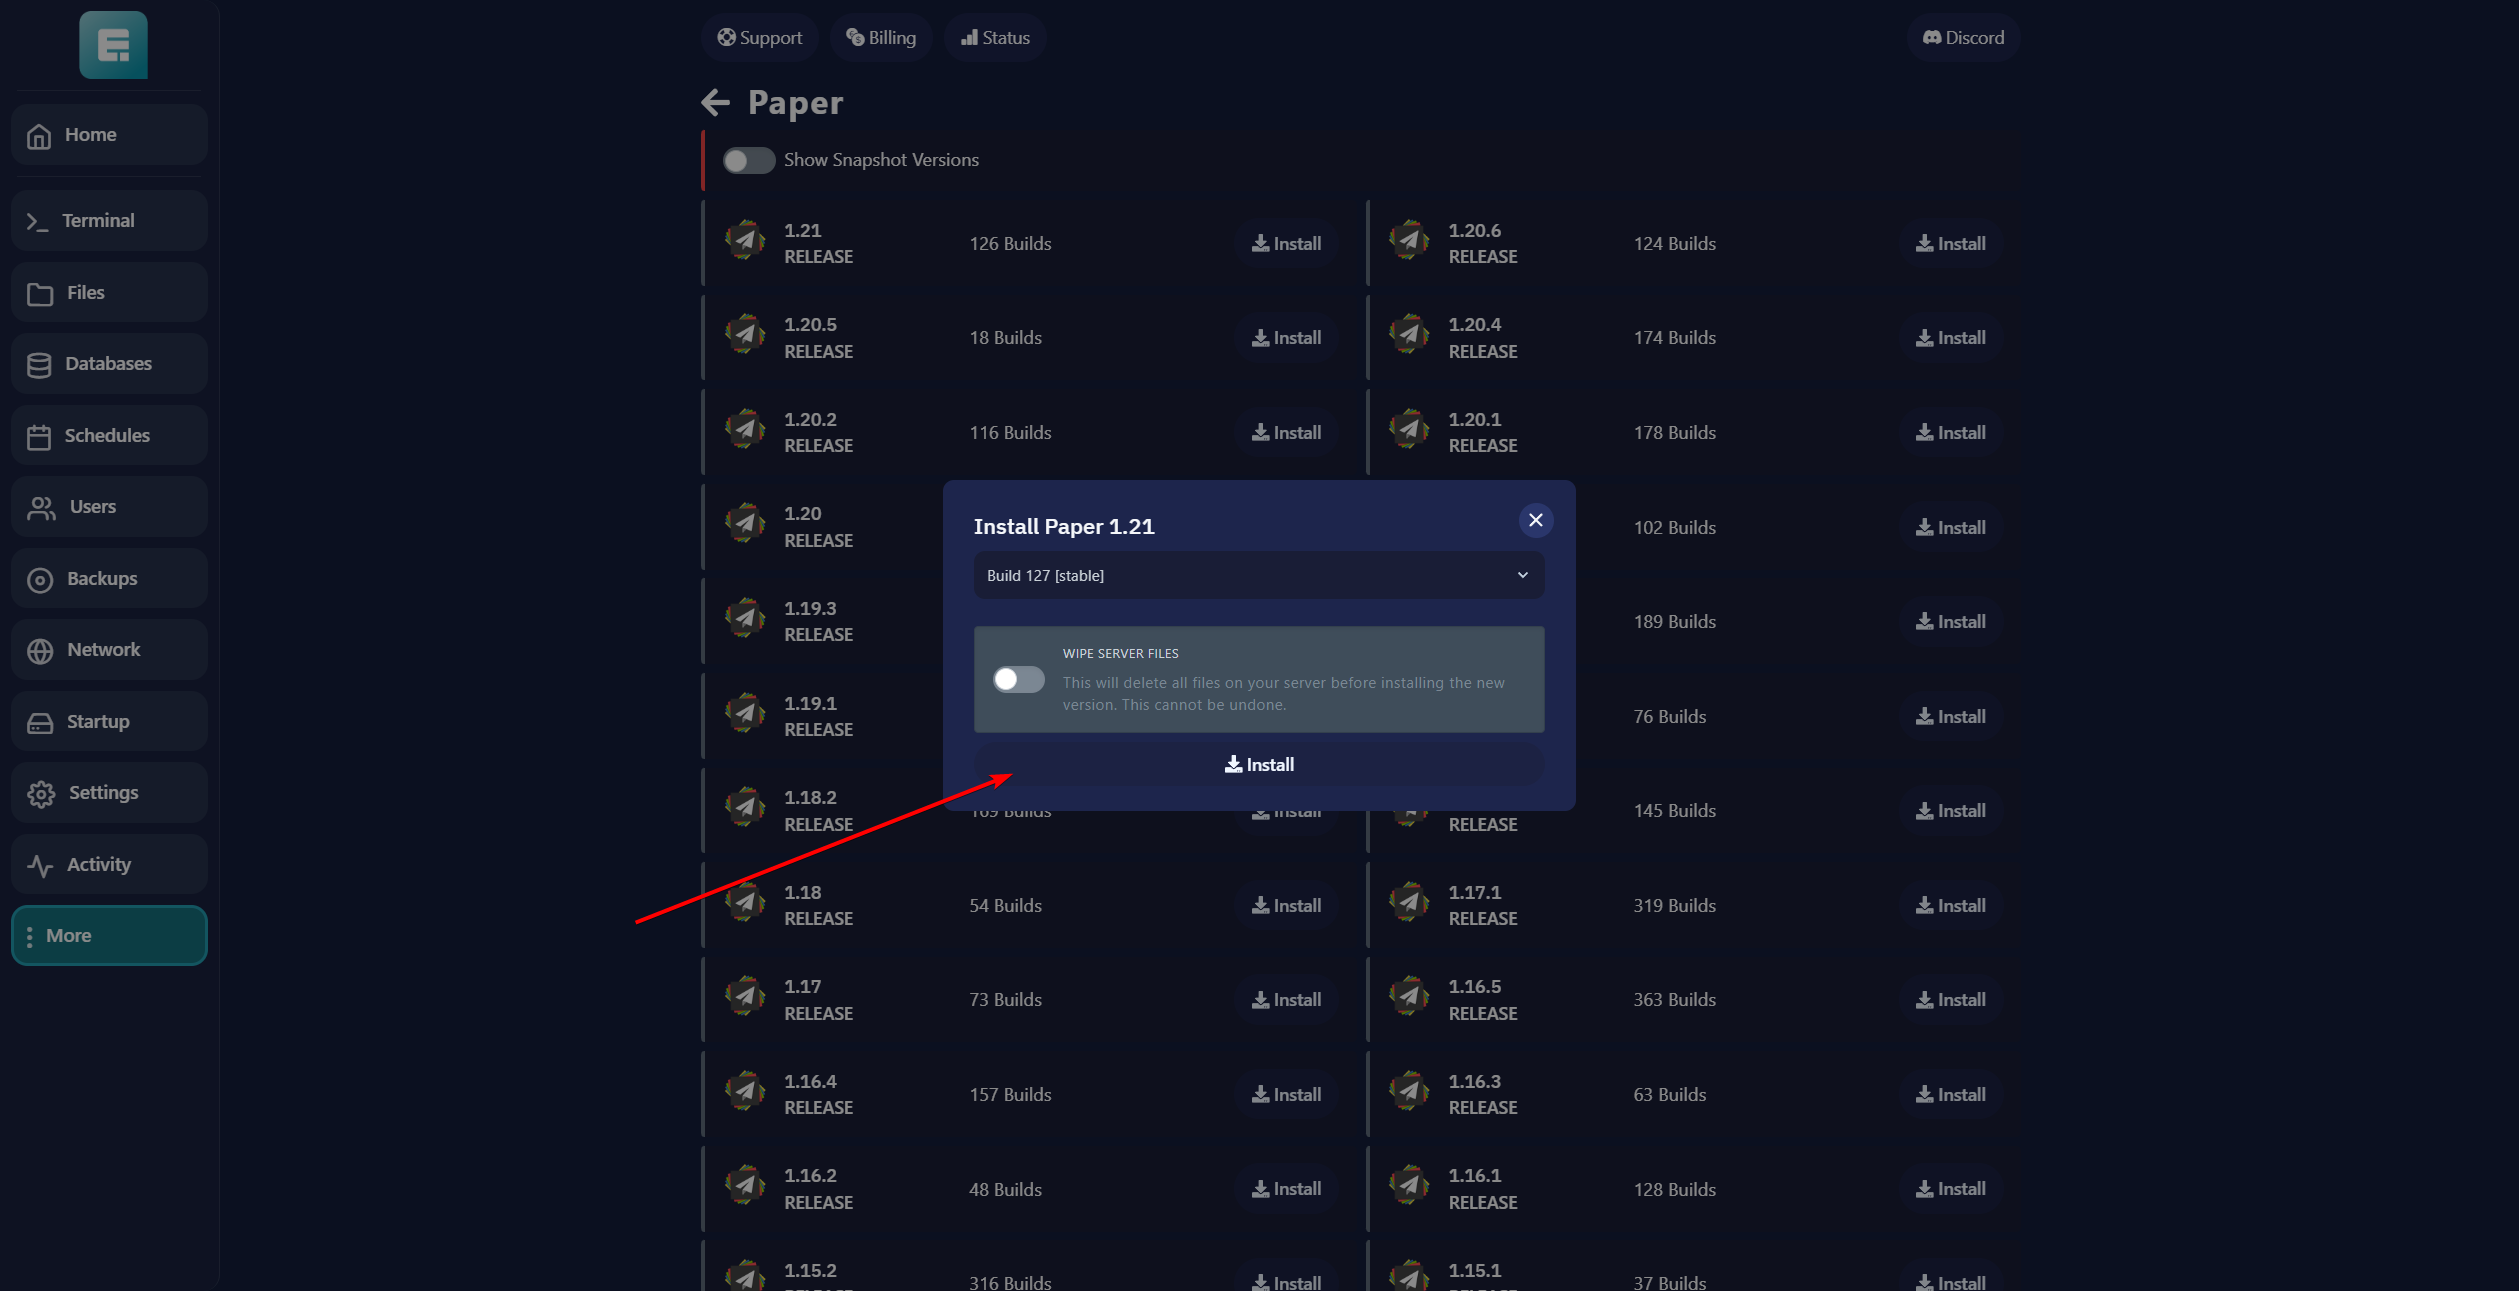
17. Click Install.
18. Start the server and wait for it to finish installing. Go to Files once it’s done.
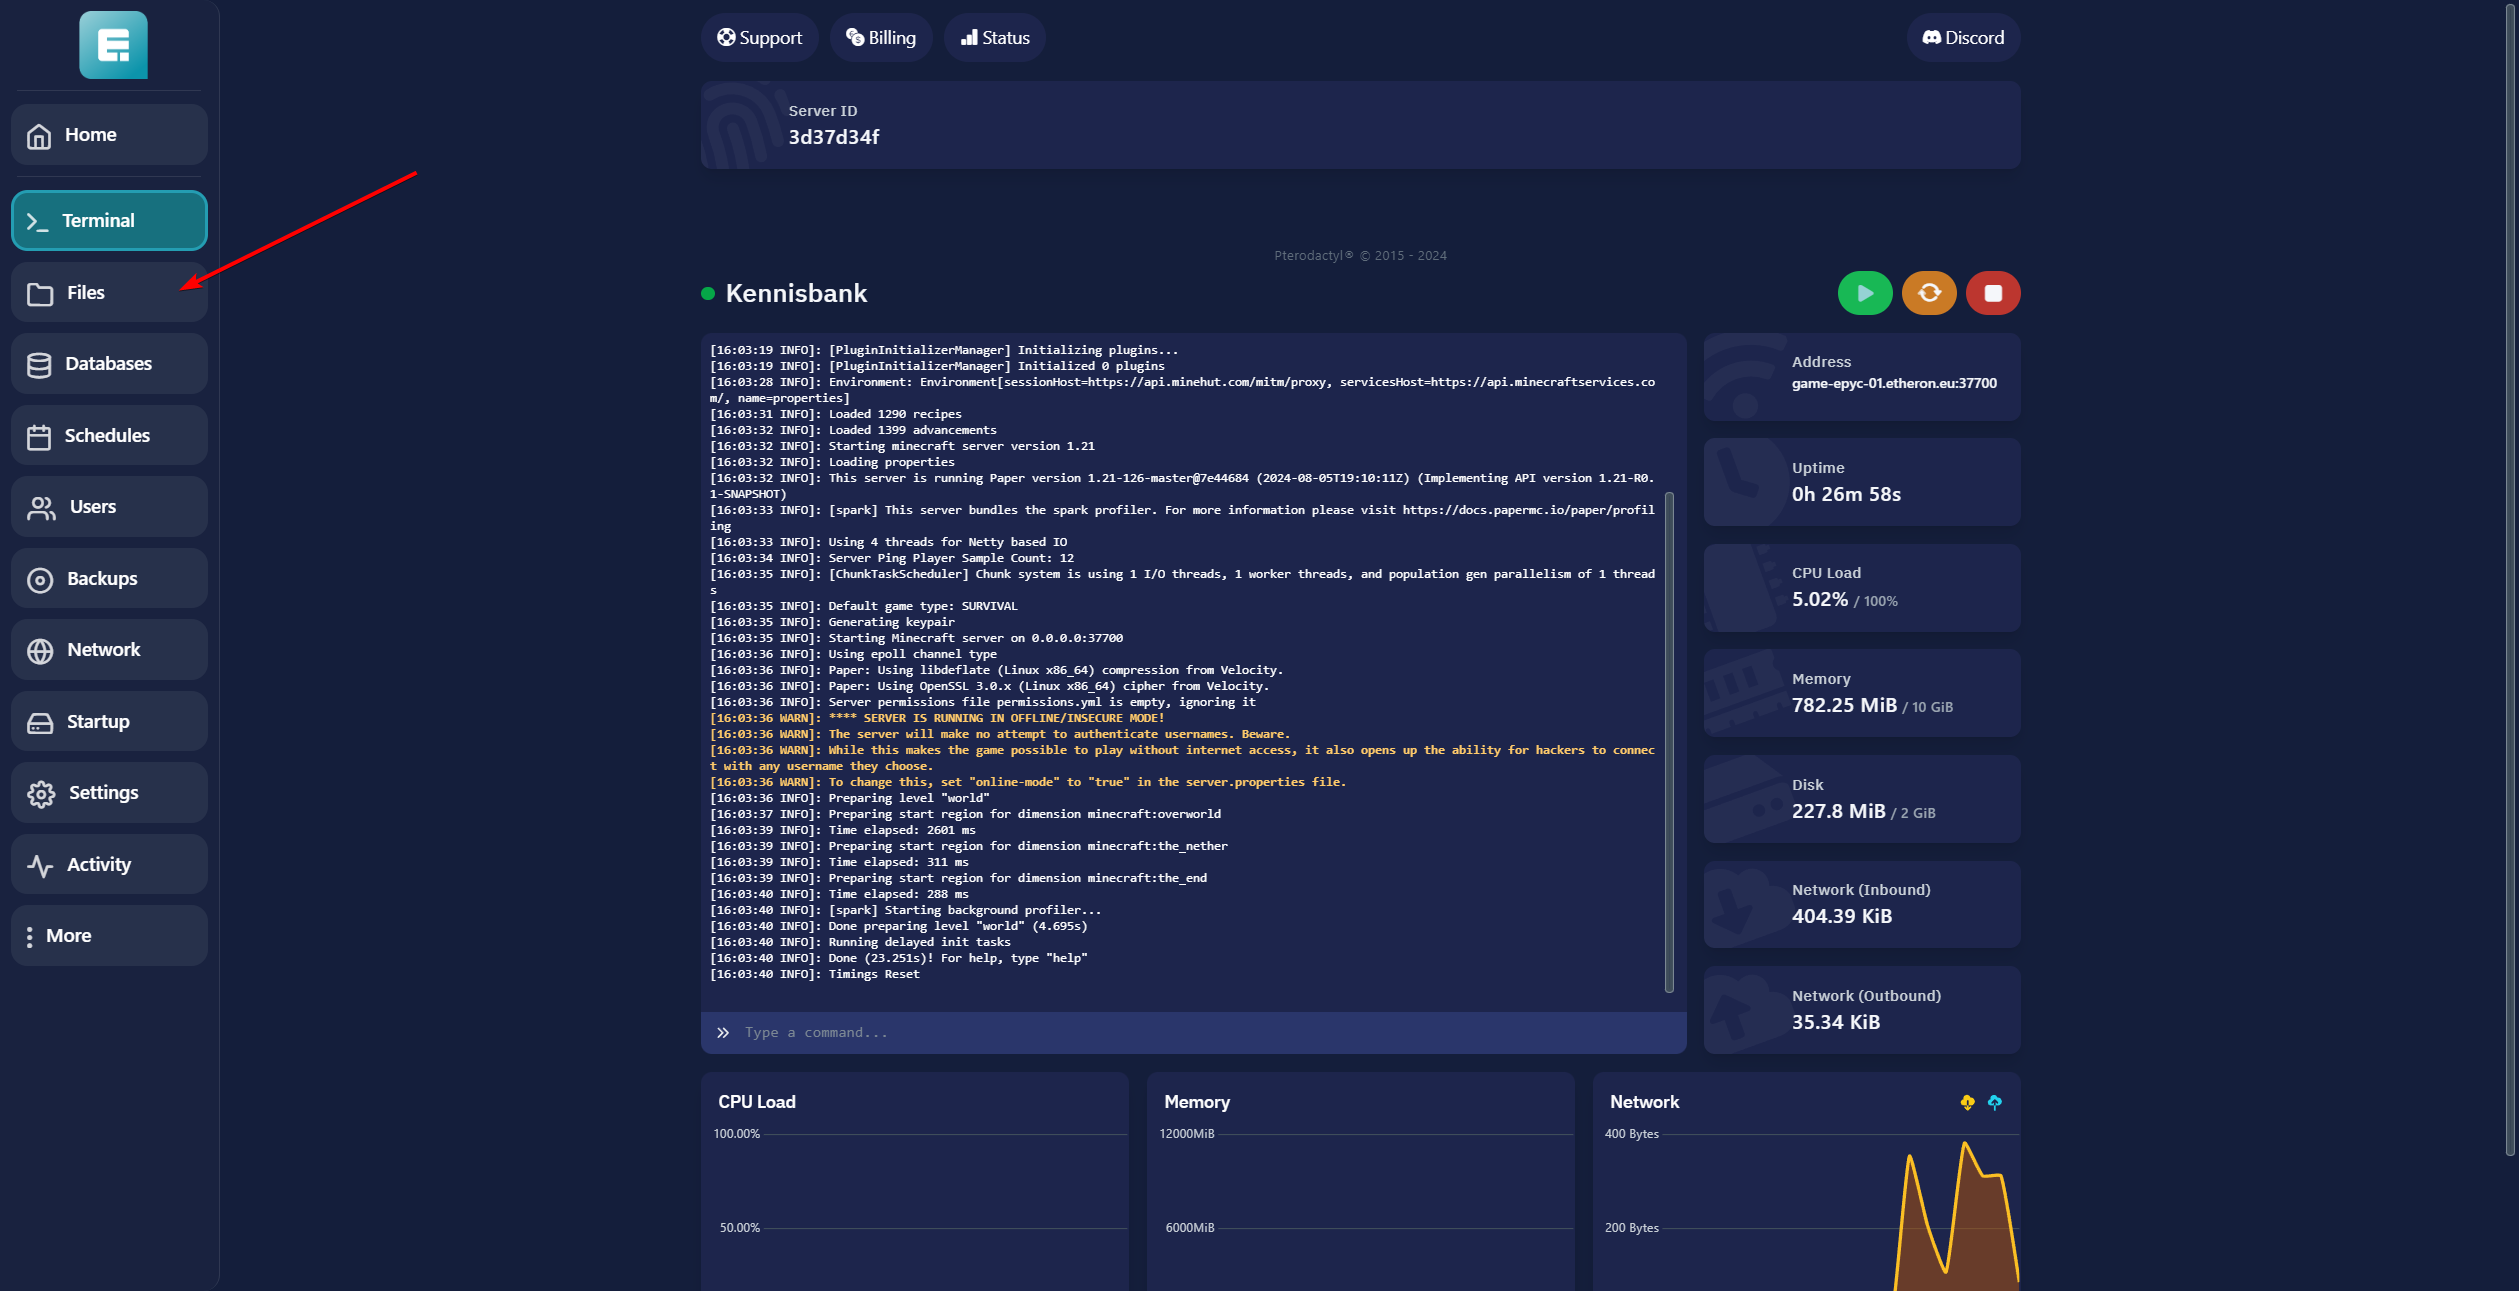
19. Click on server.properties.
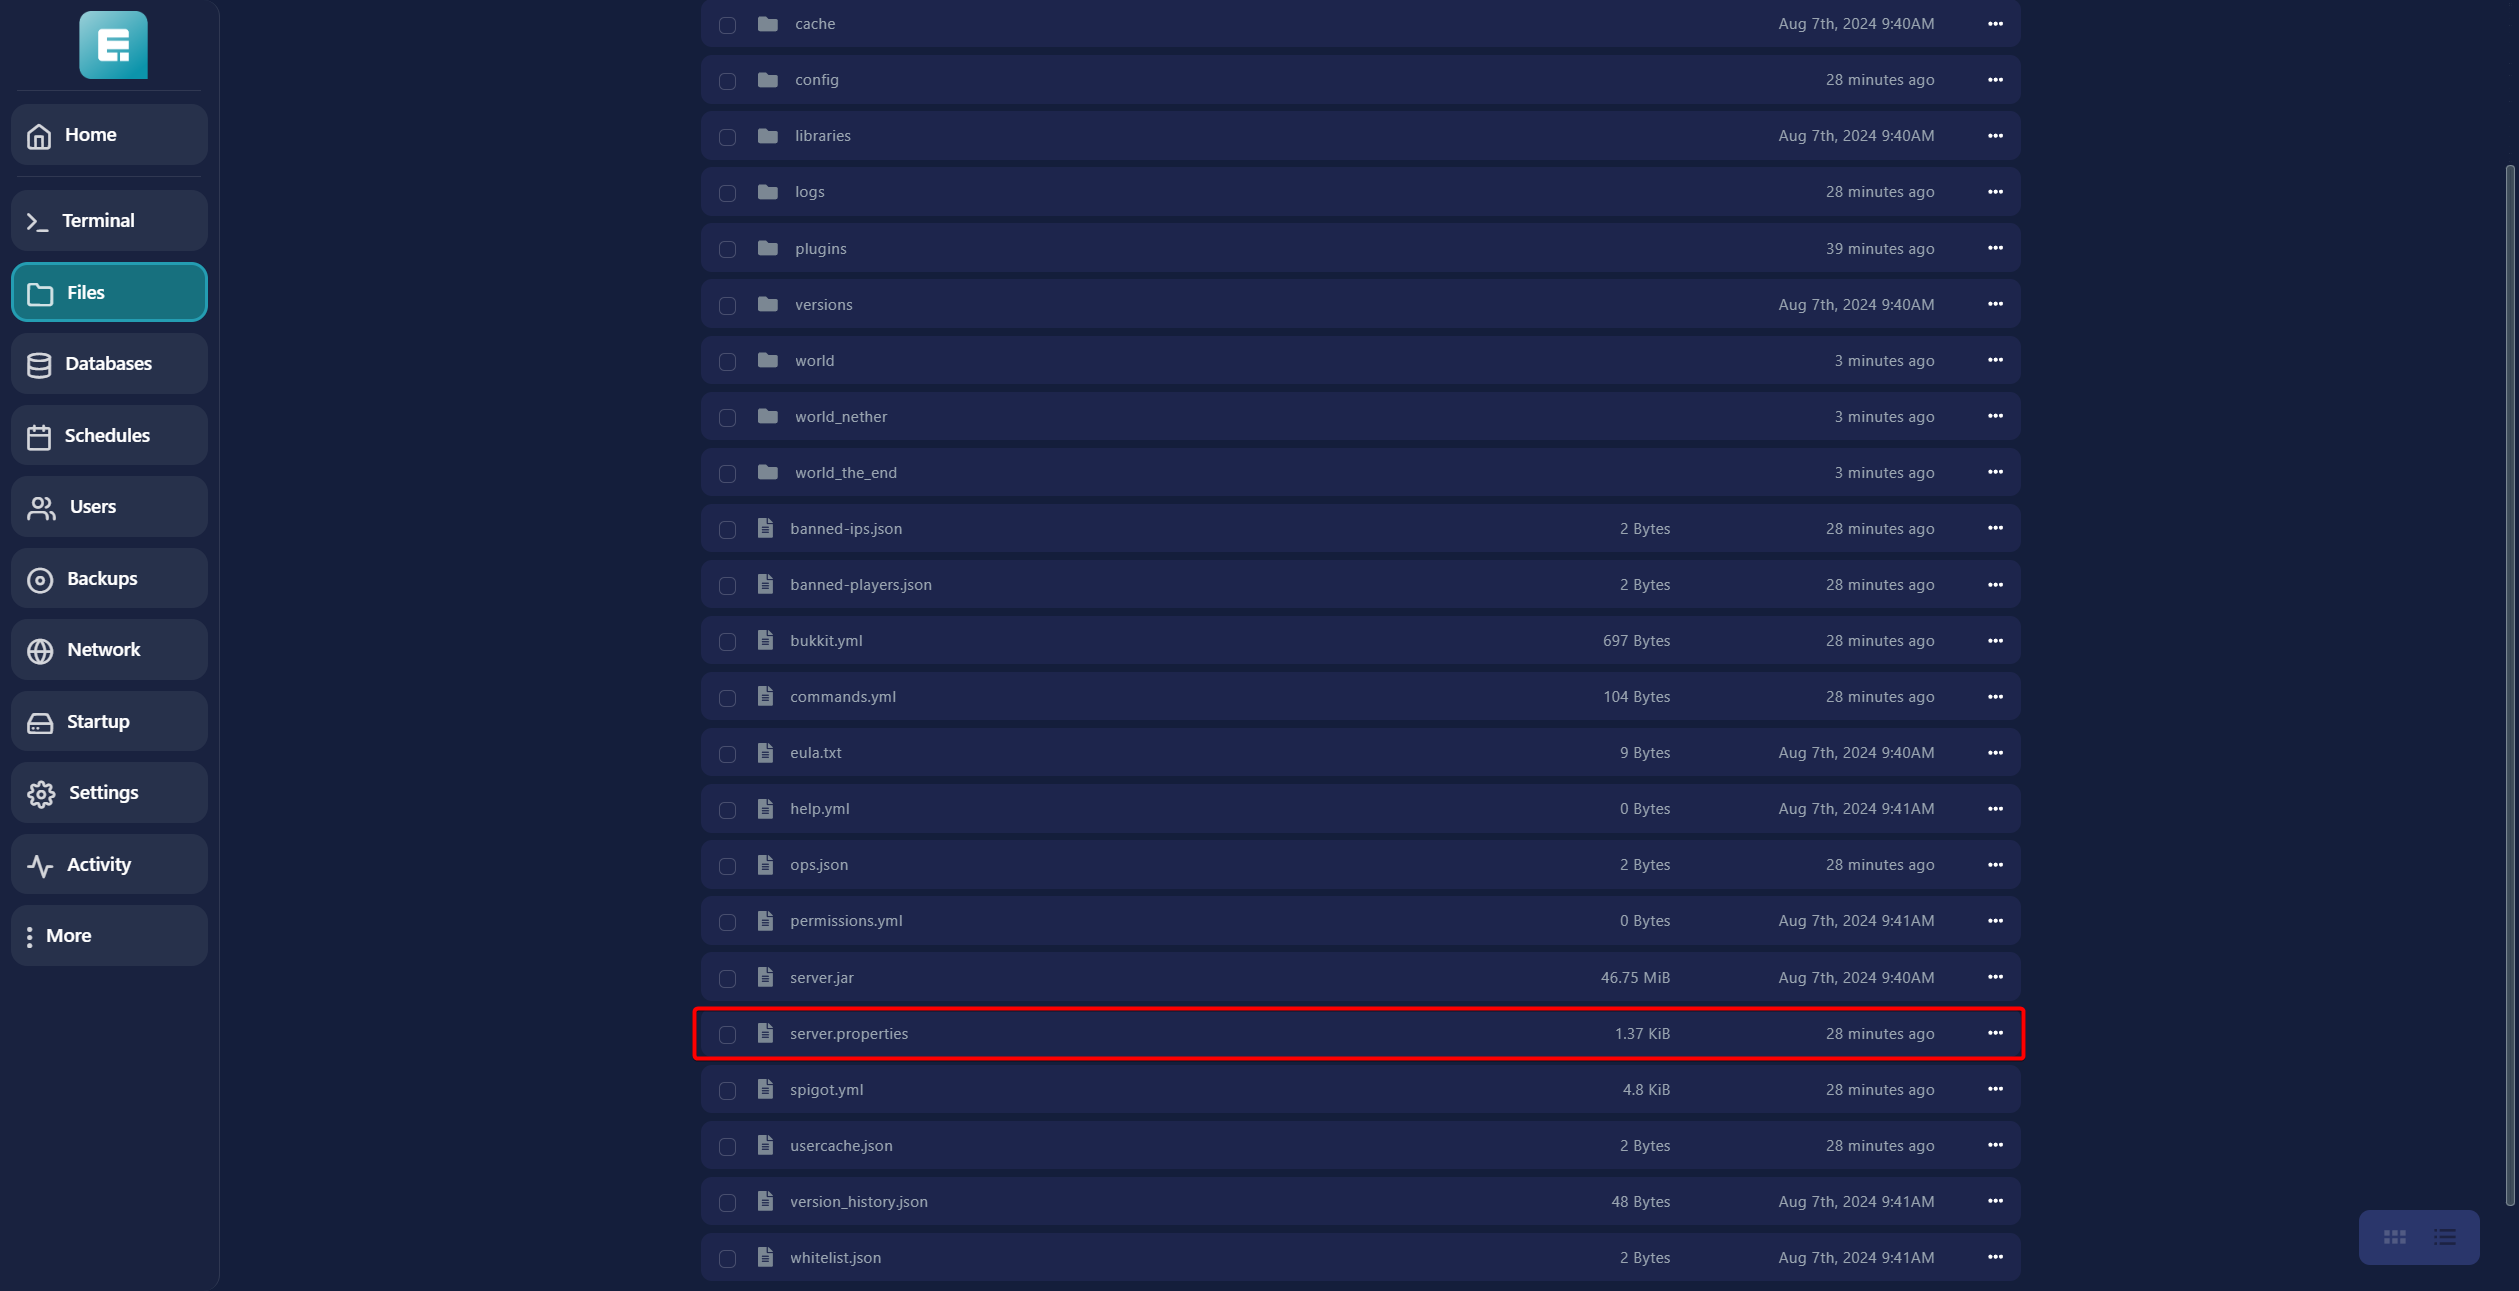
20. Find the setting online-mode and set it to false.
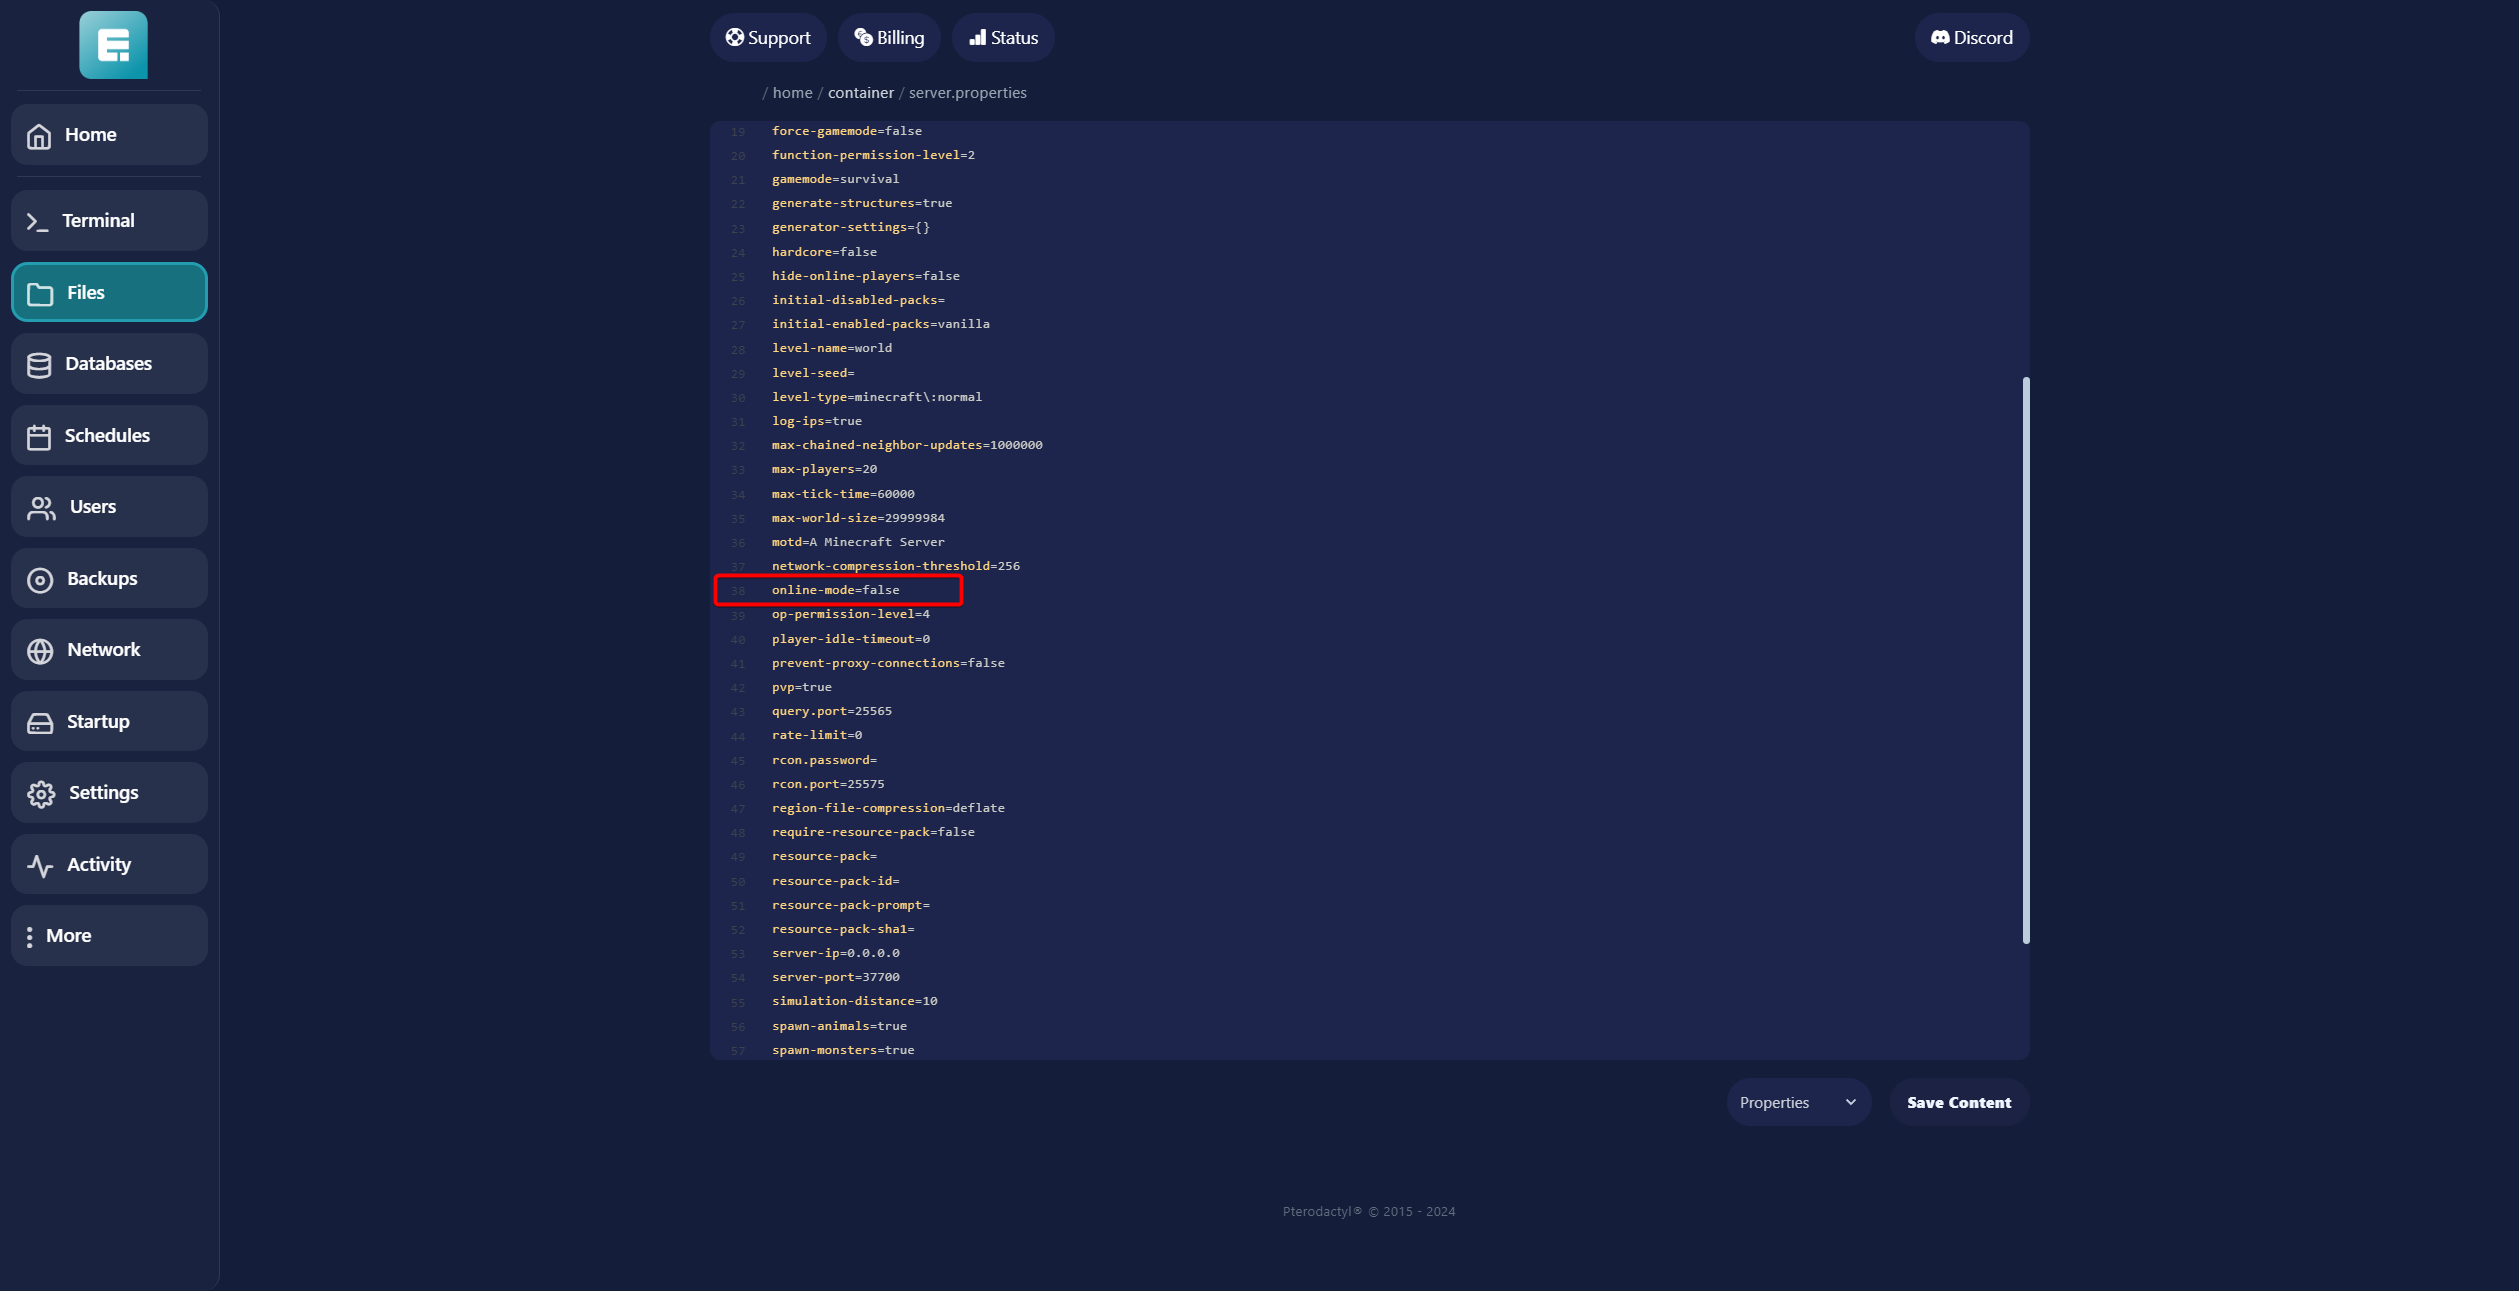
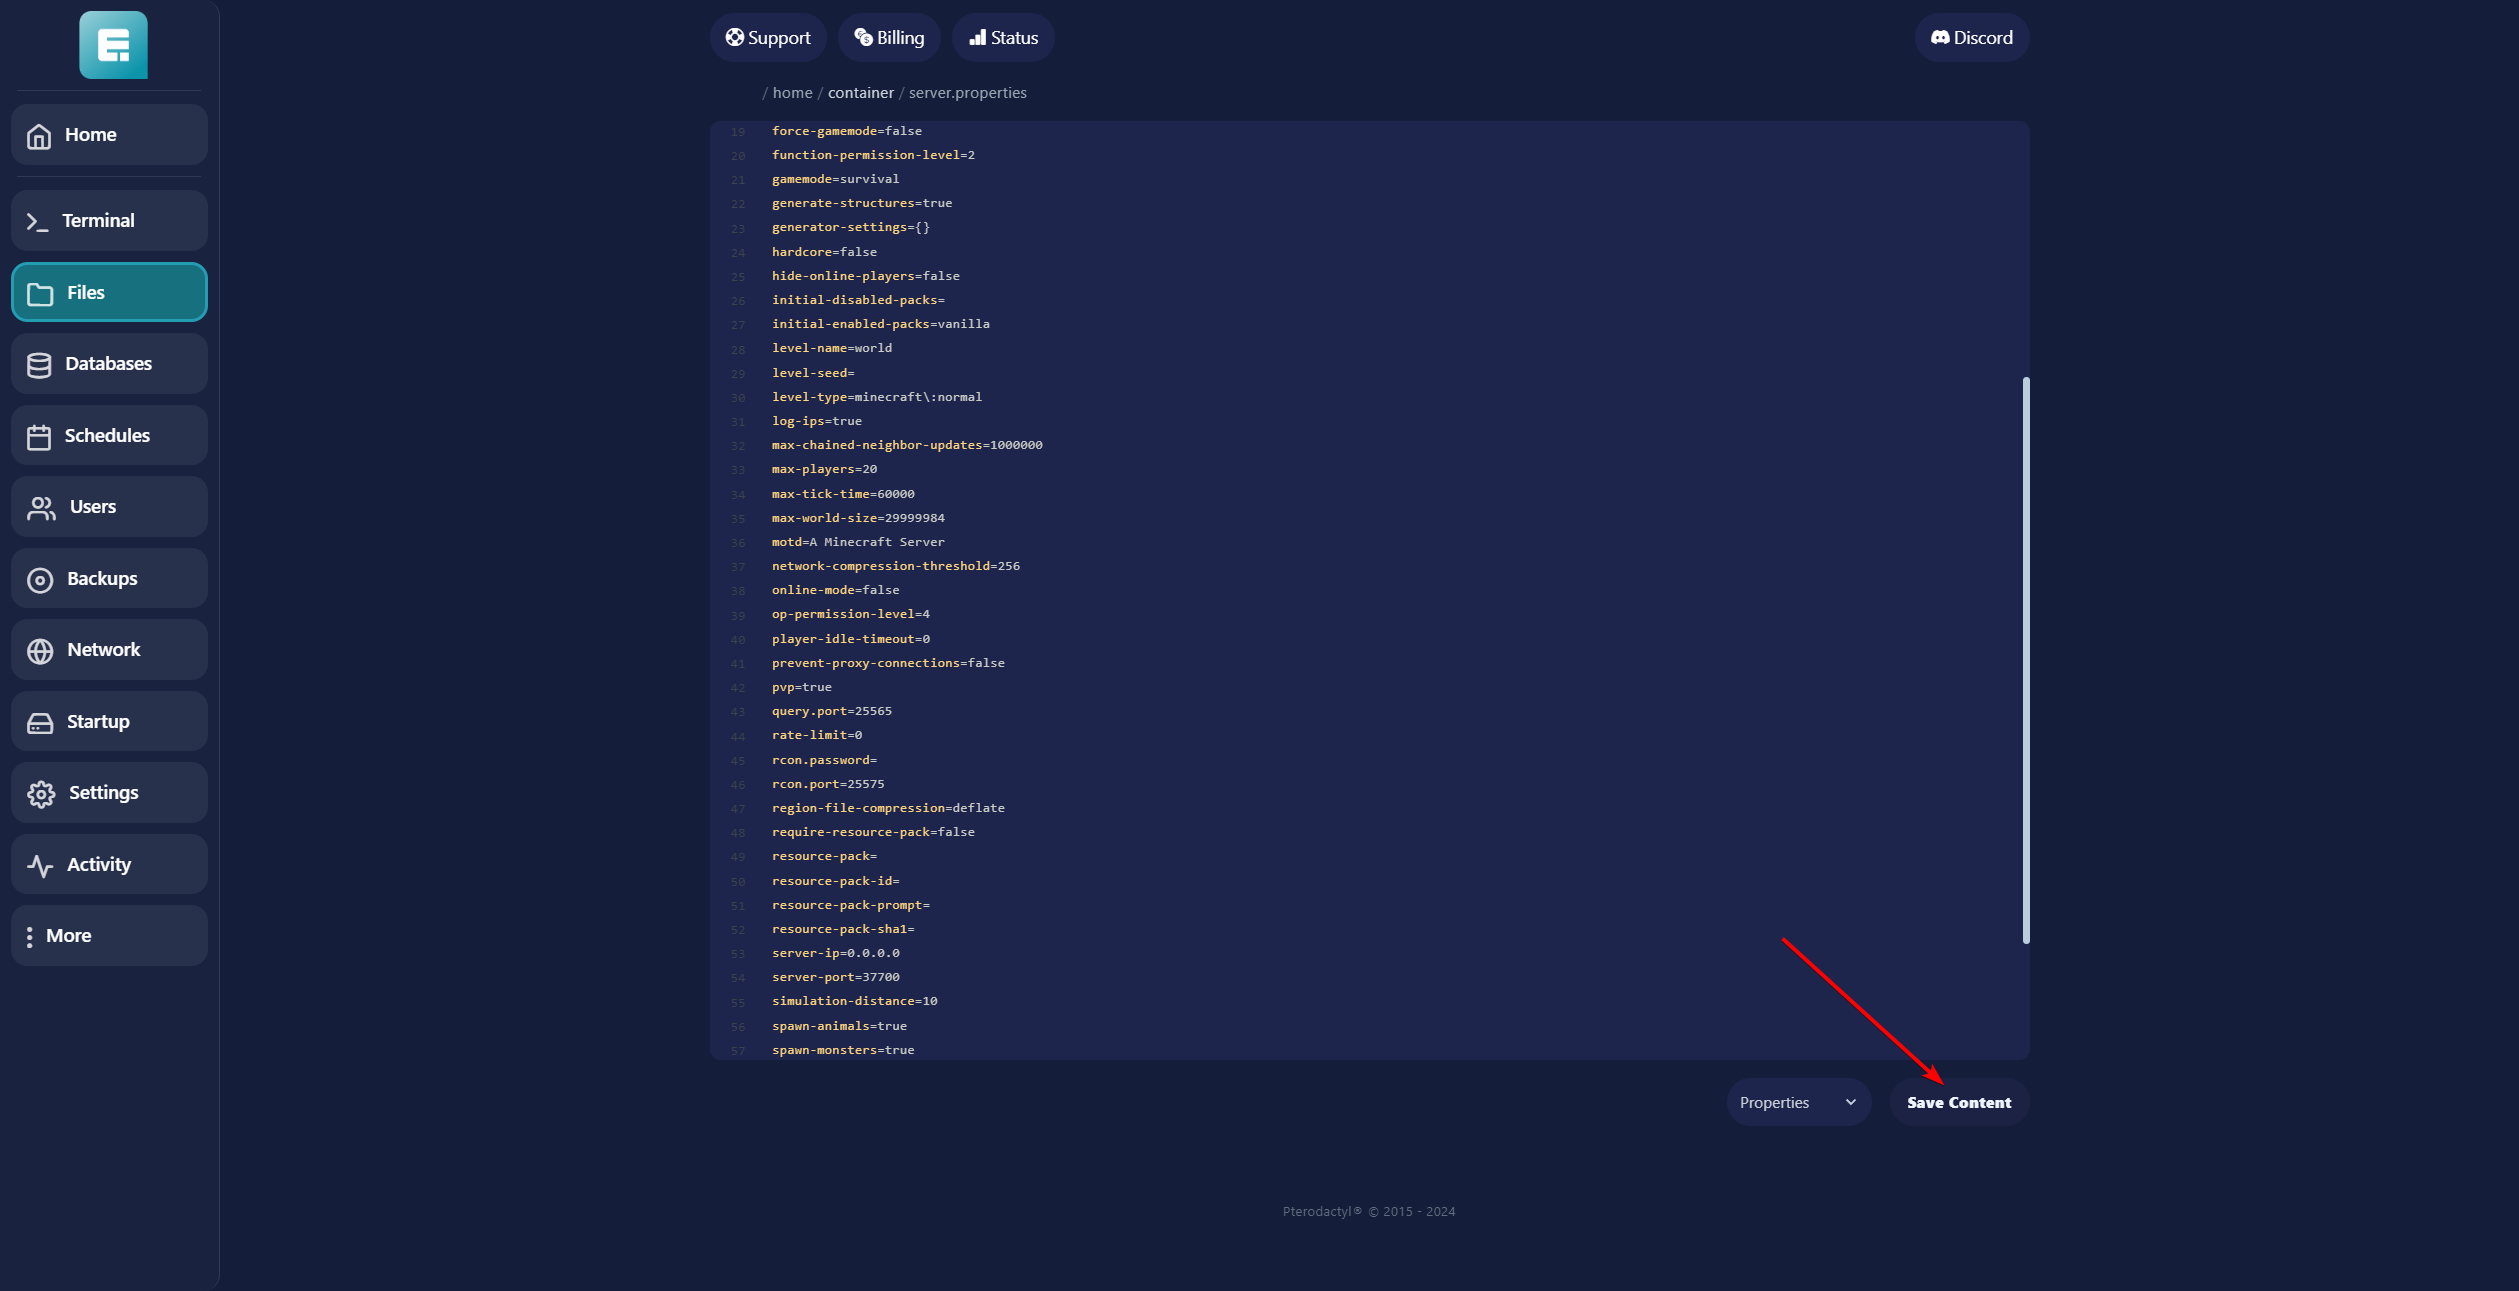
21. Click Save Content.
22. Go back to Files and open the config folder.
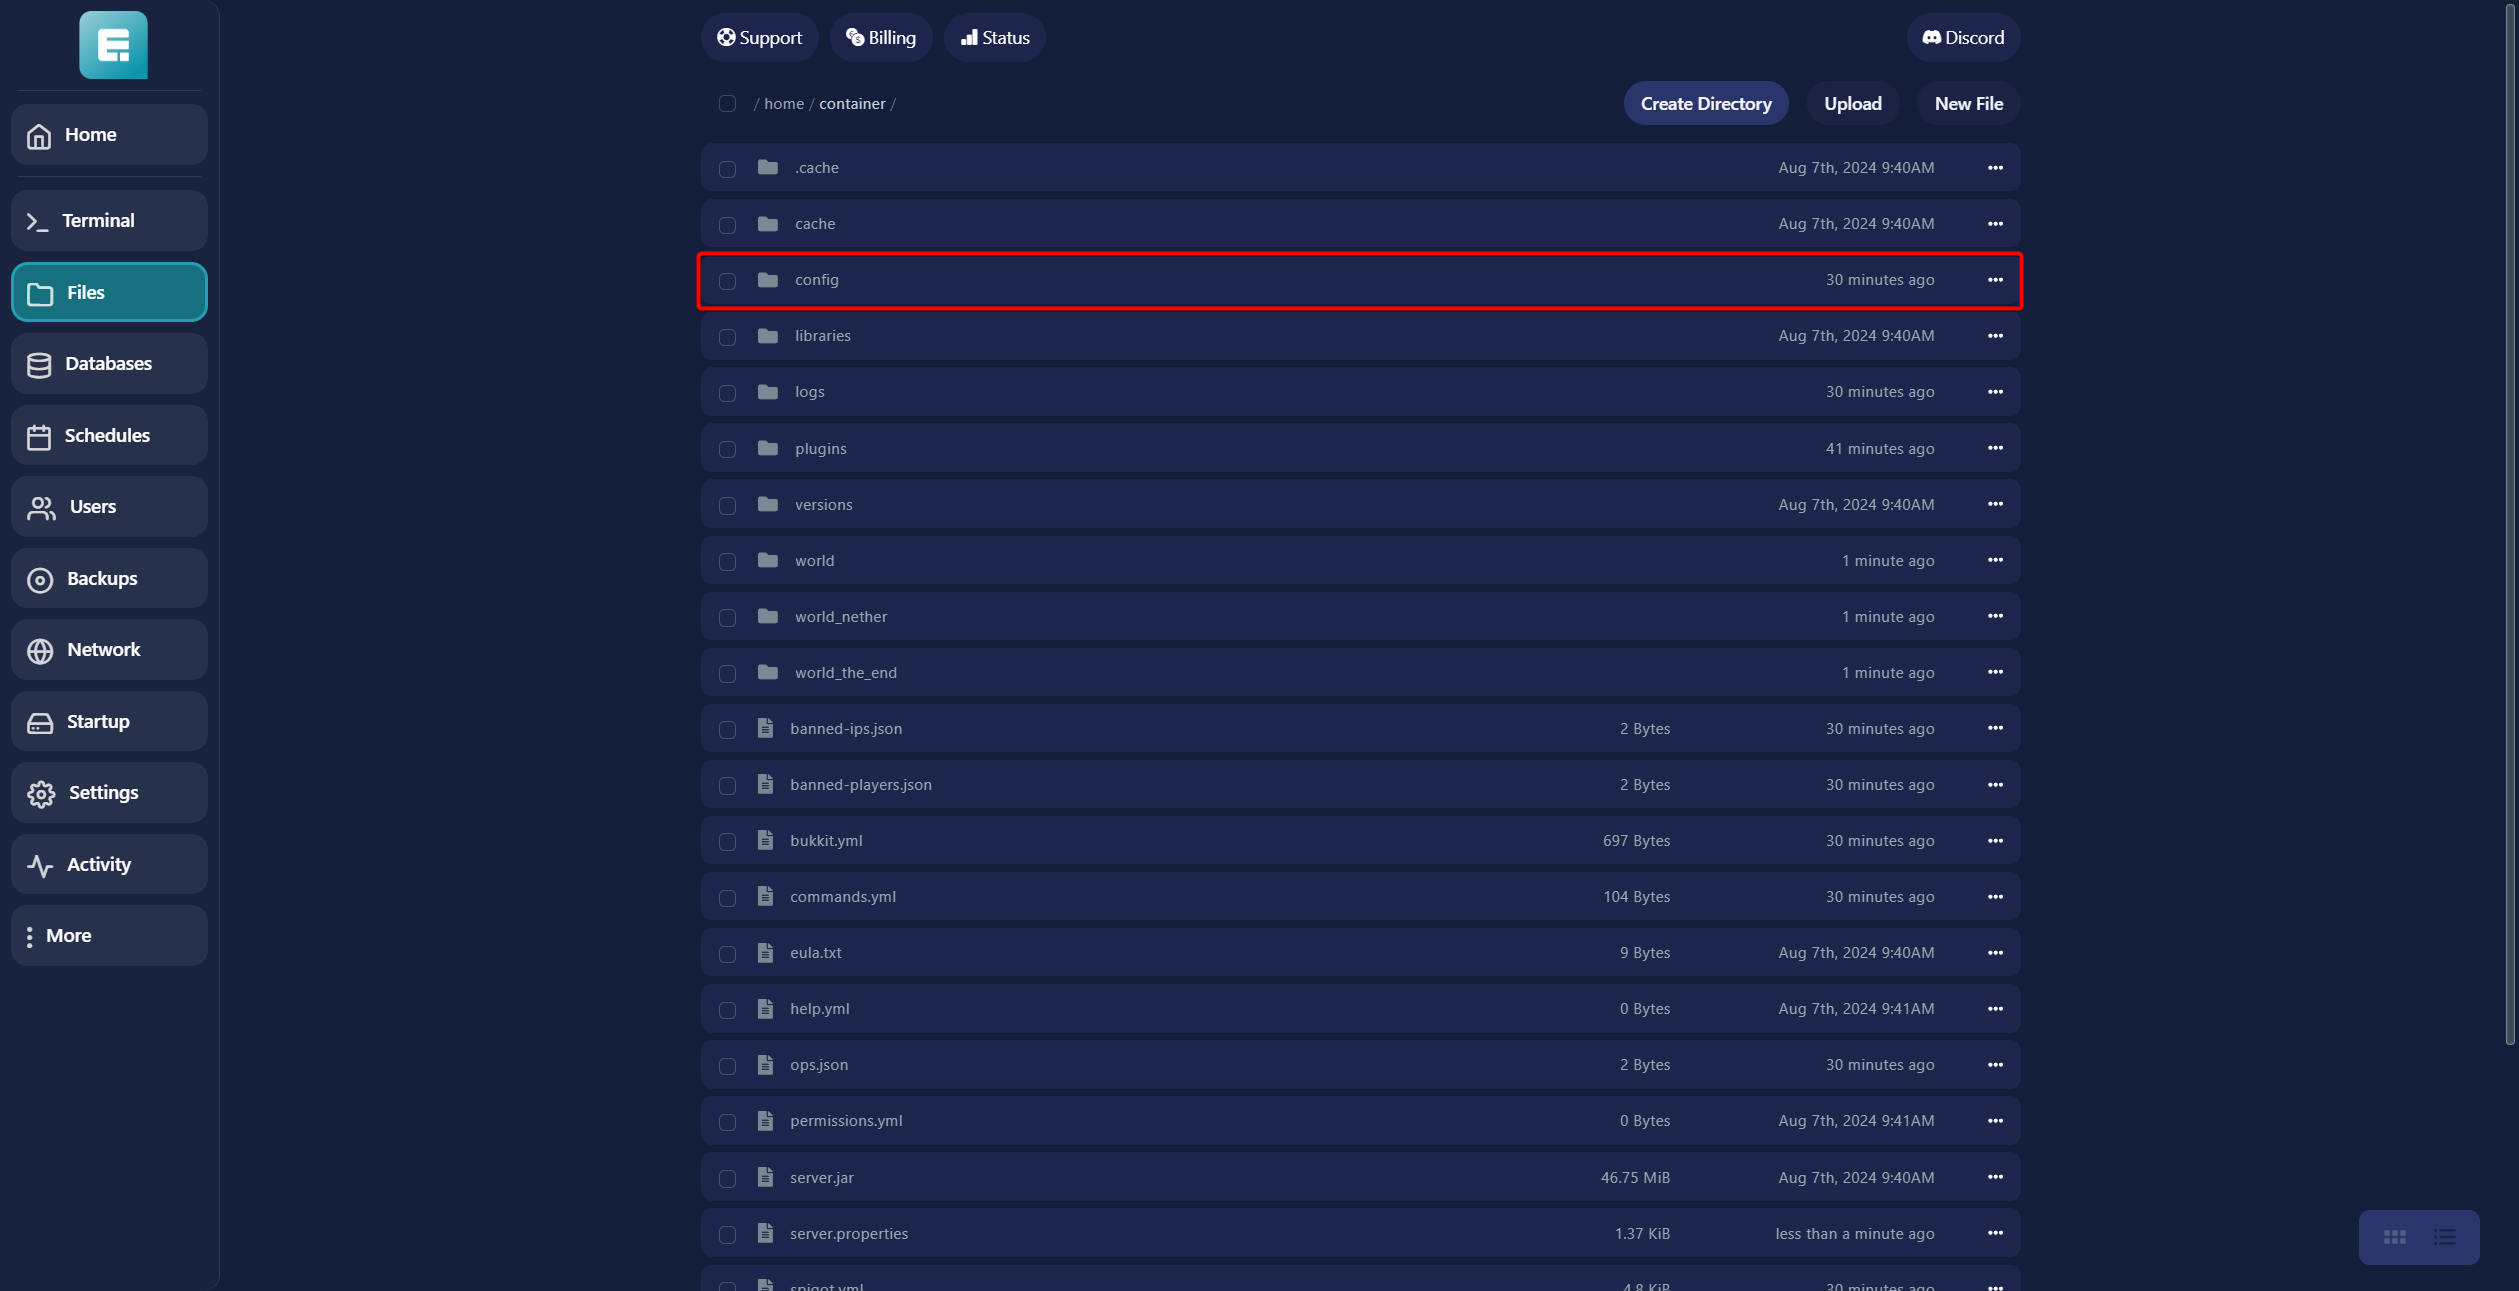
23. Open the file paper-global.yml.
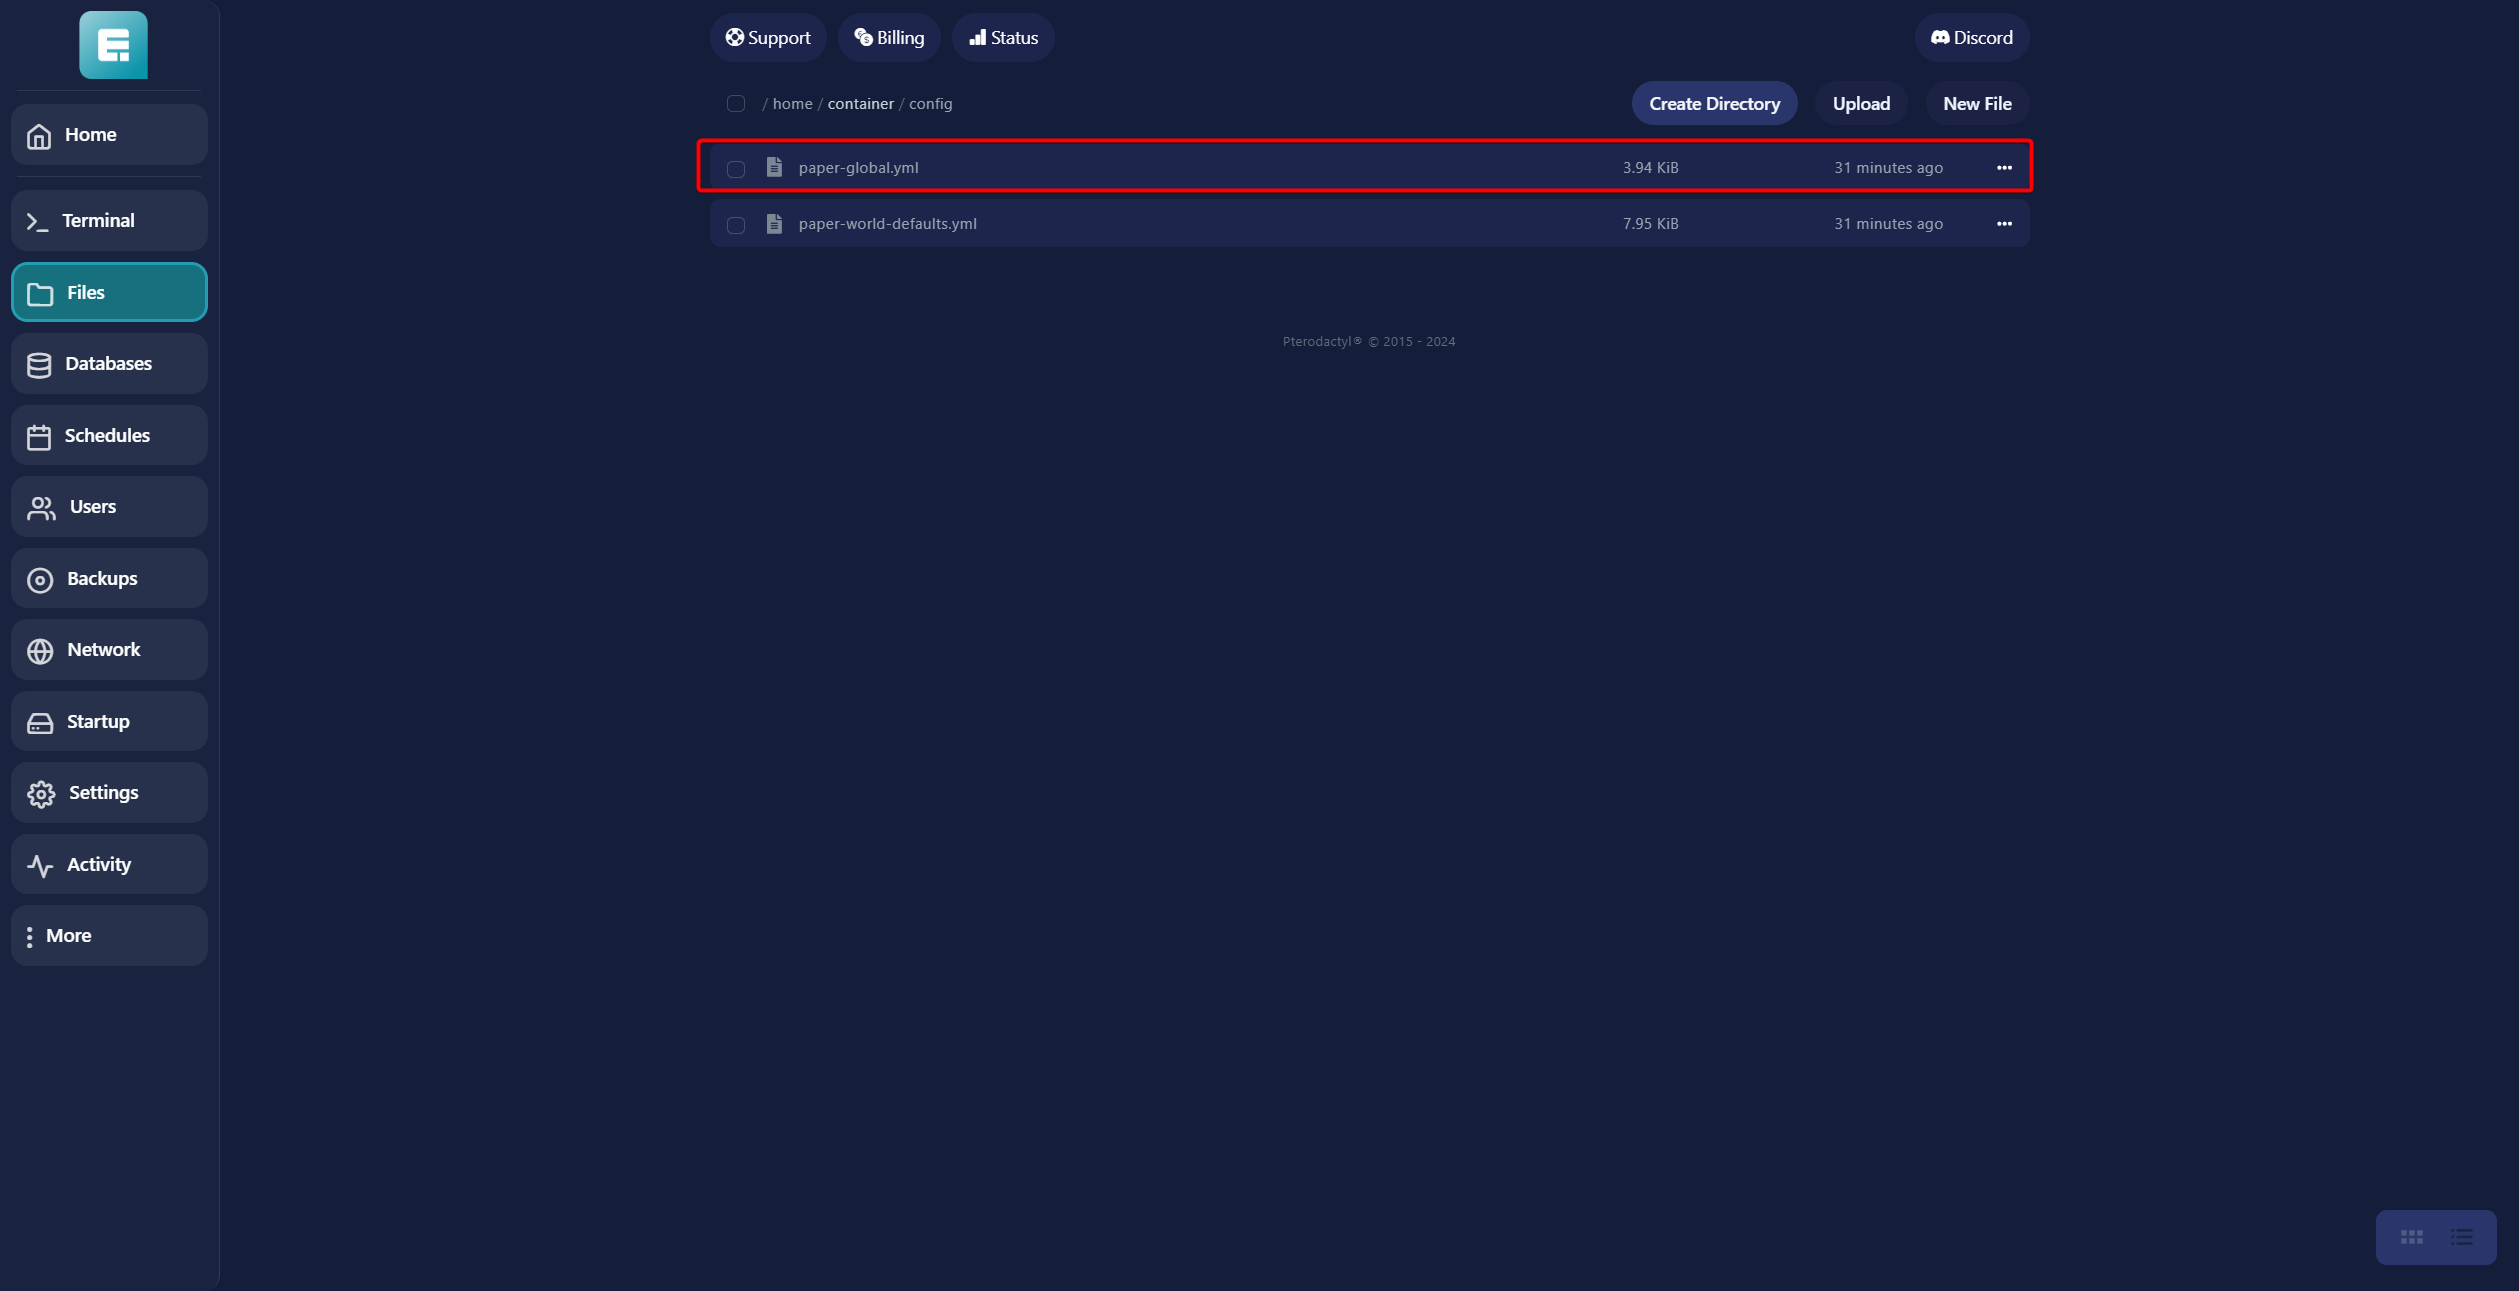
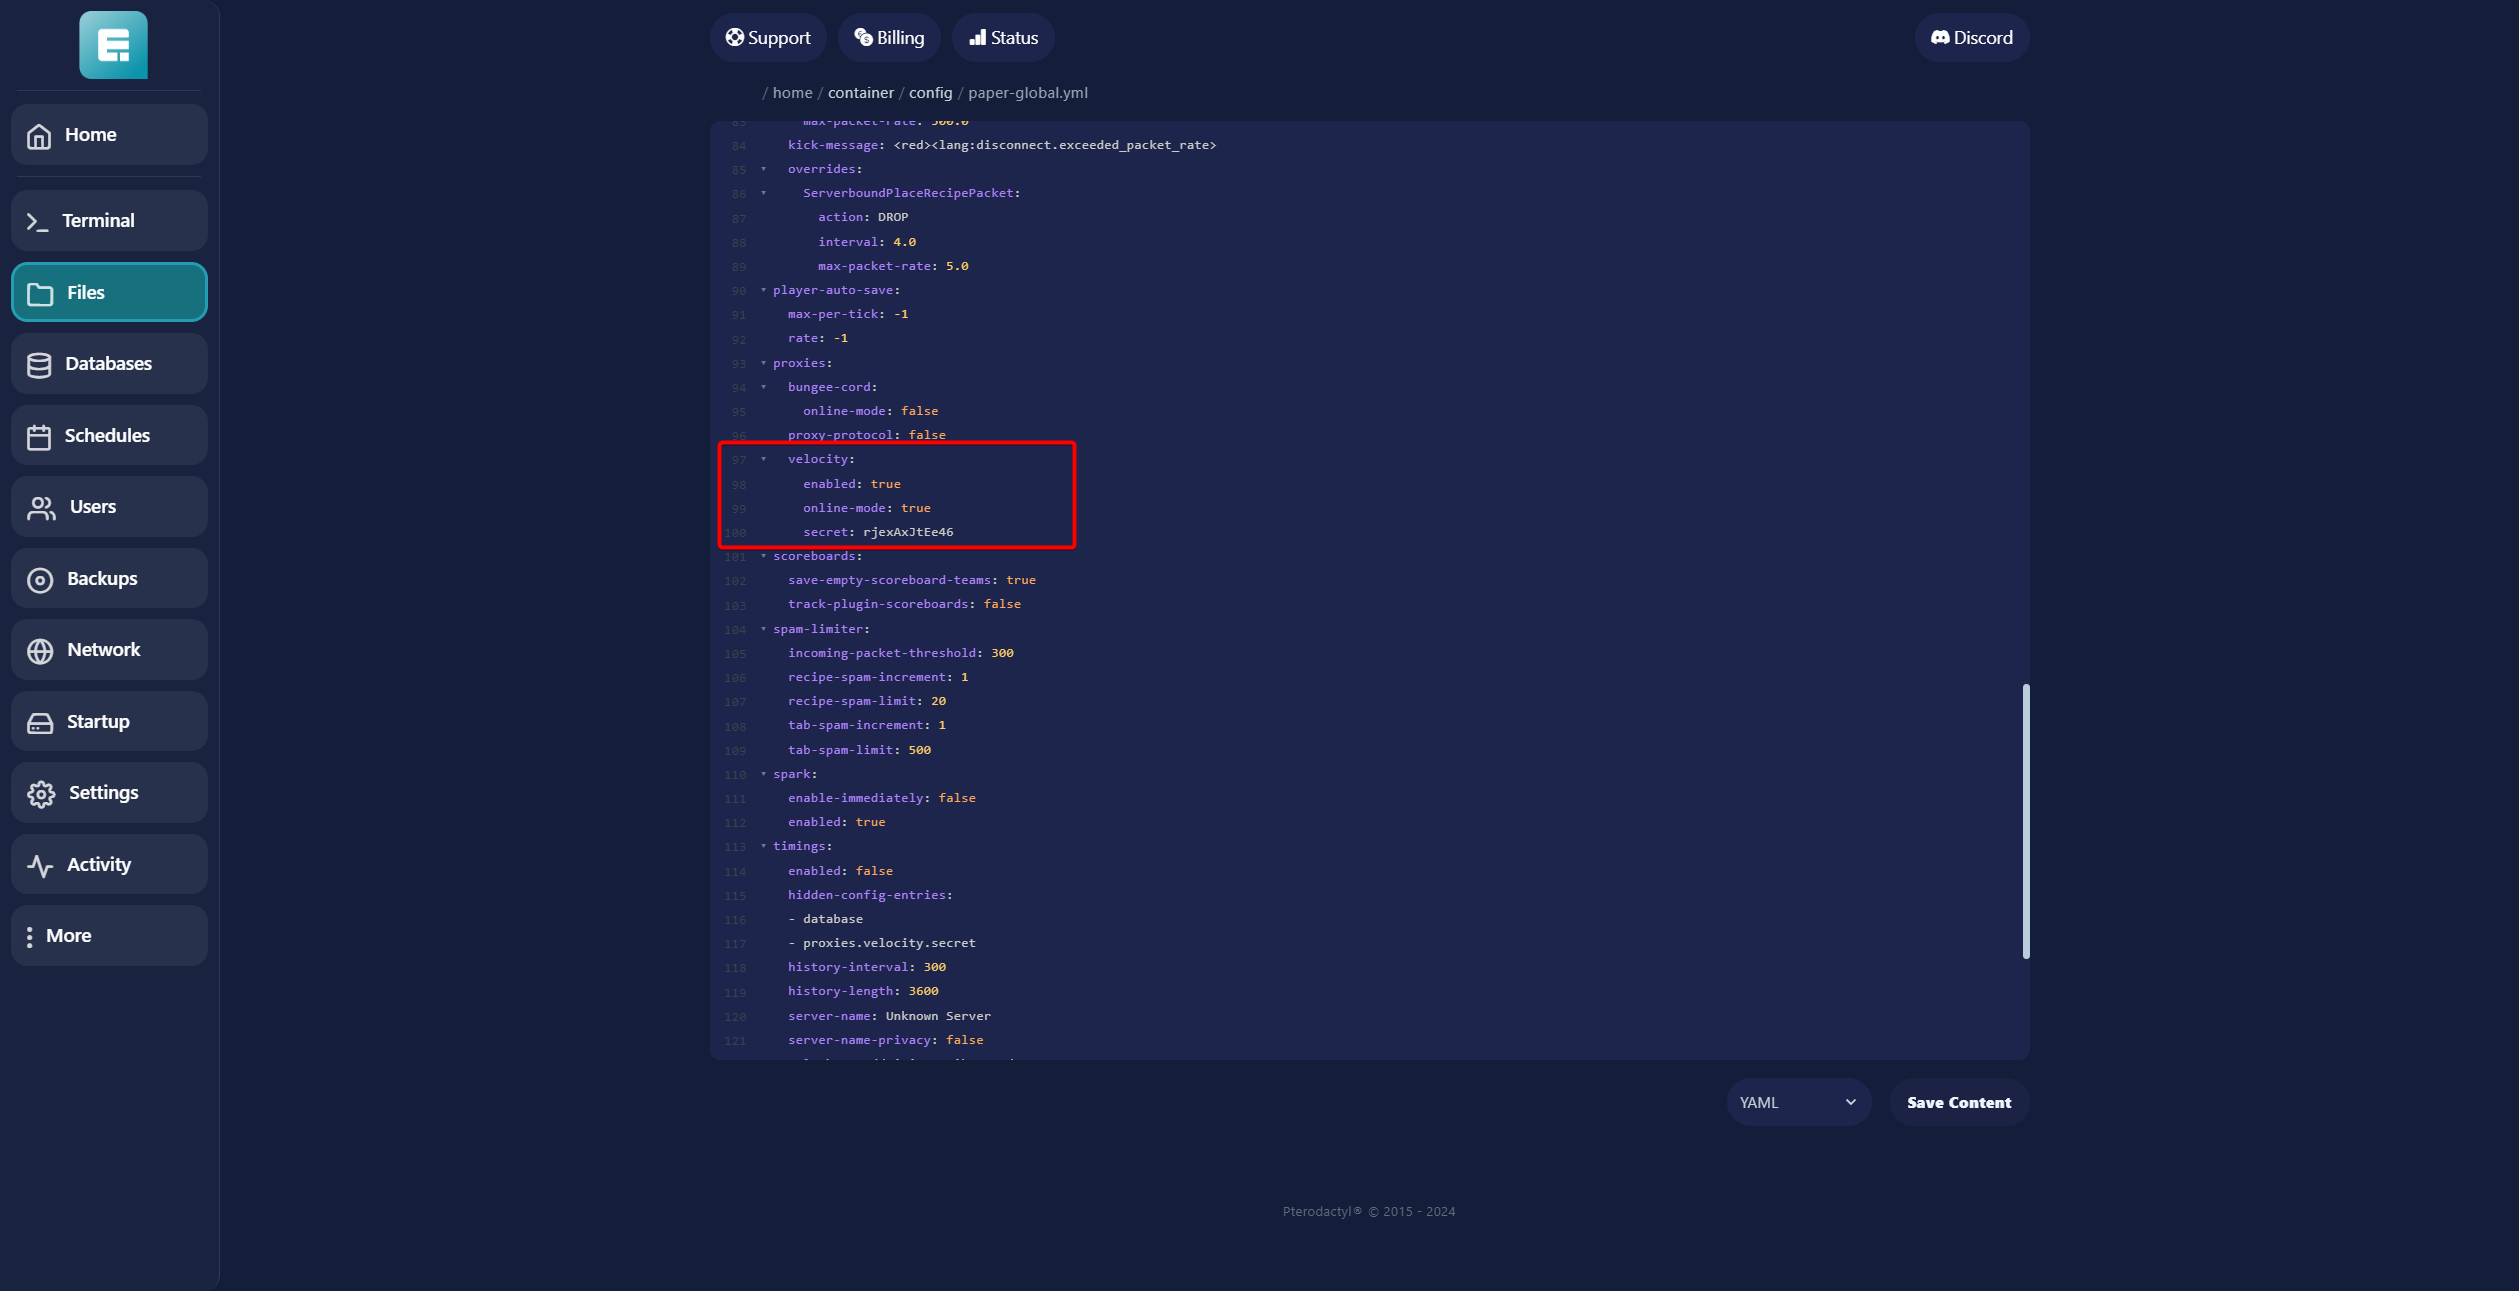
24. Scroll down to proxy and set bungee-cord: online-mode to false.
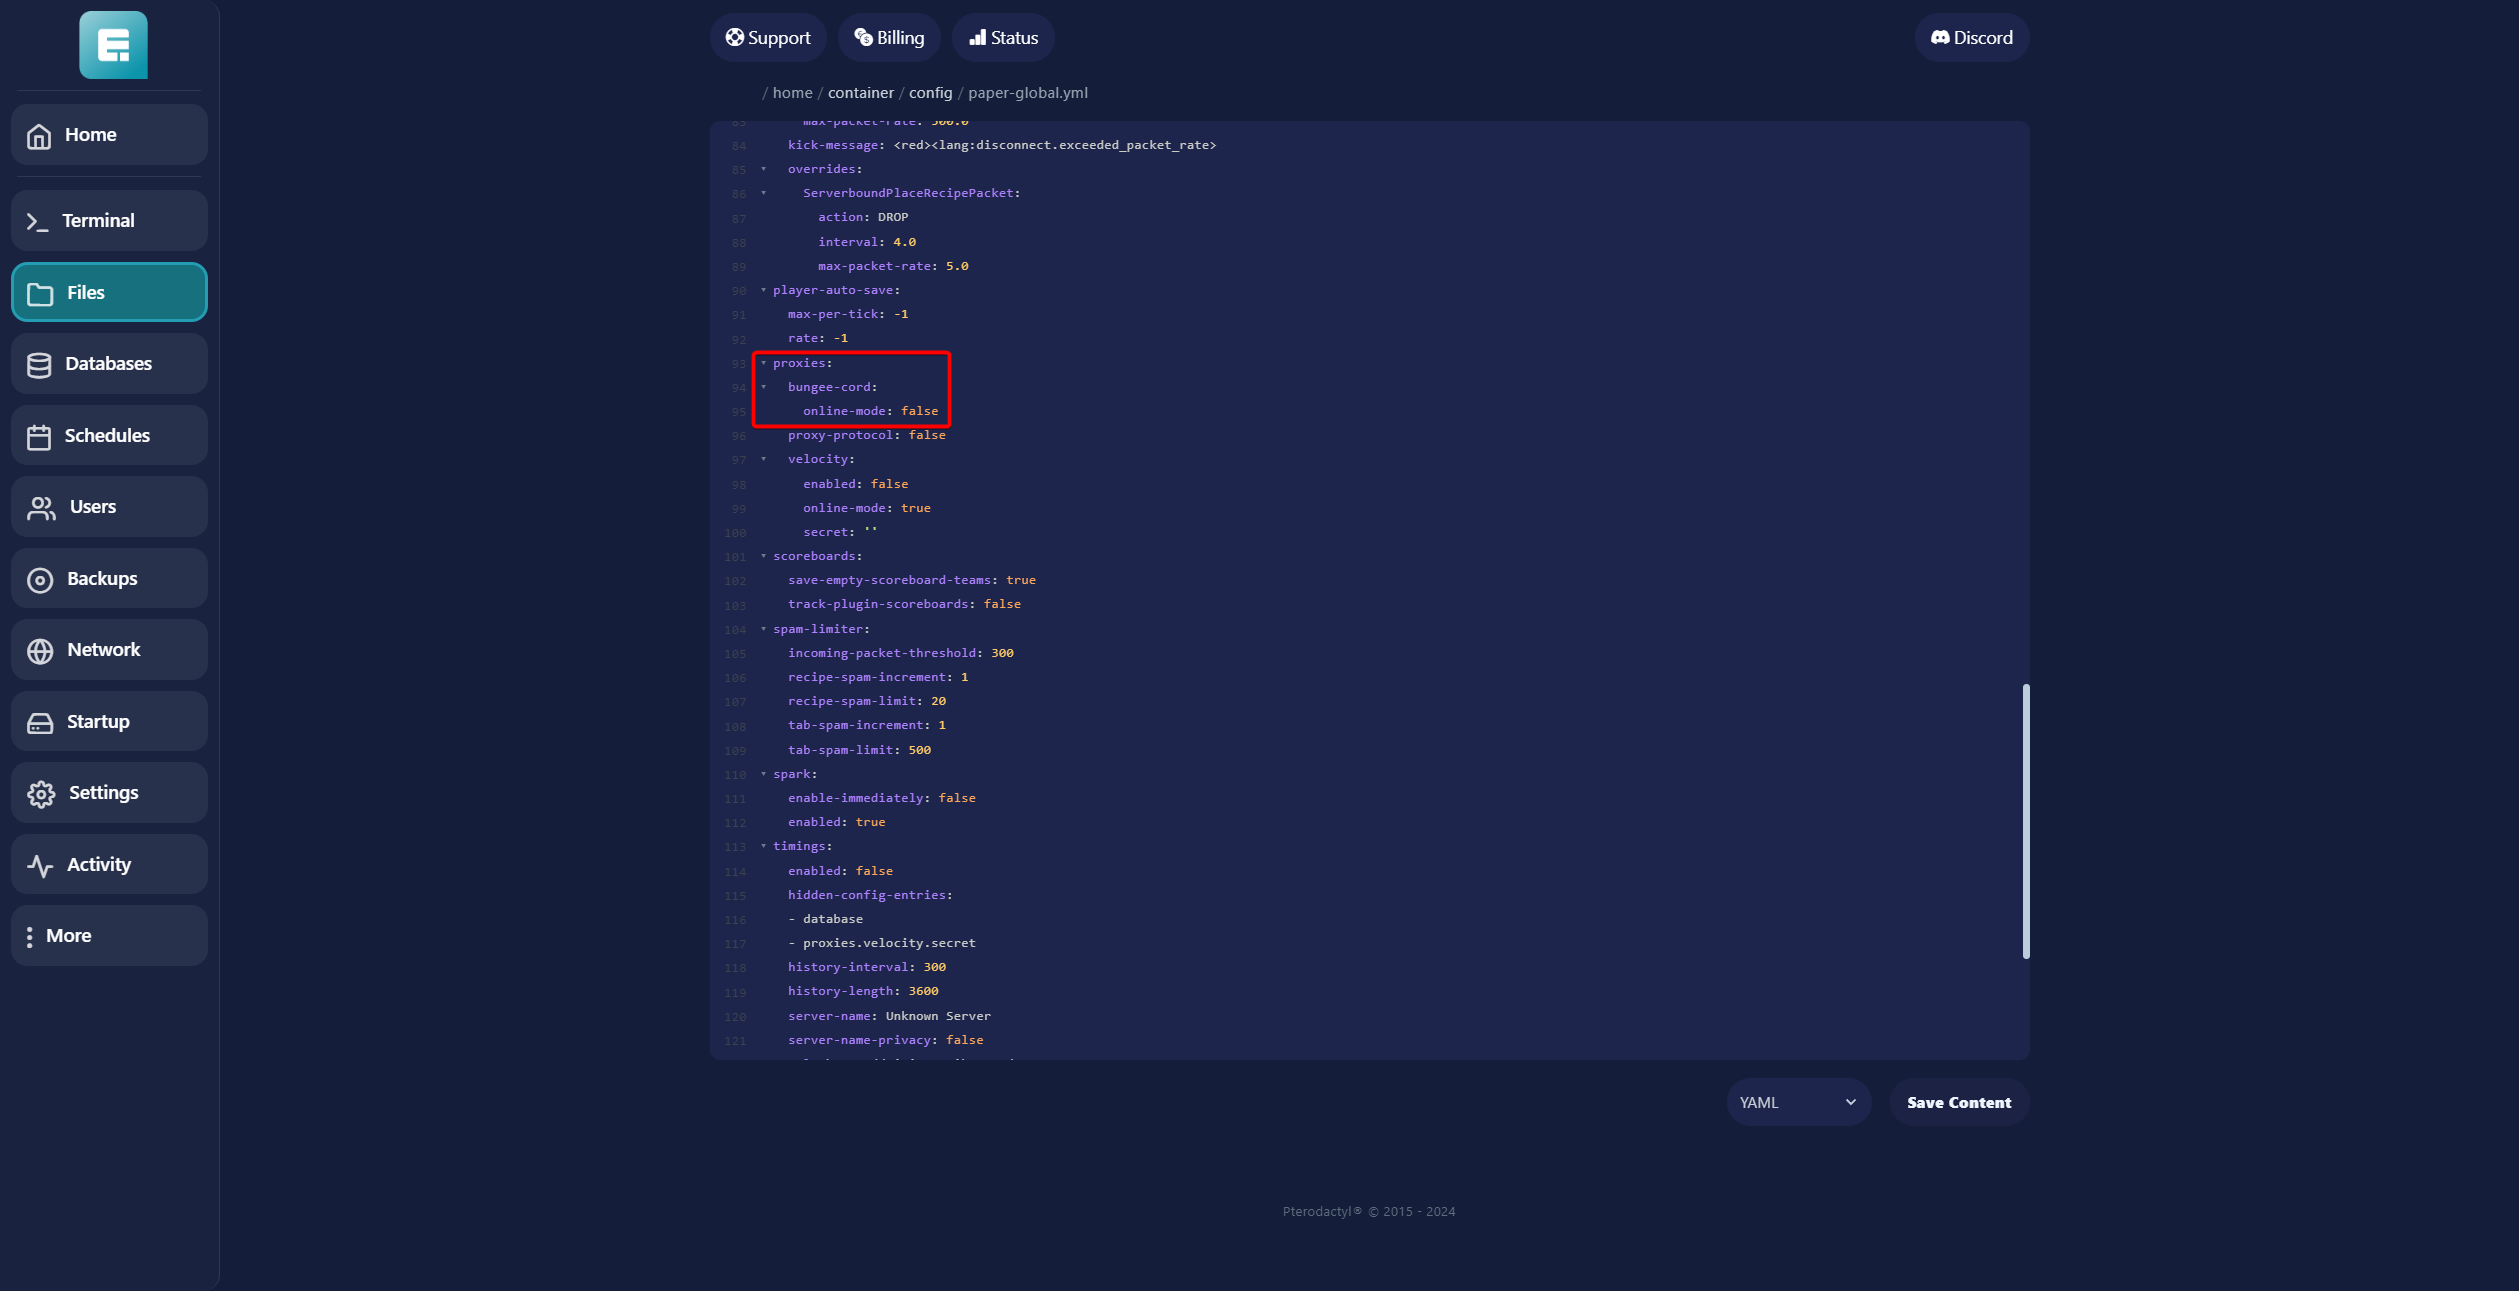
25. Under that, set Velocity: enabled to true.Enter the secret code that you copied earlier from the forwarding.secret file on the Bungee server.
26. Click Save Content and restart the server.
