How do I install simple voice chat on my Minecraft server?
Here’s how you can install Simple Voice Chat on your Minecraft server!
Here’s how you can install Simple Voice Chat on your Minecraft server!
For modded servers scroll down.
For Spigot/Paper Servers:
- Go to your desired server via the game panel.
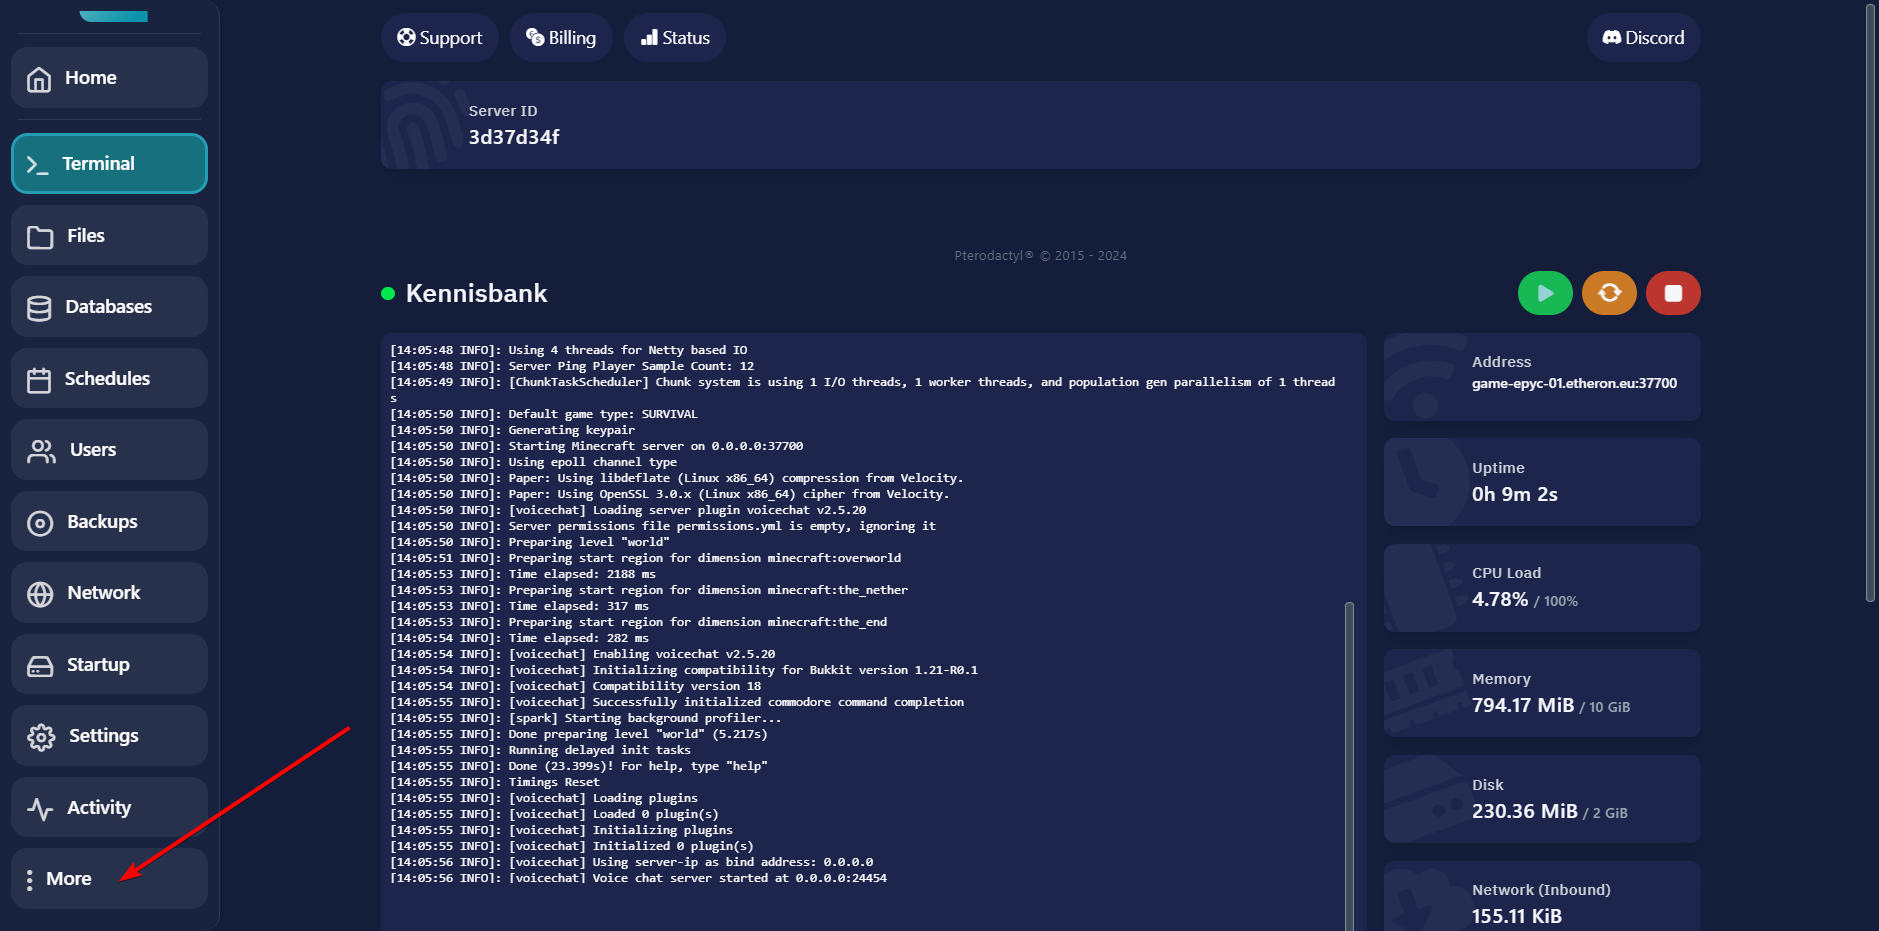
Ensure your server is running on Spigot or Paper. If not, check here for instructions on how to install it!2. Click on More.
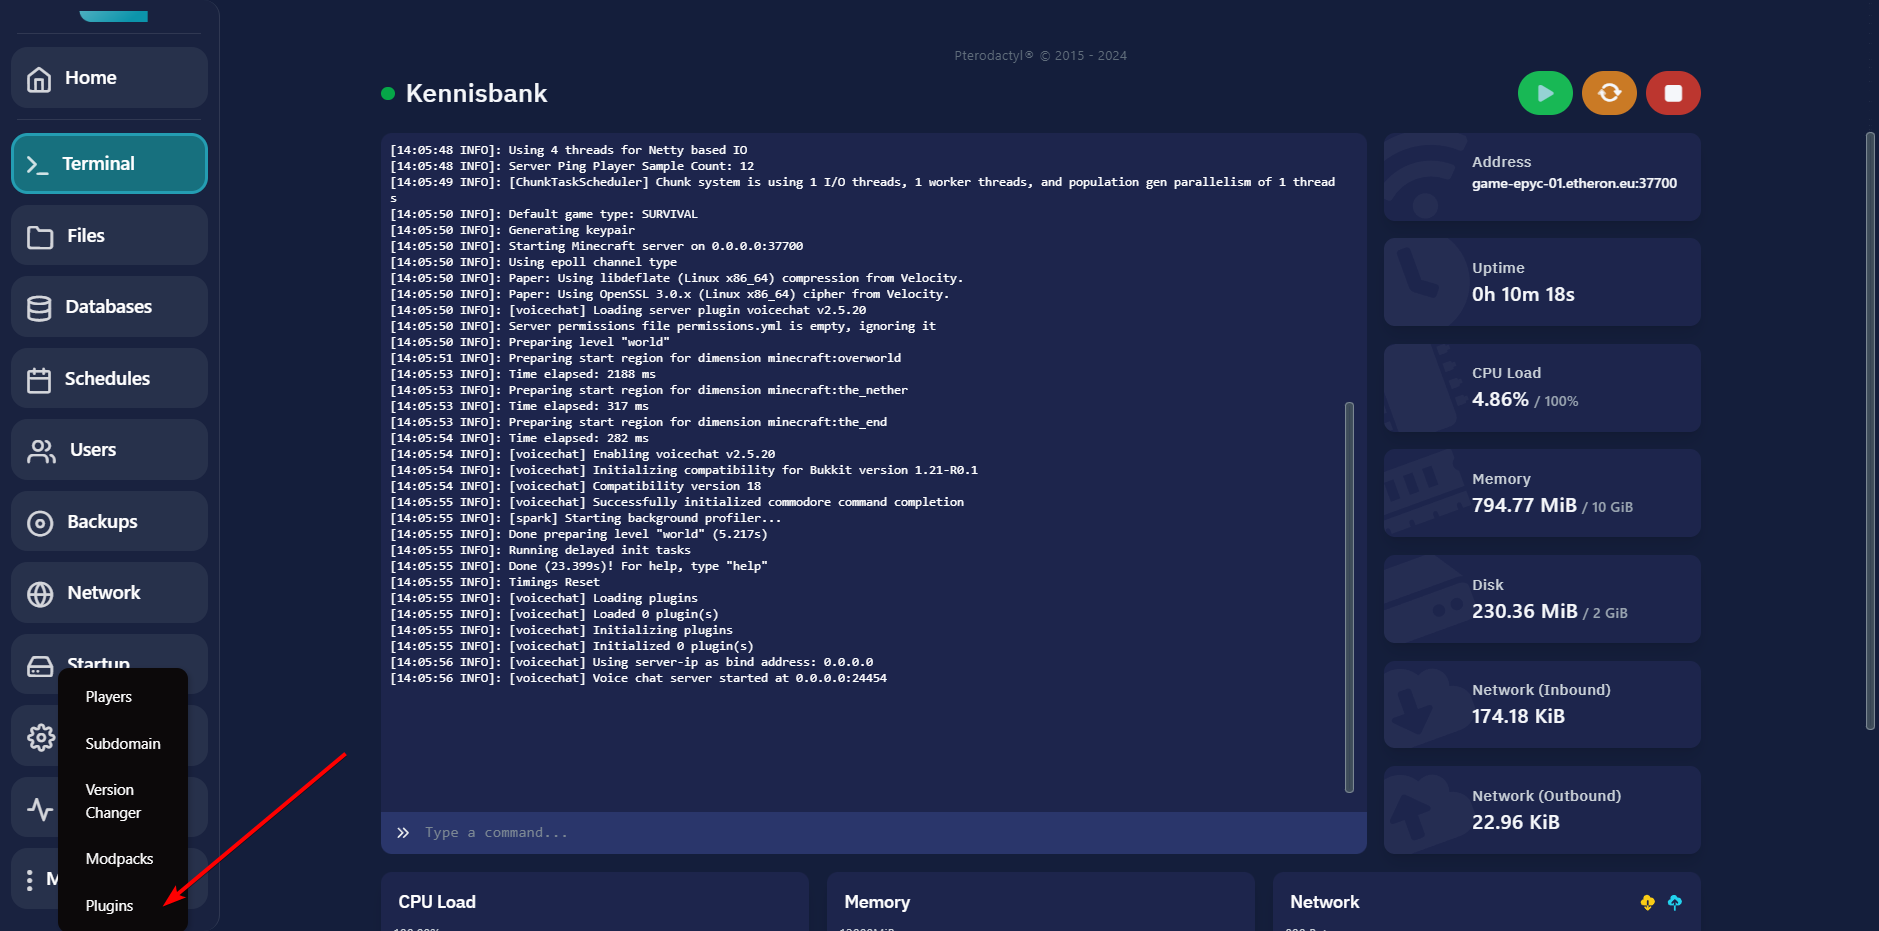
- Click on Plugins.
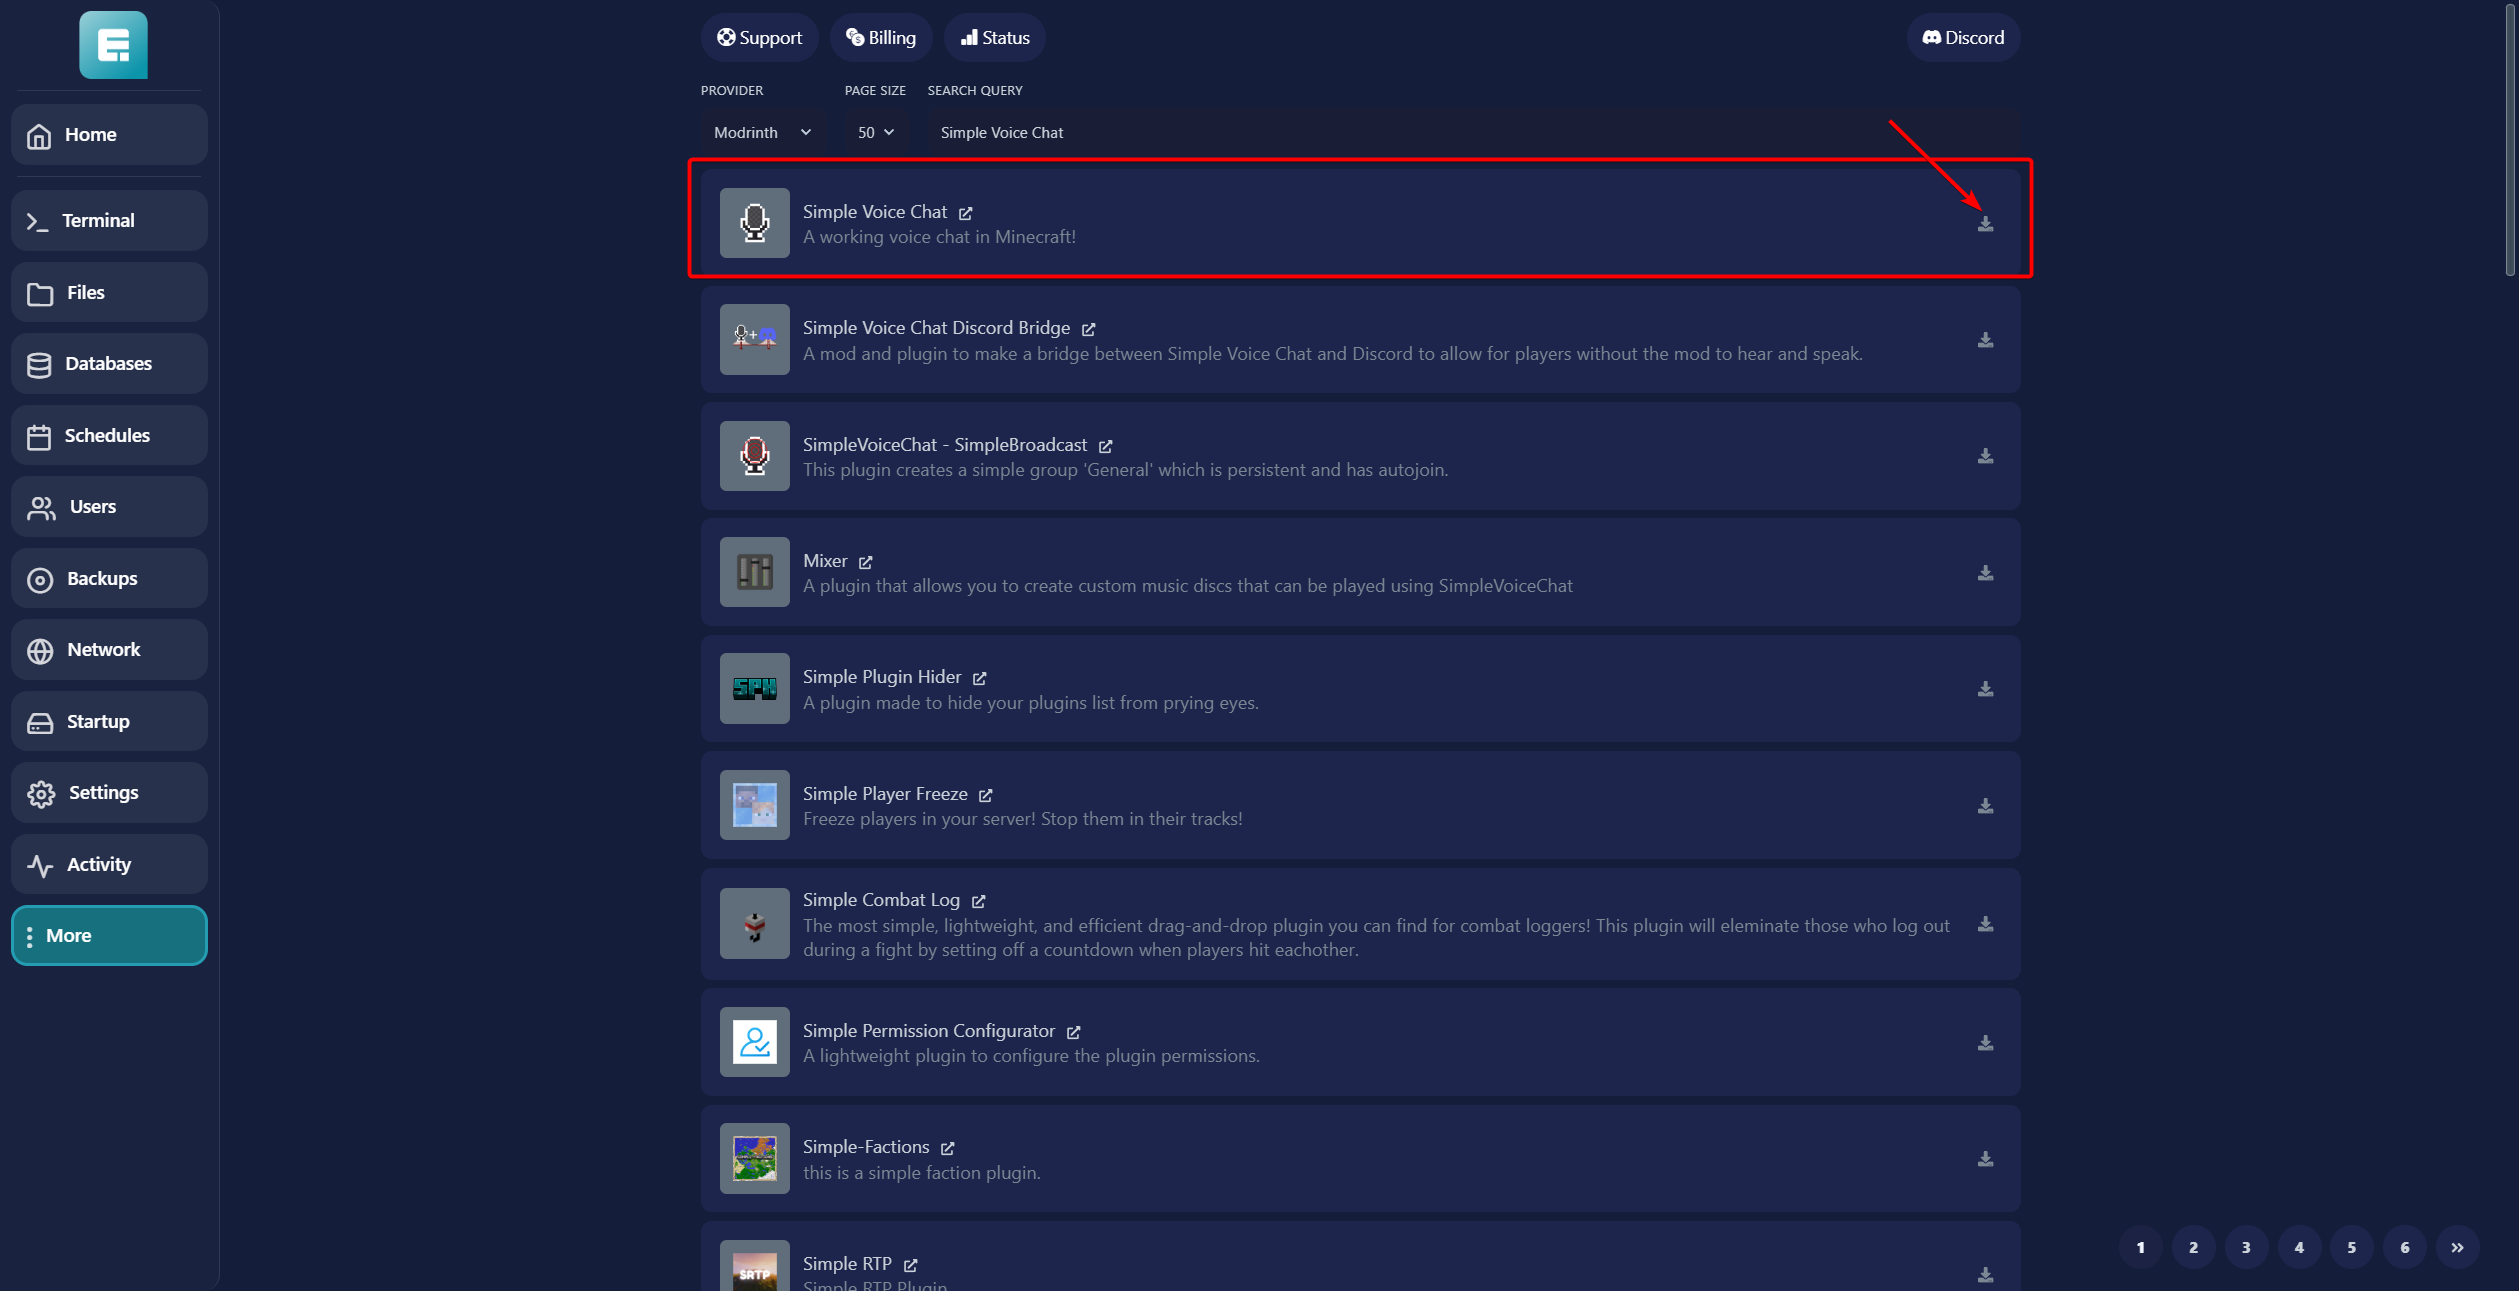
- Search for "Simple Voice Chat."

- Click on the Download button on the right side.
-
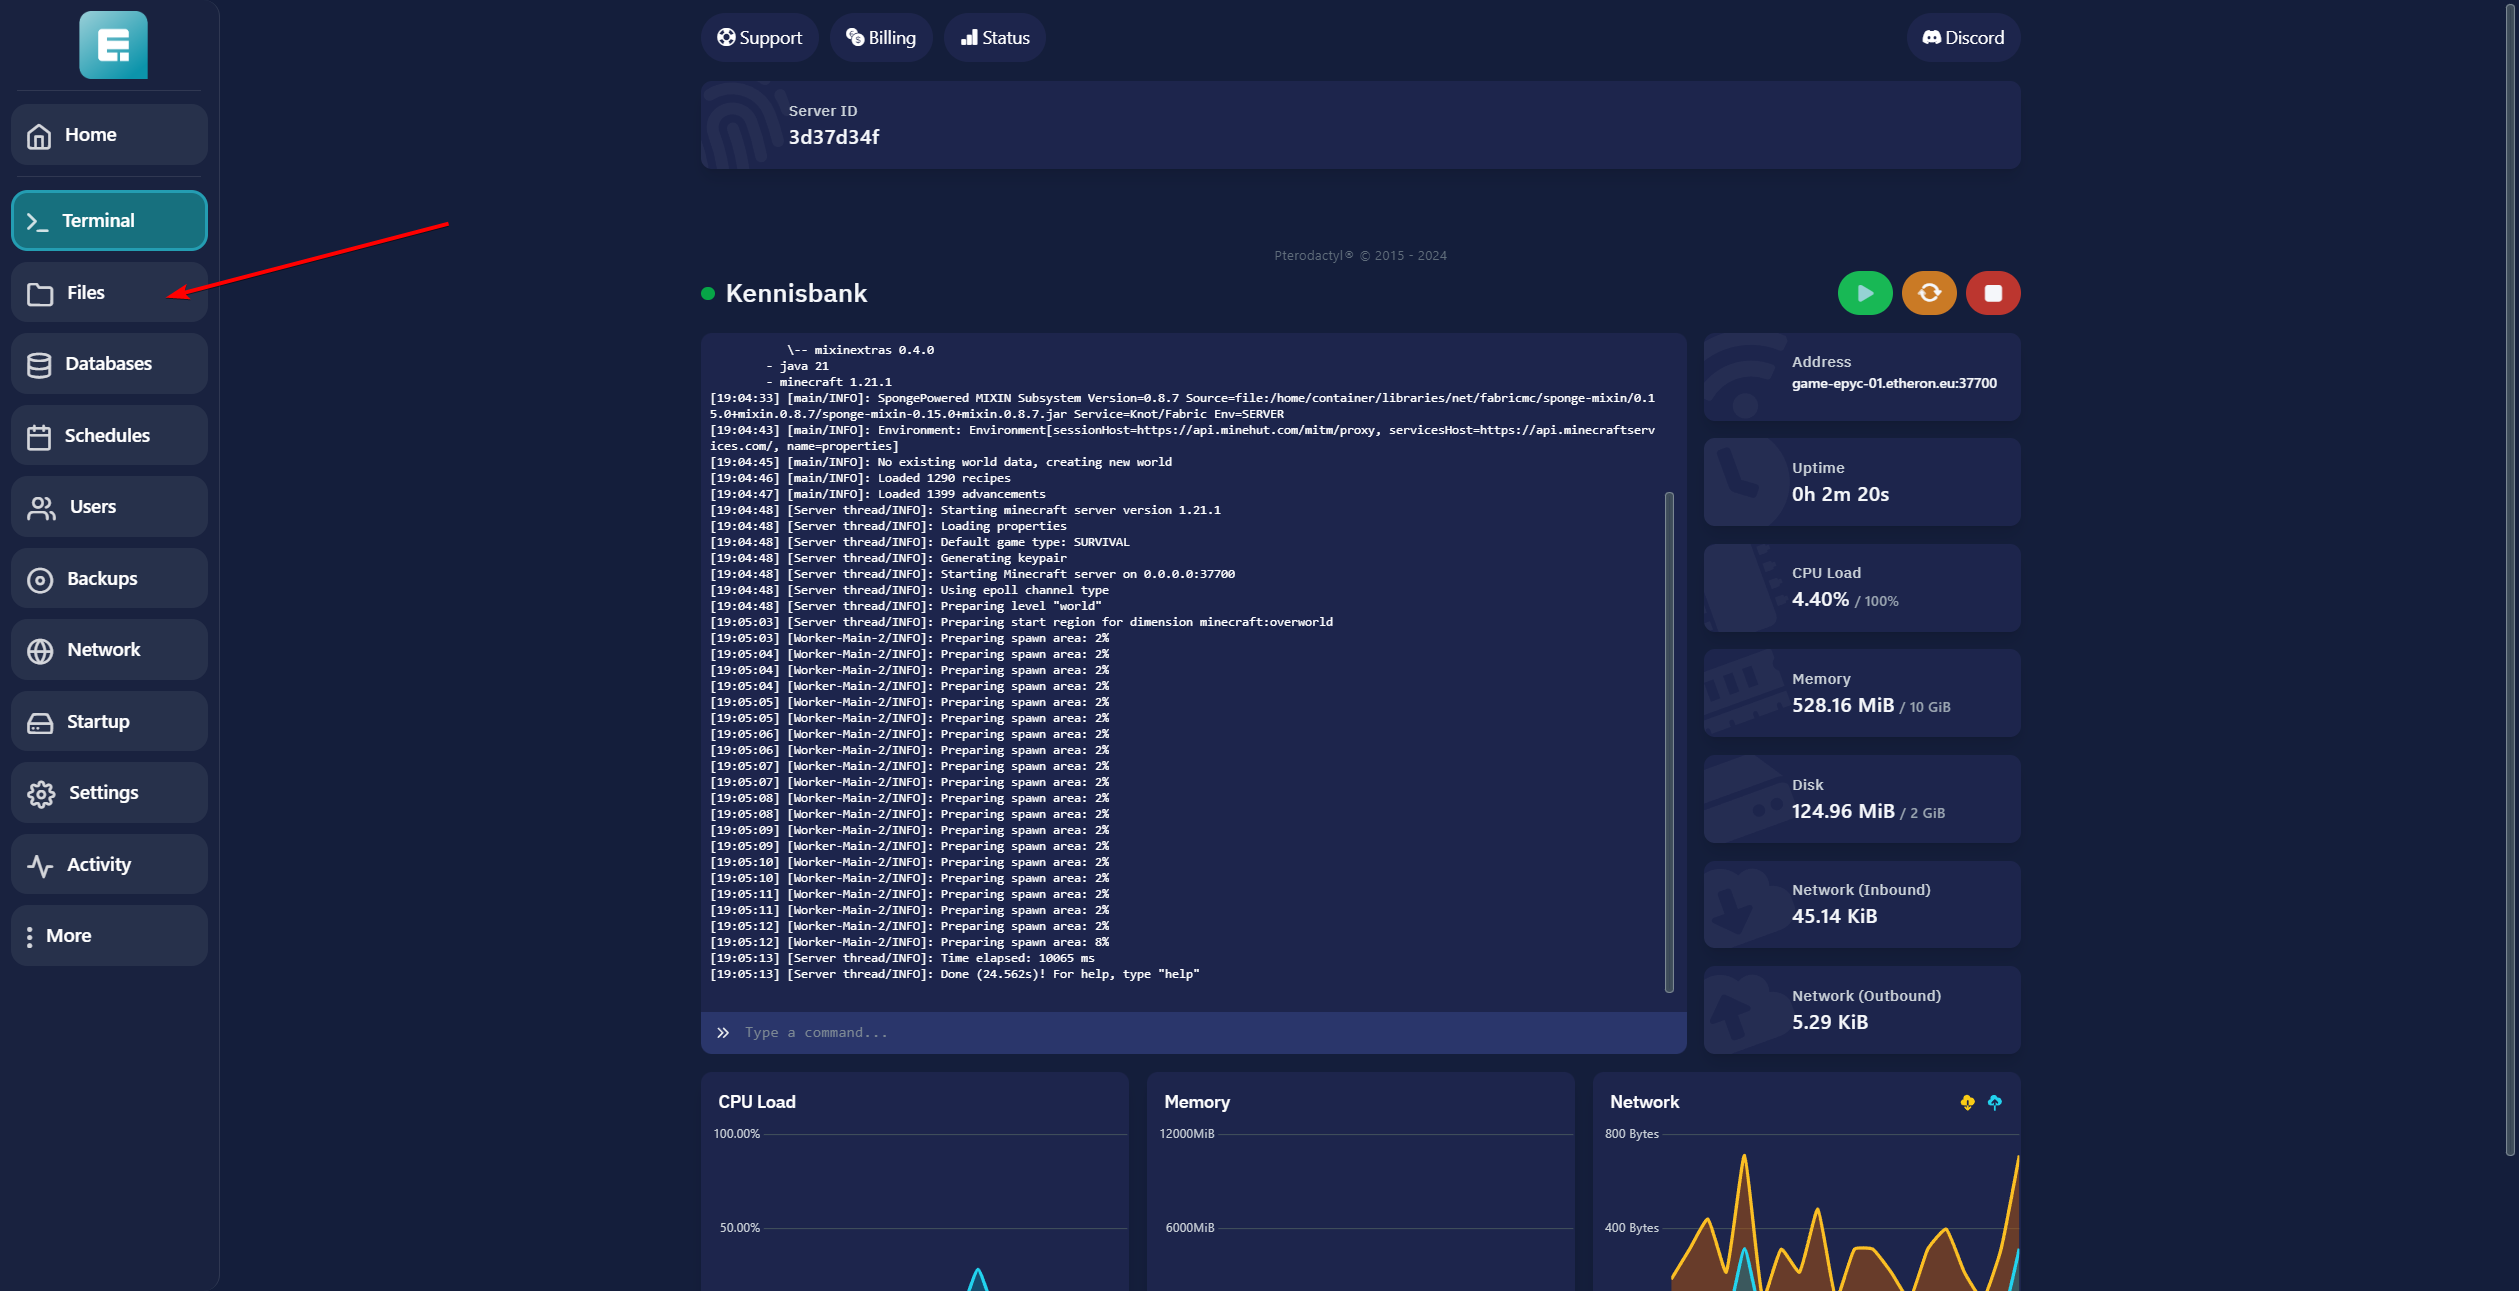
Go to the Terminal and restart the server.
-
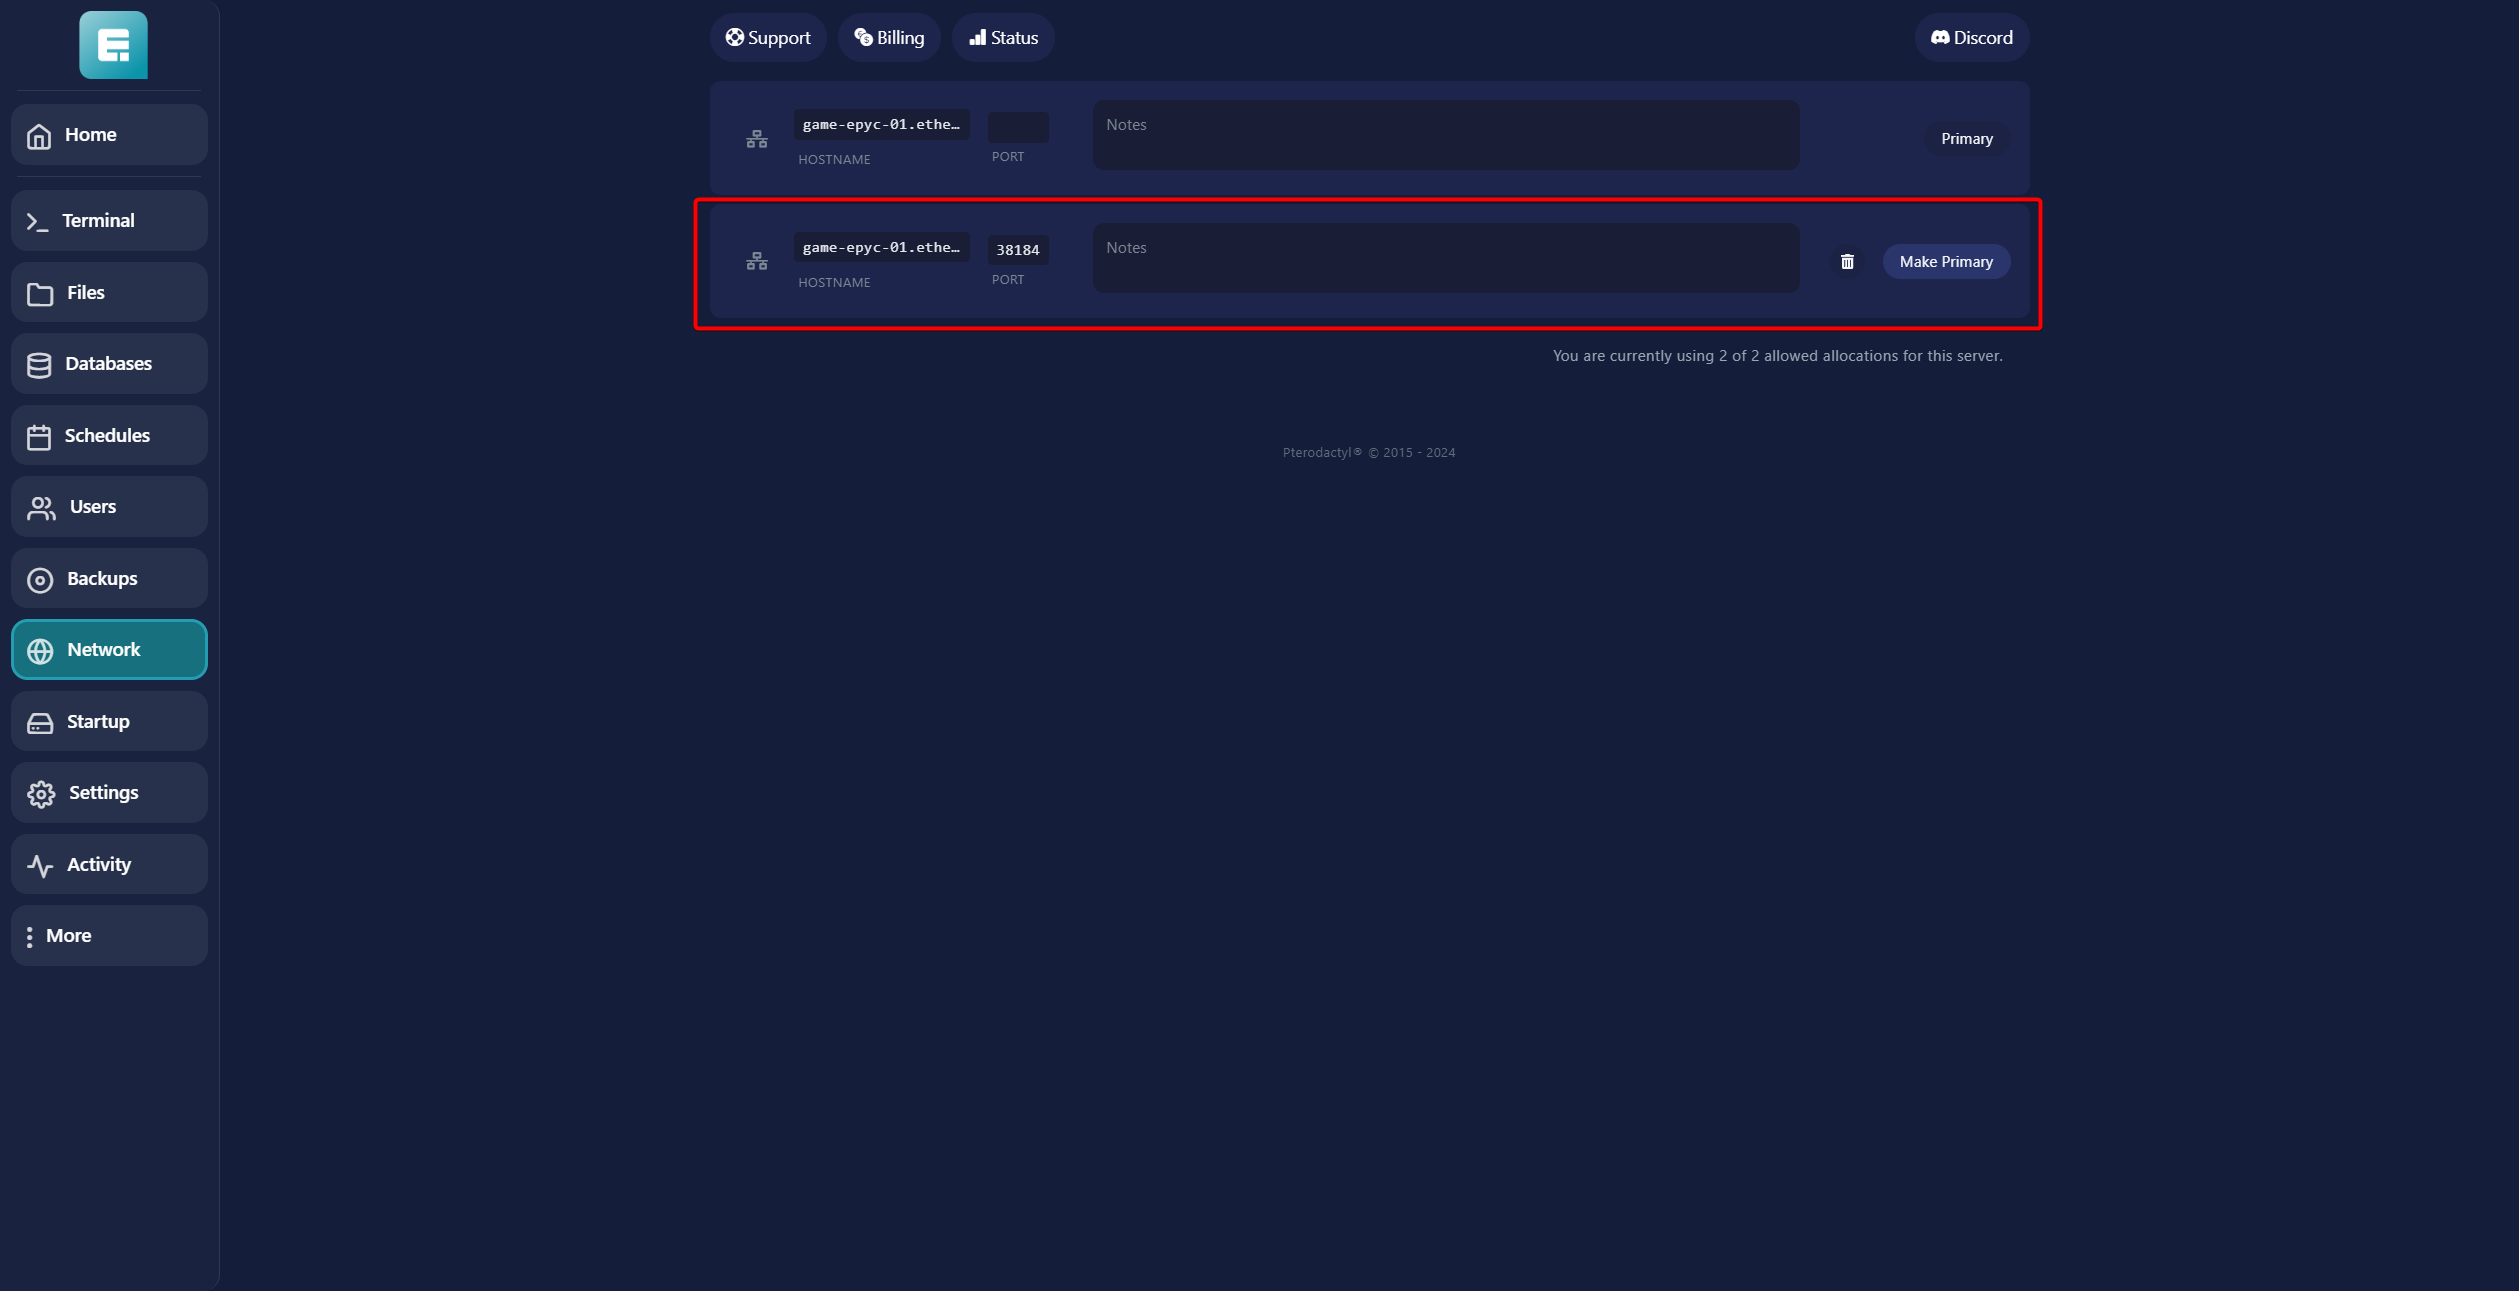
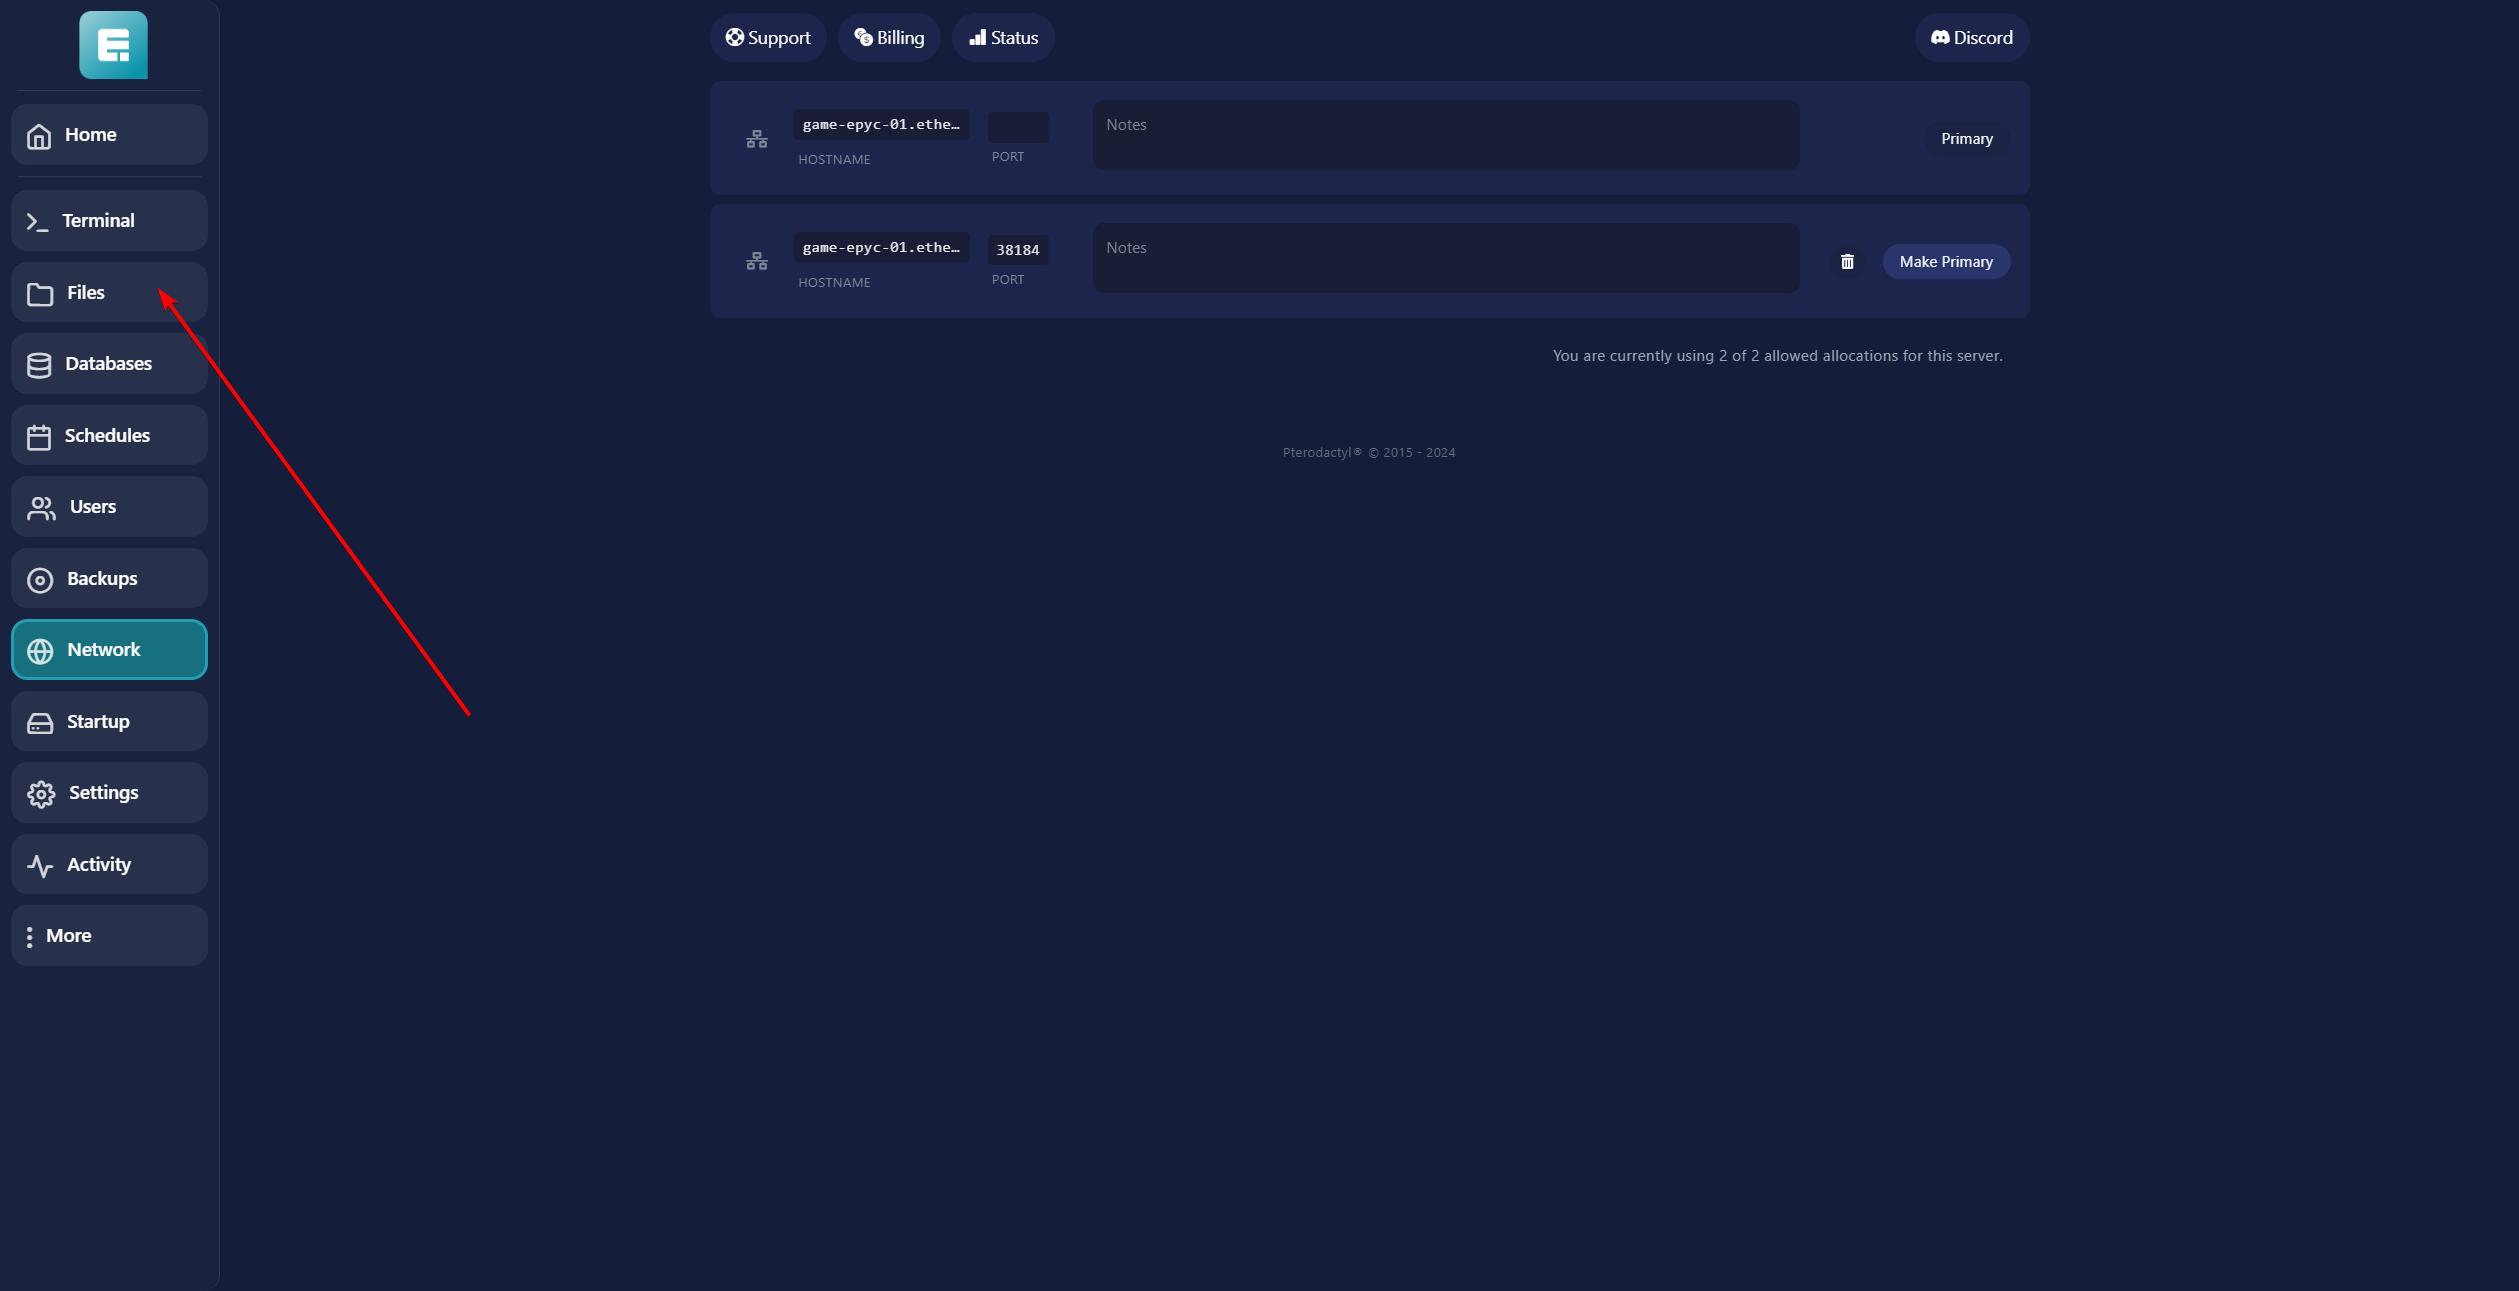
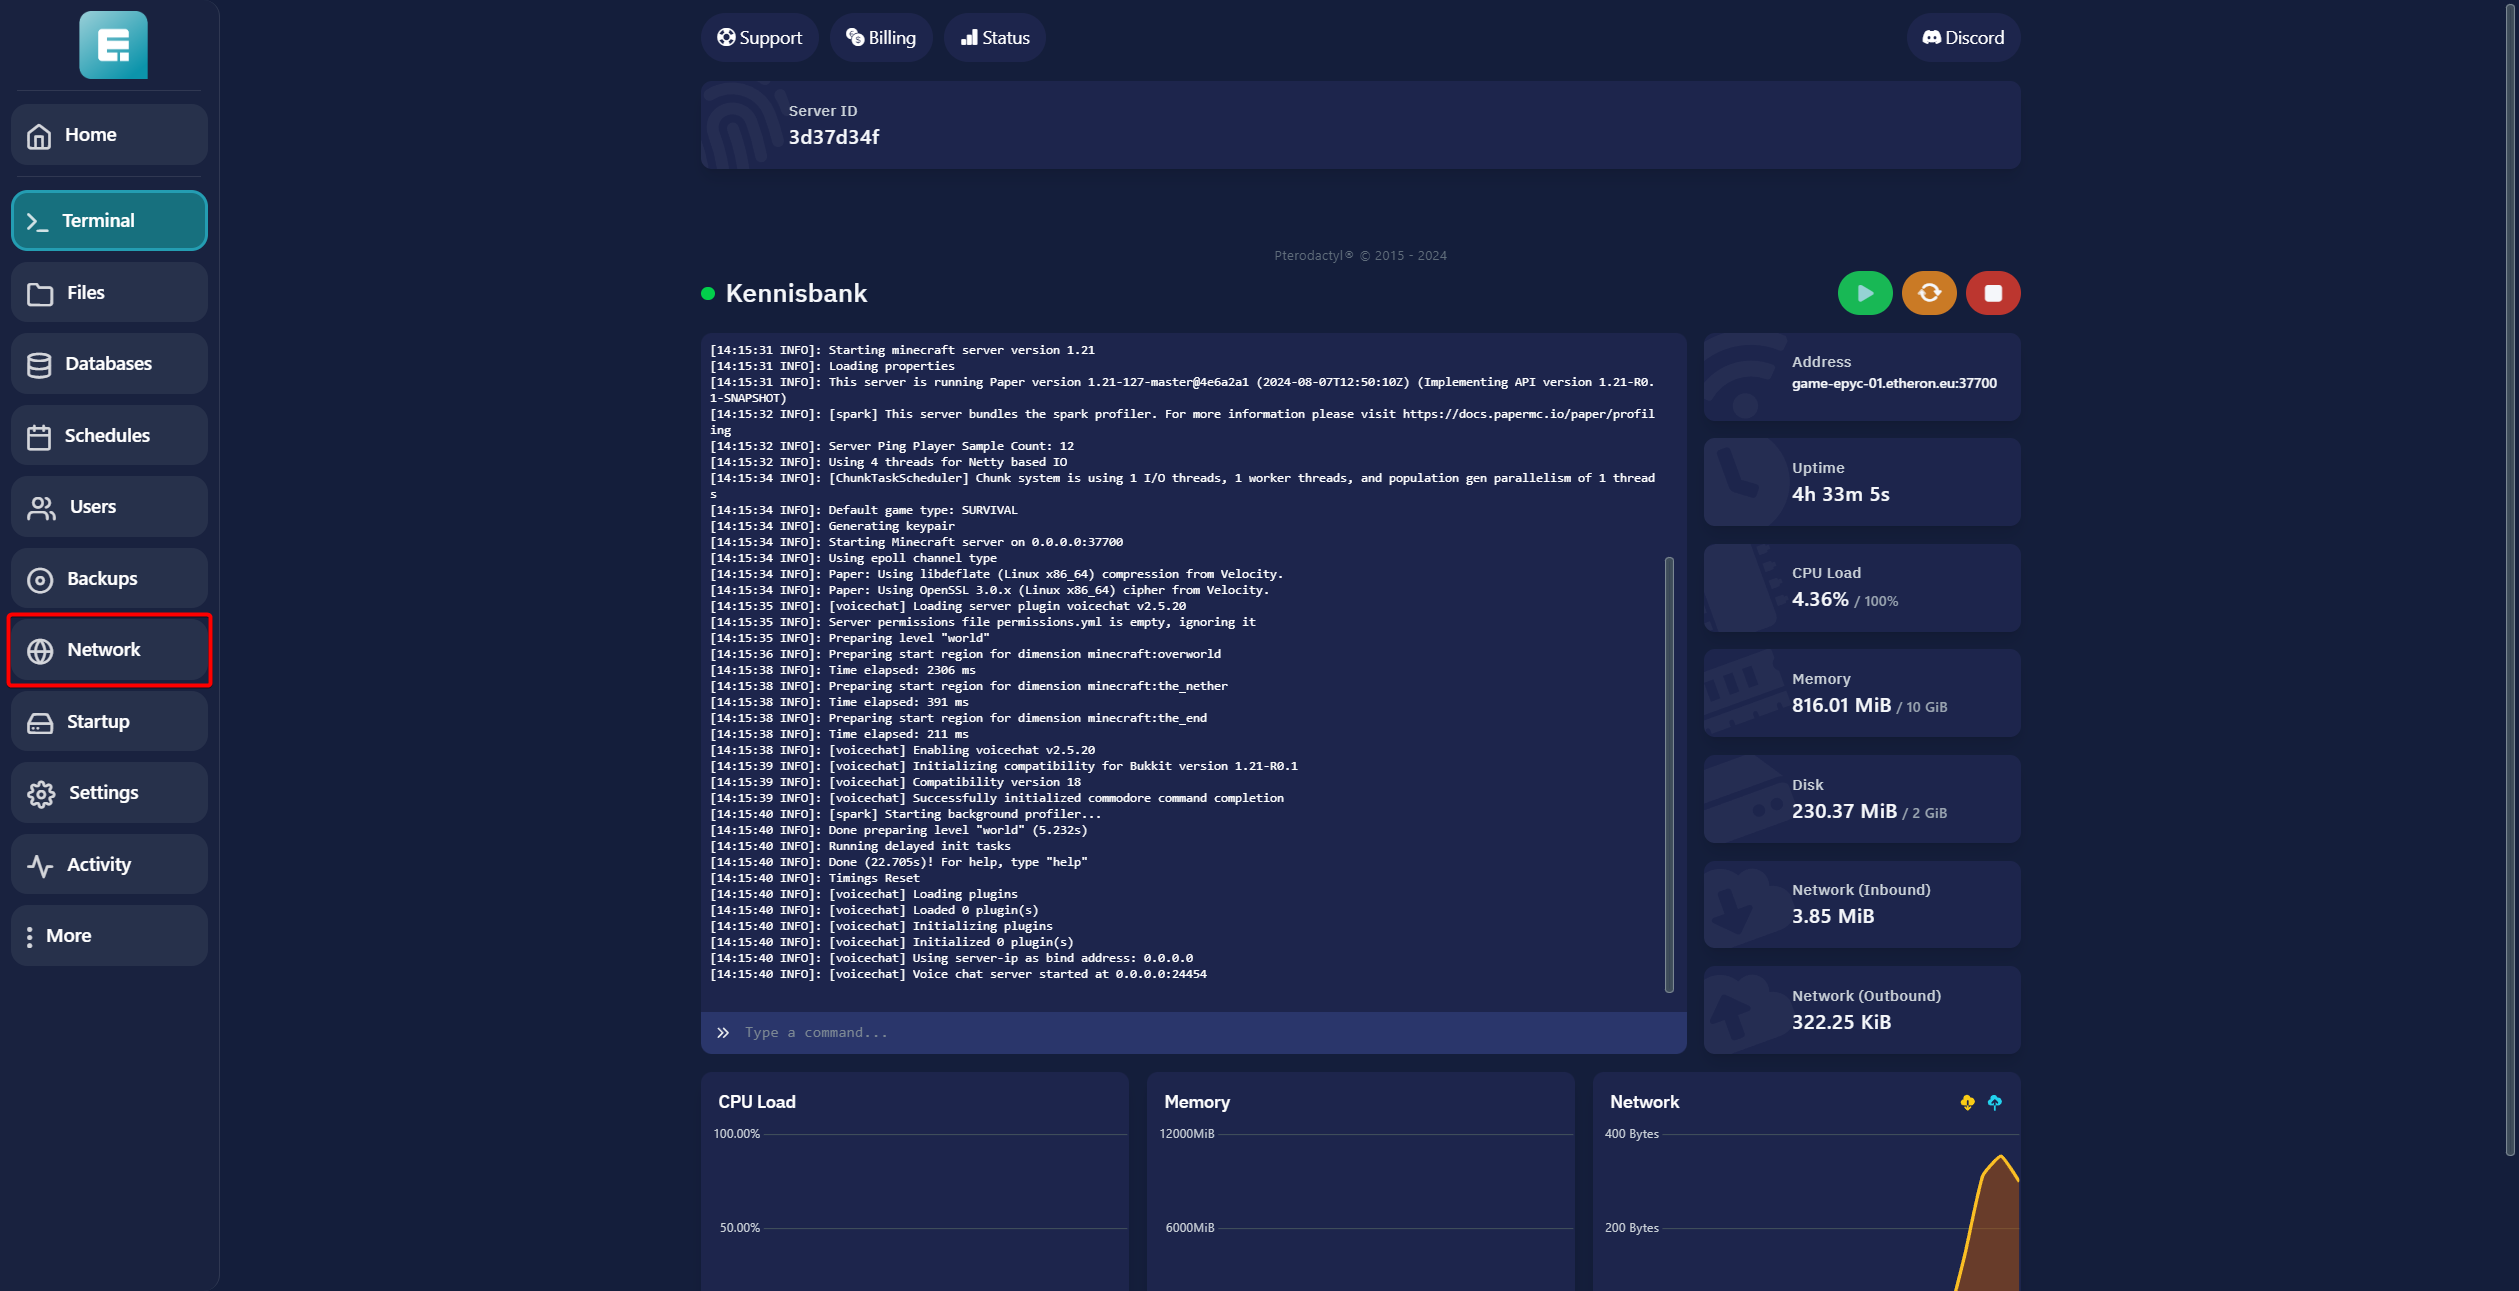
Navigate to Network.

- Click on Create Allocation.
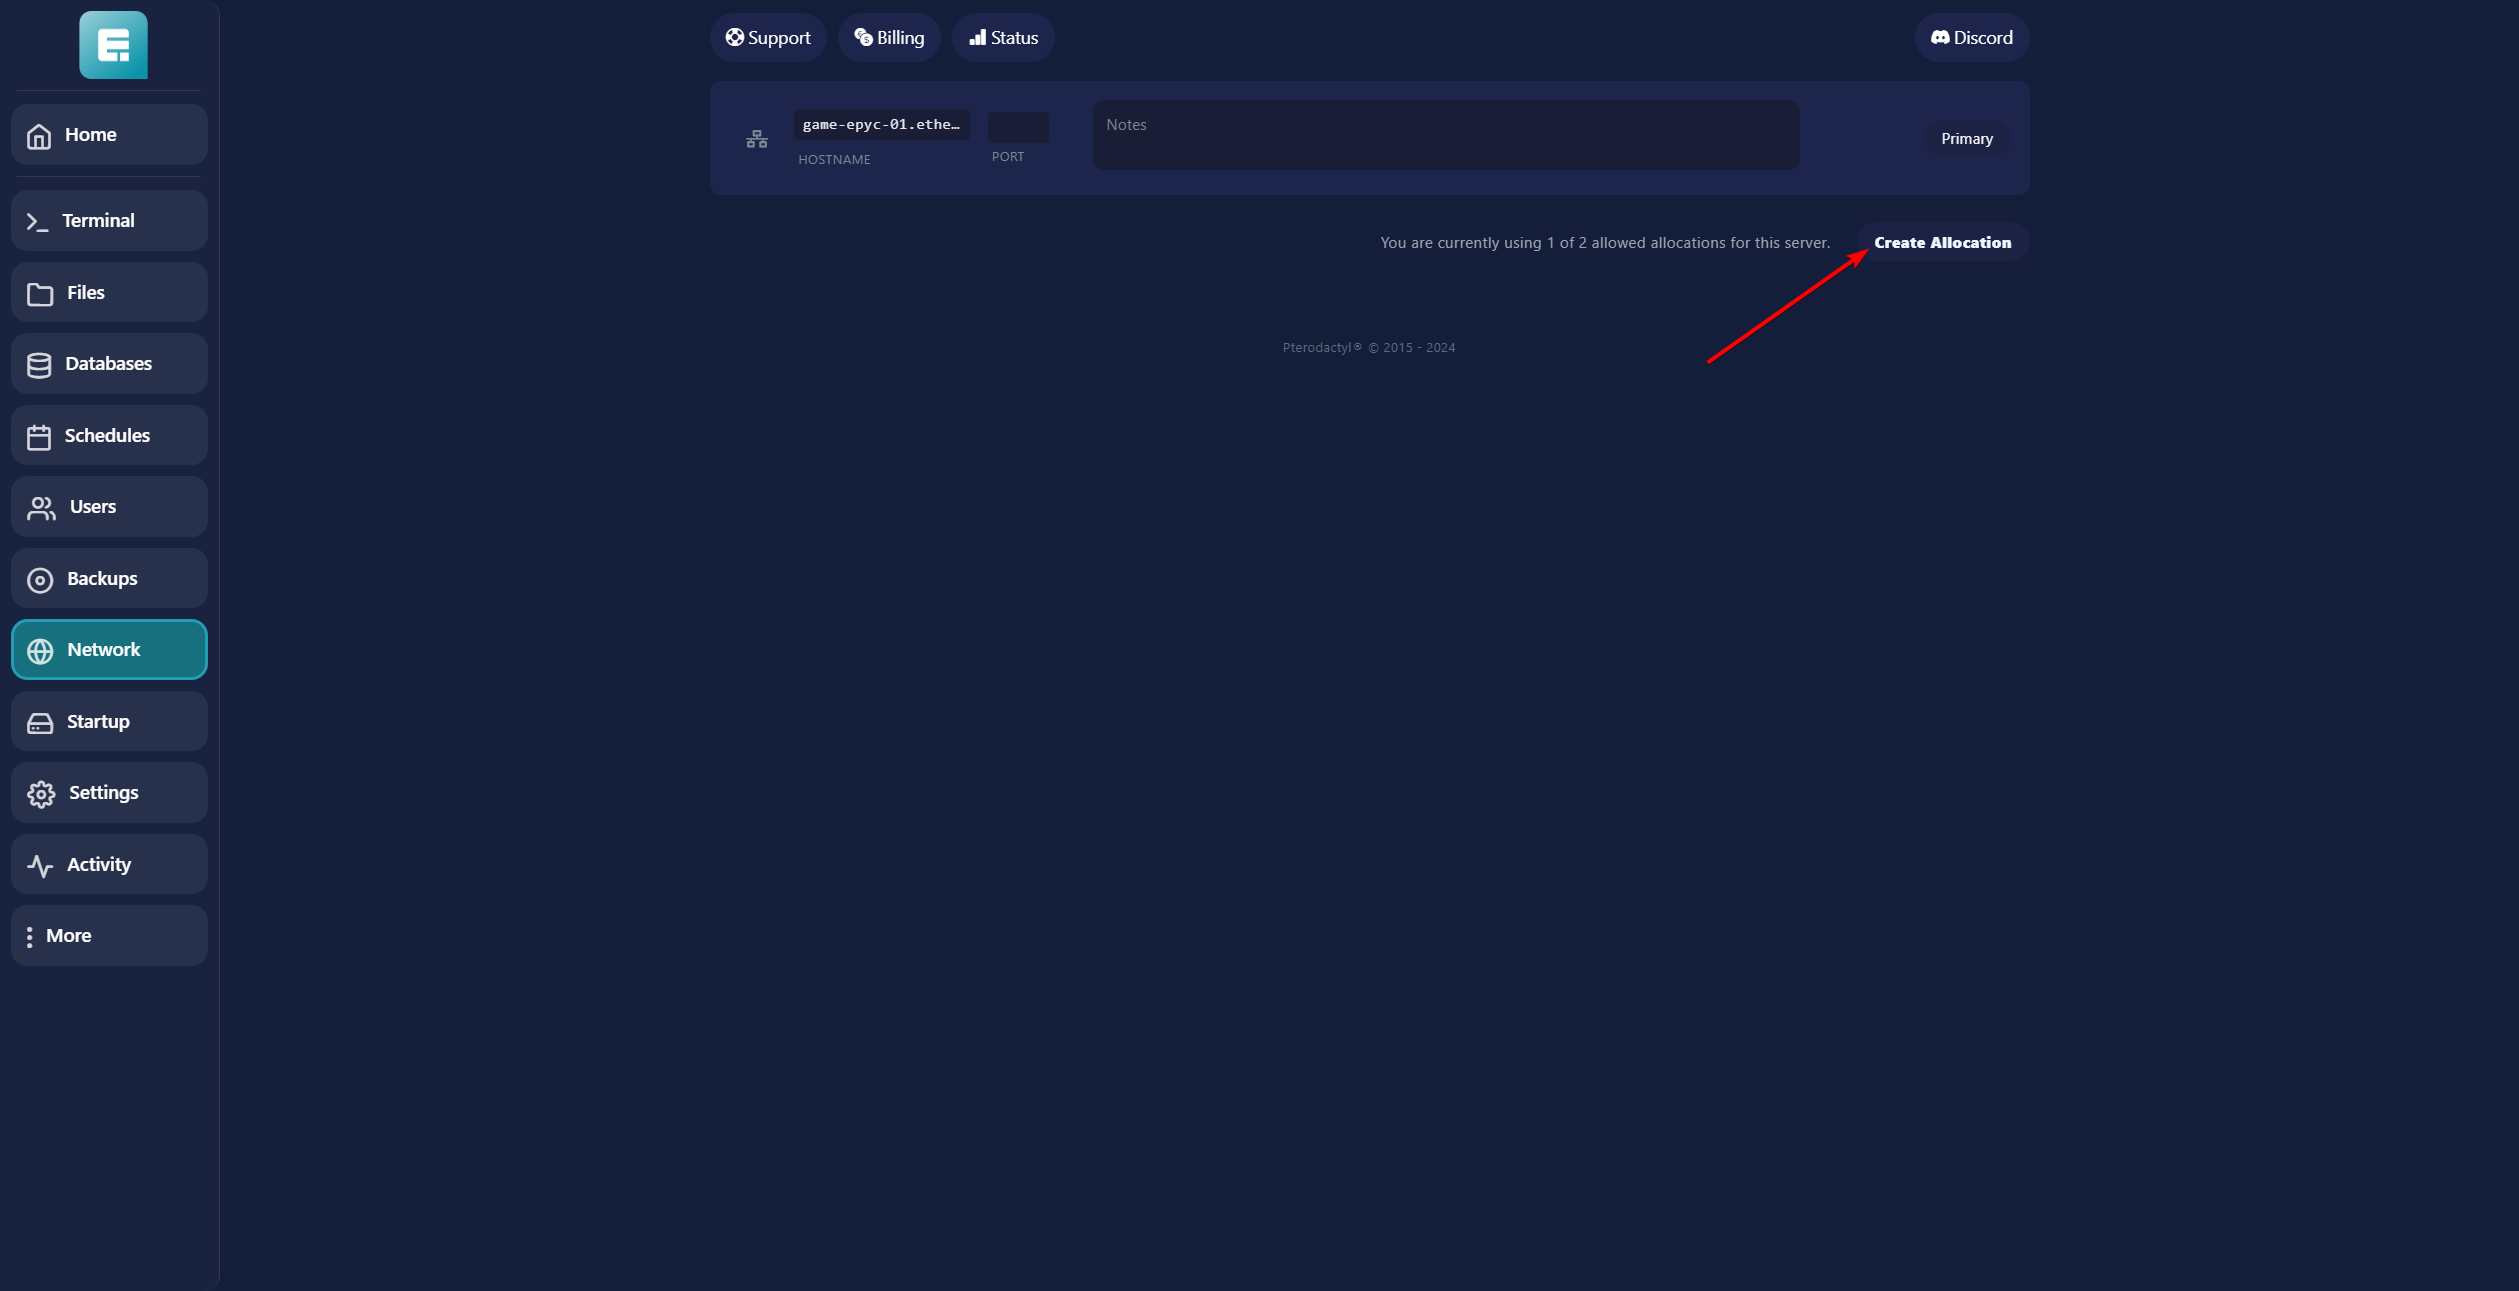
- Save the newly created port.
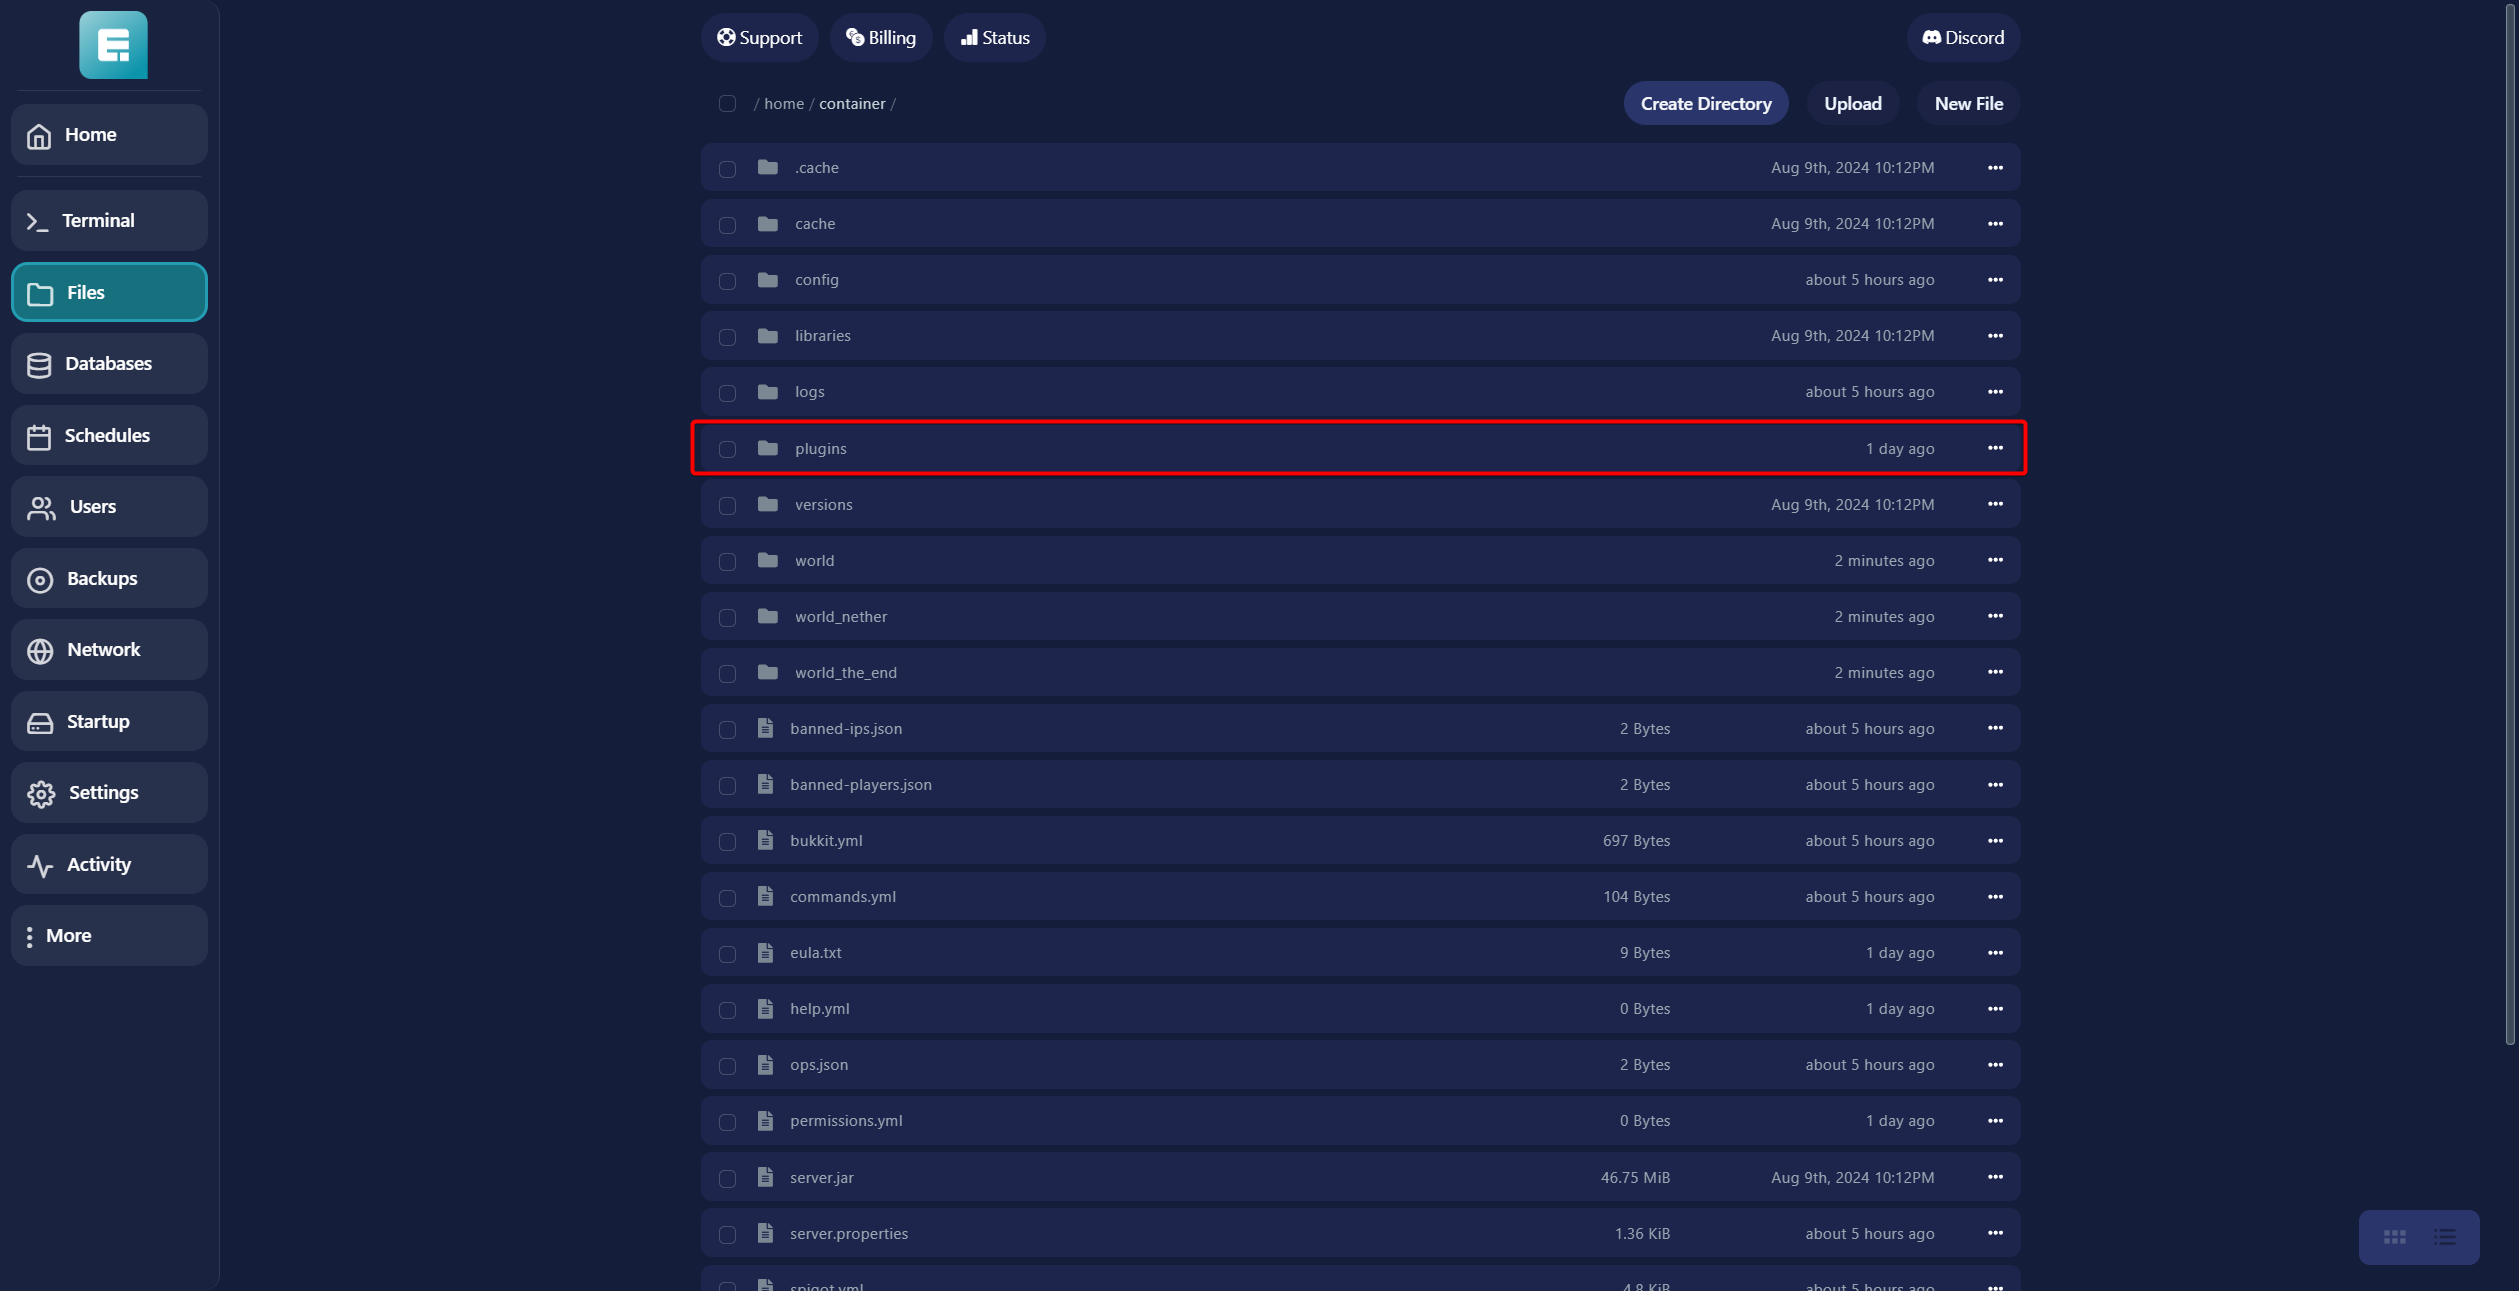
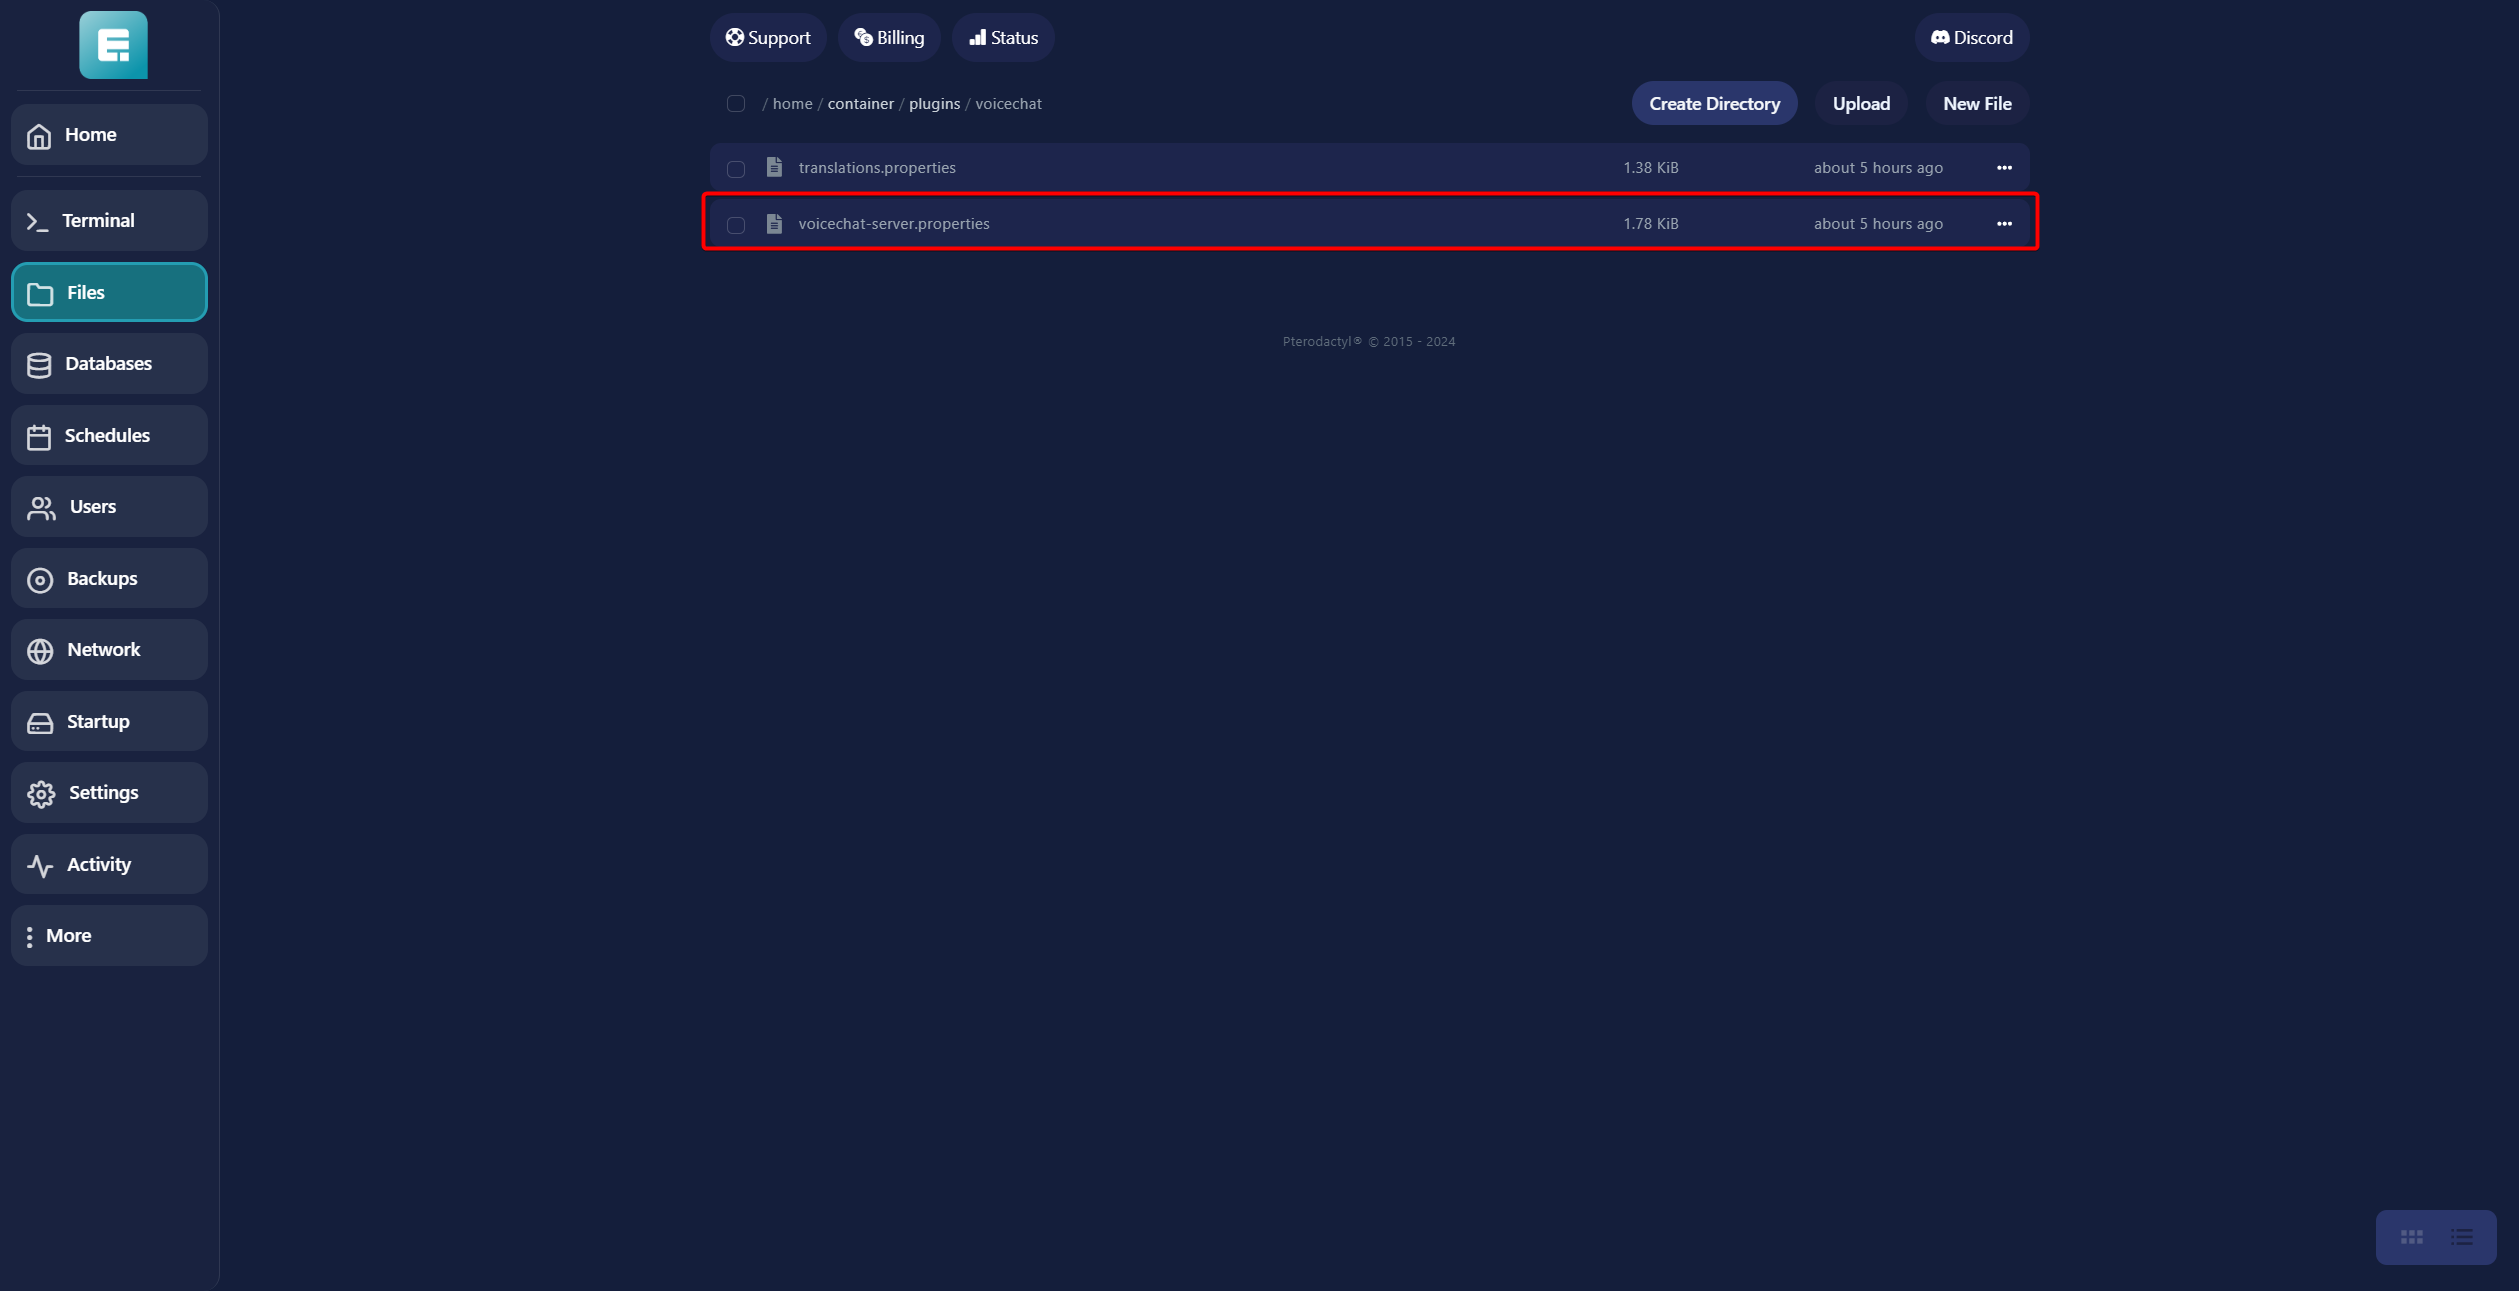
- Go to Files.
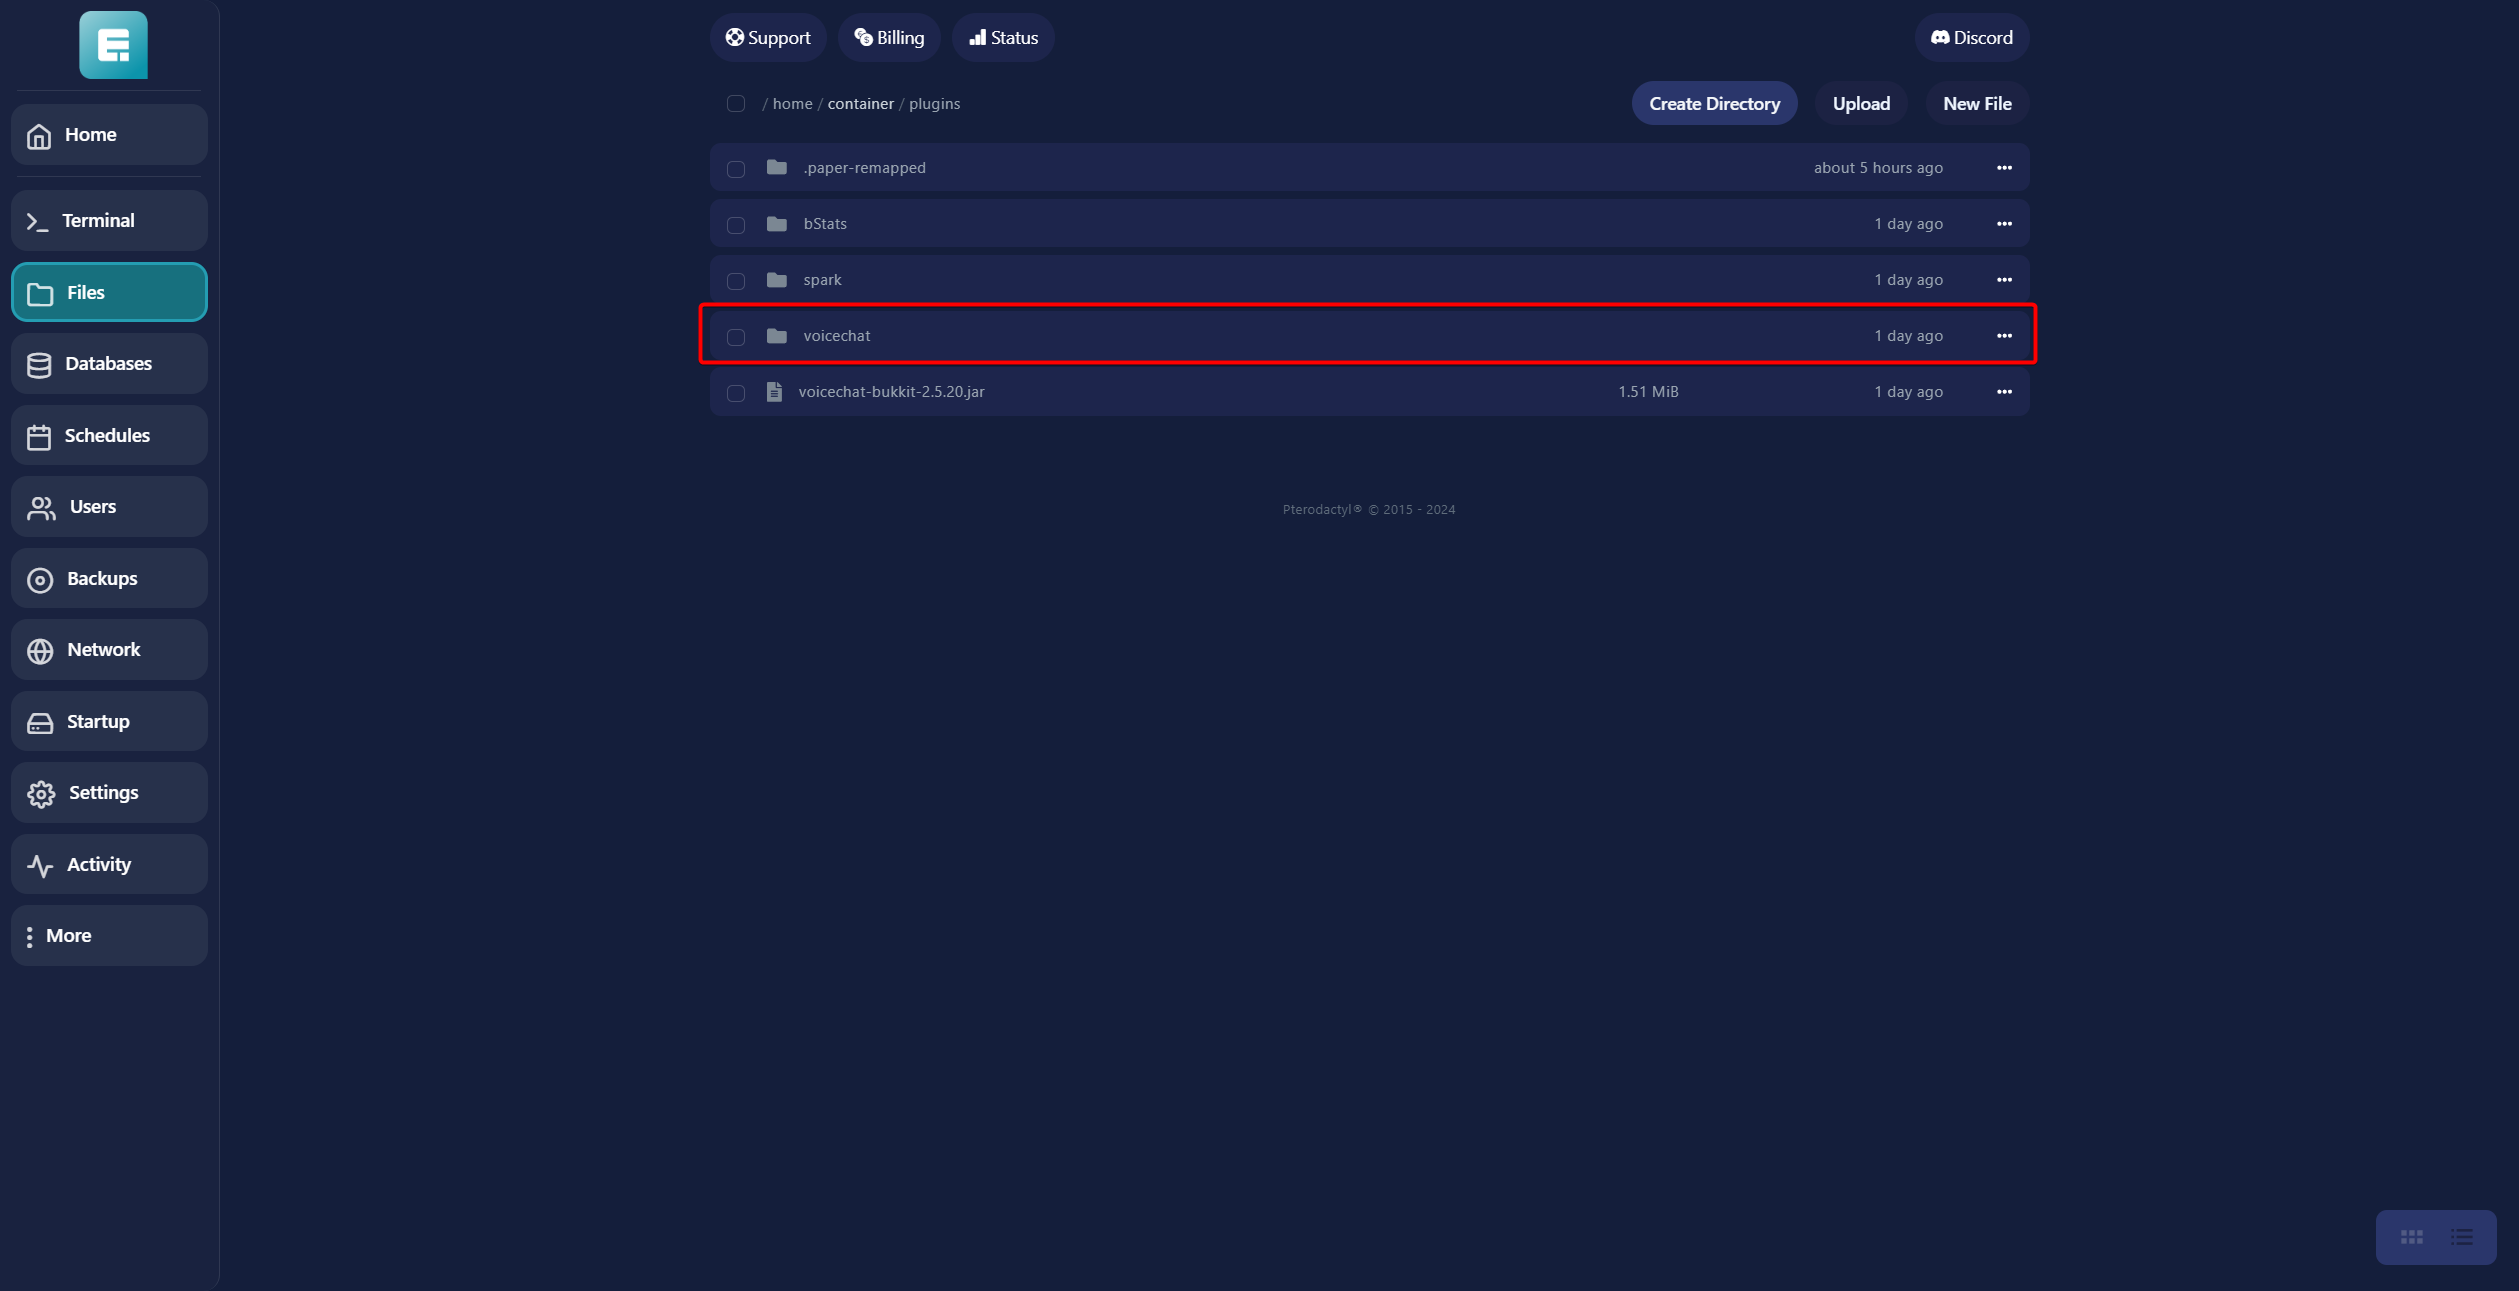
- Click on the plugins folder.
- Open the voicechat folder.
- Click on voicechat-server.properties.
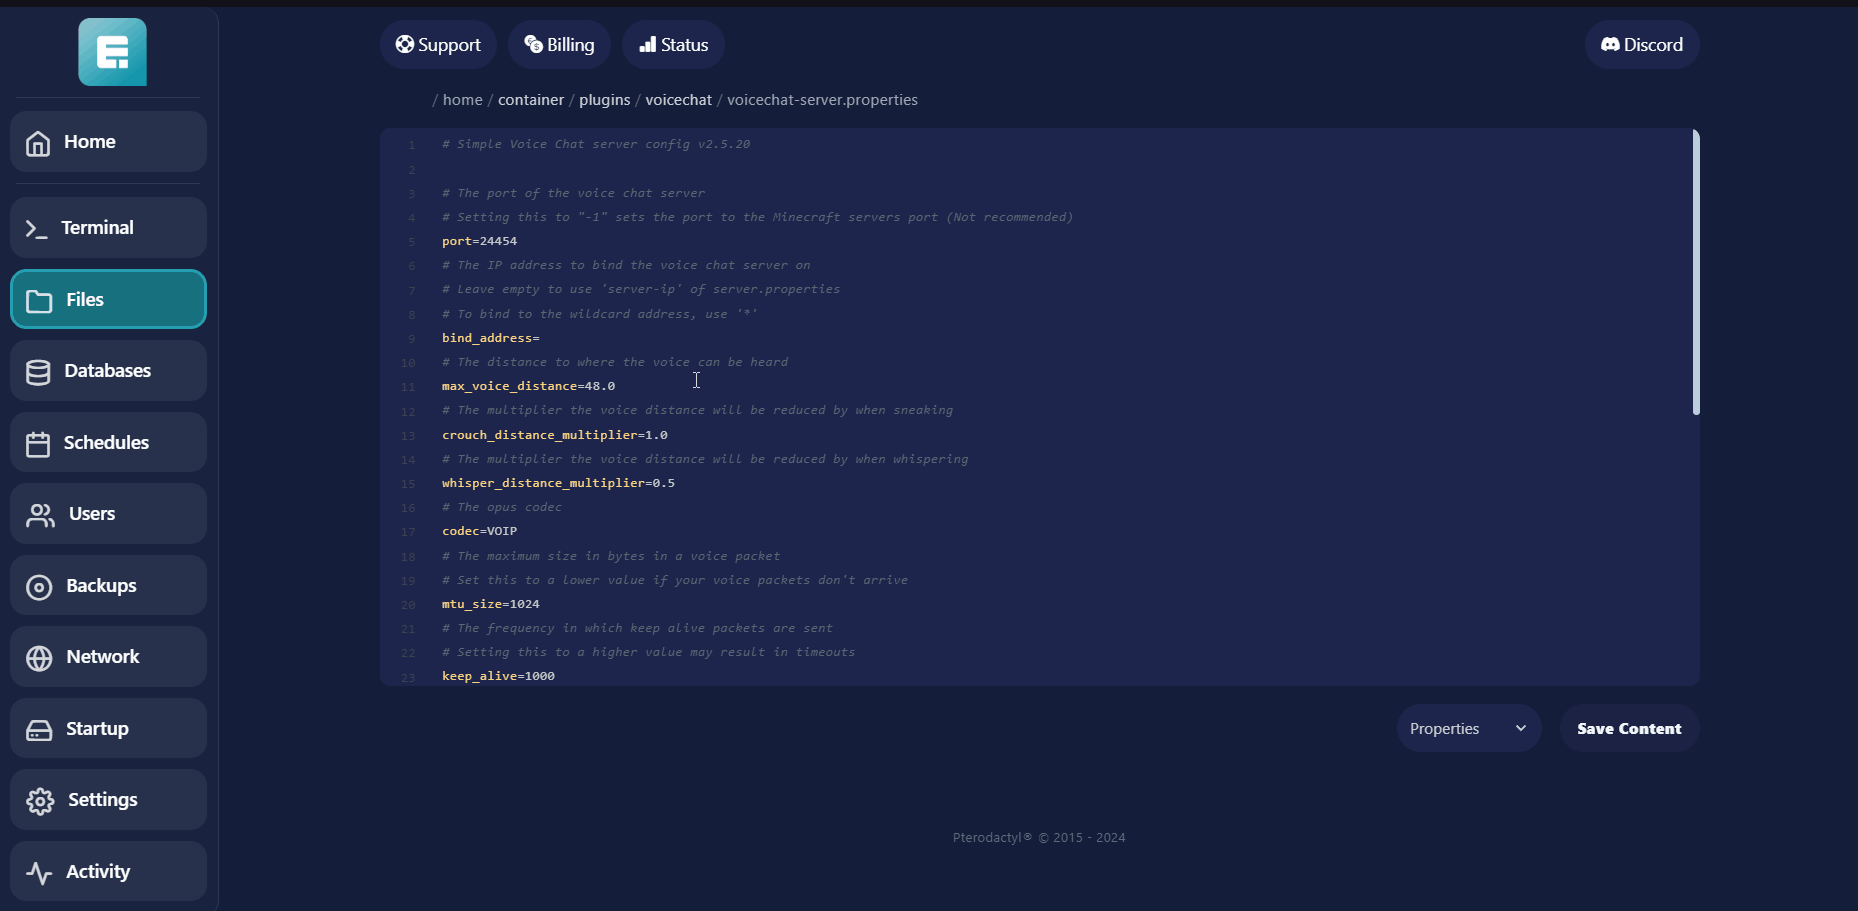
- Fill in the PORT with the port you just created, then click on Save Content.
- Restart the server, and voice chat should now be working!
If you encounter any issues, feel free to reach out via Discord or create a support ticket through this link.
For Modded Servers:
- Go to your desired server via the game panel.
Ensure your server is running on Fabric. If not, check here for instructions on how to install it!
-
Download the mod from here.
-
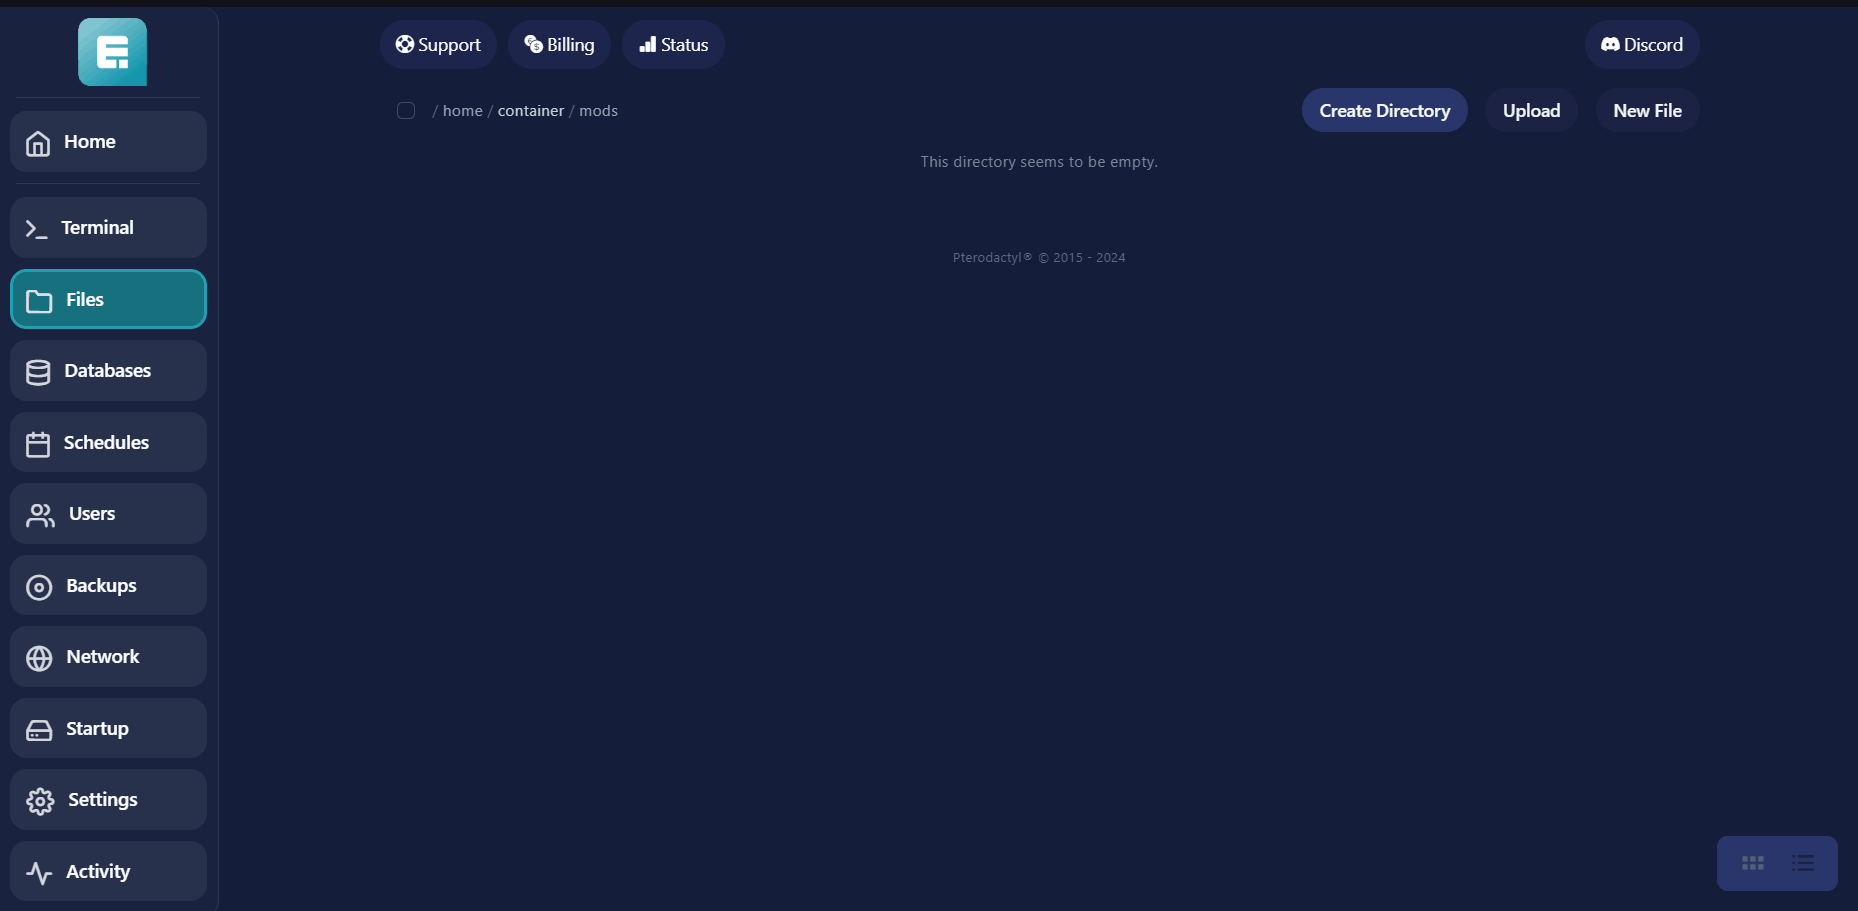
Go to Files for the desired server.
- Open the mods folder.
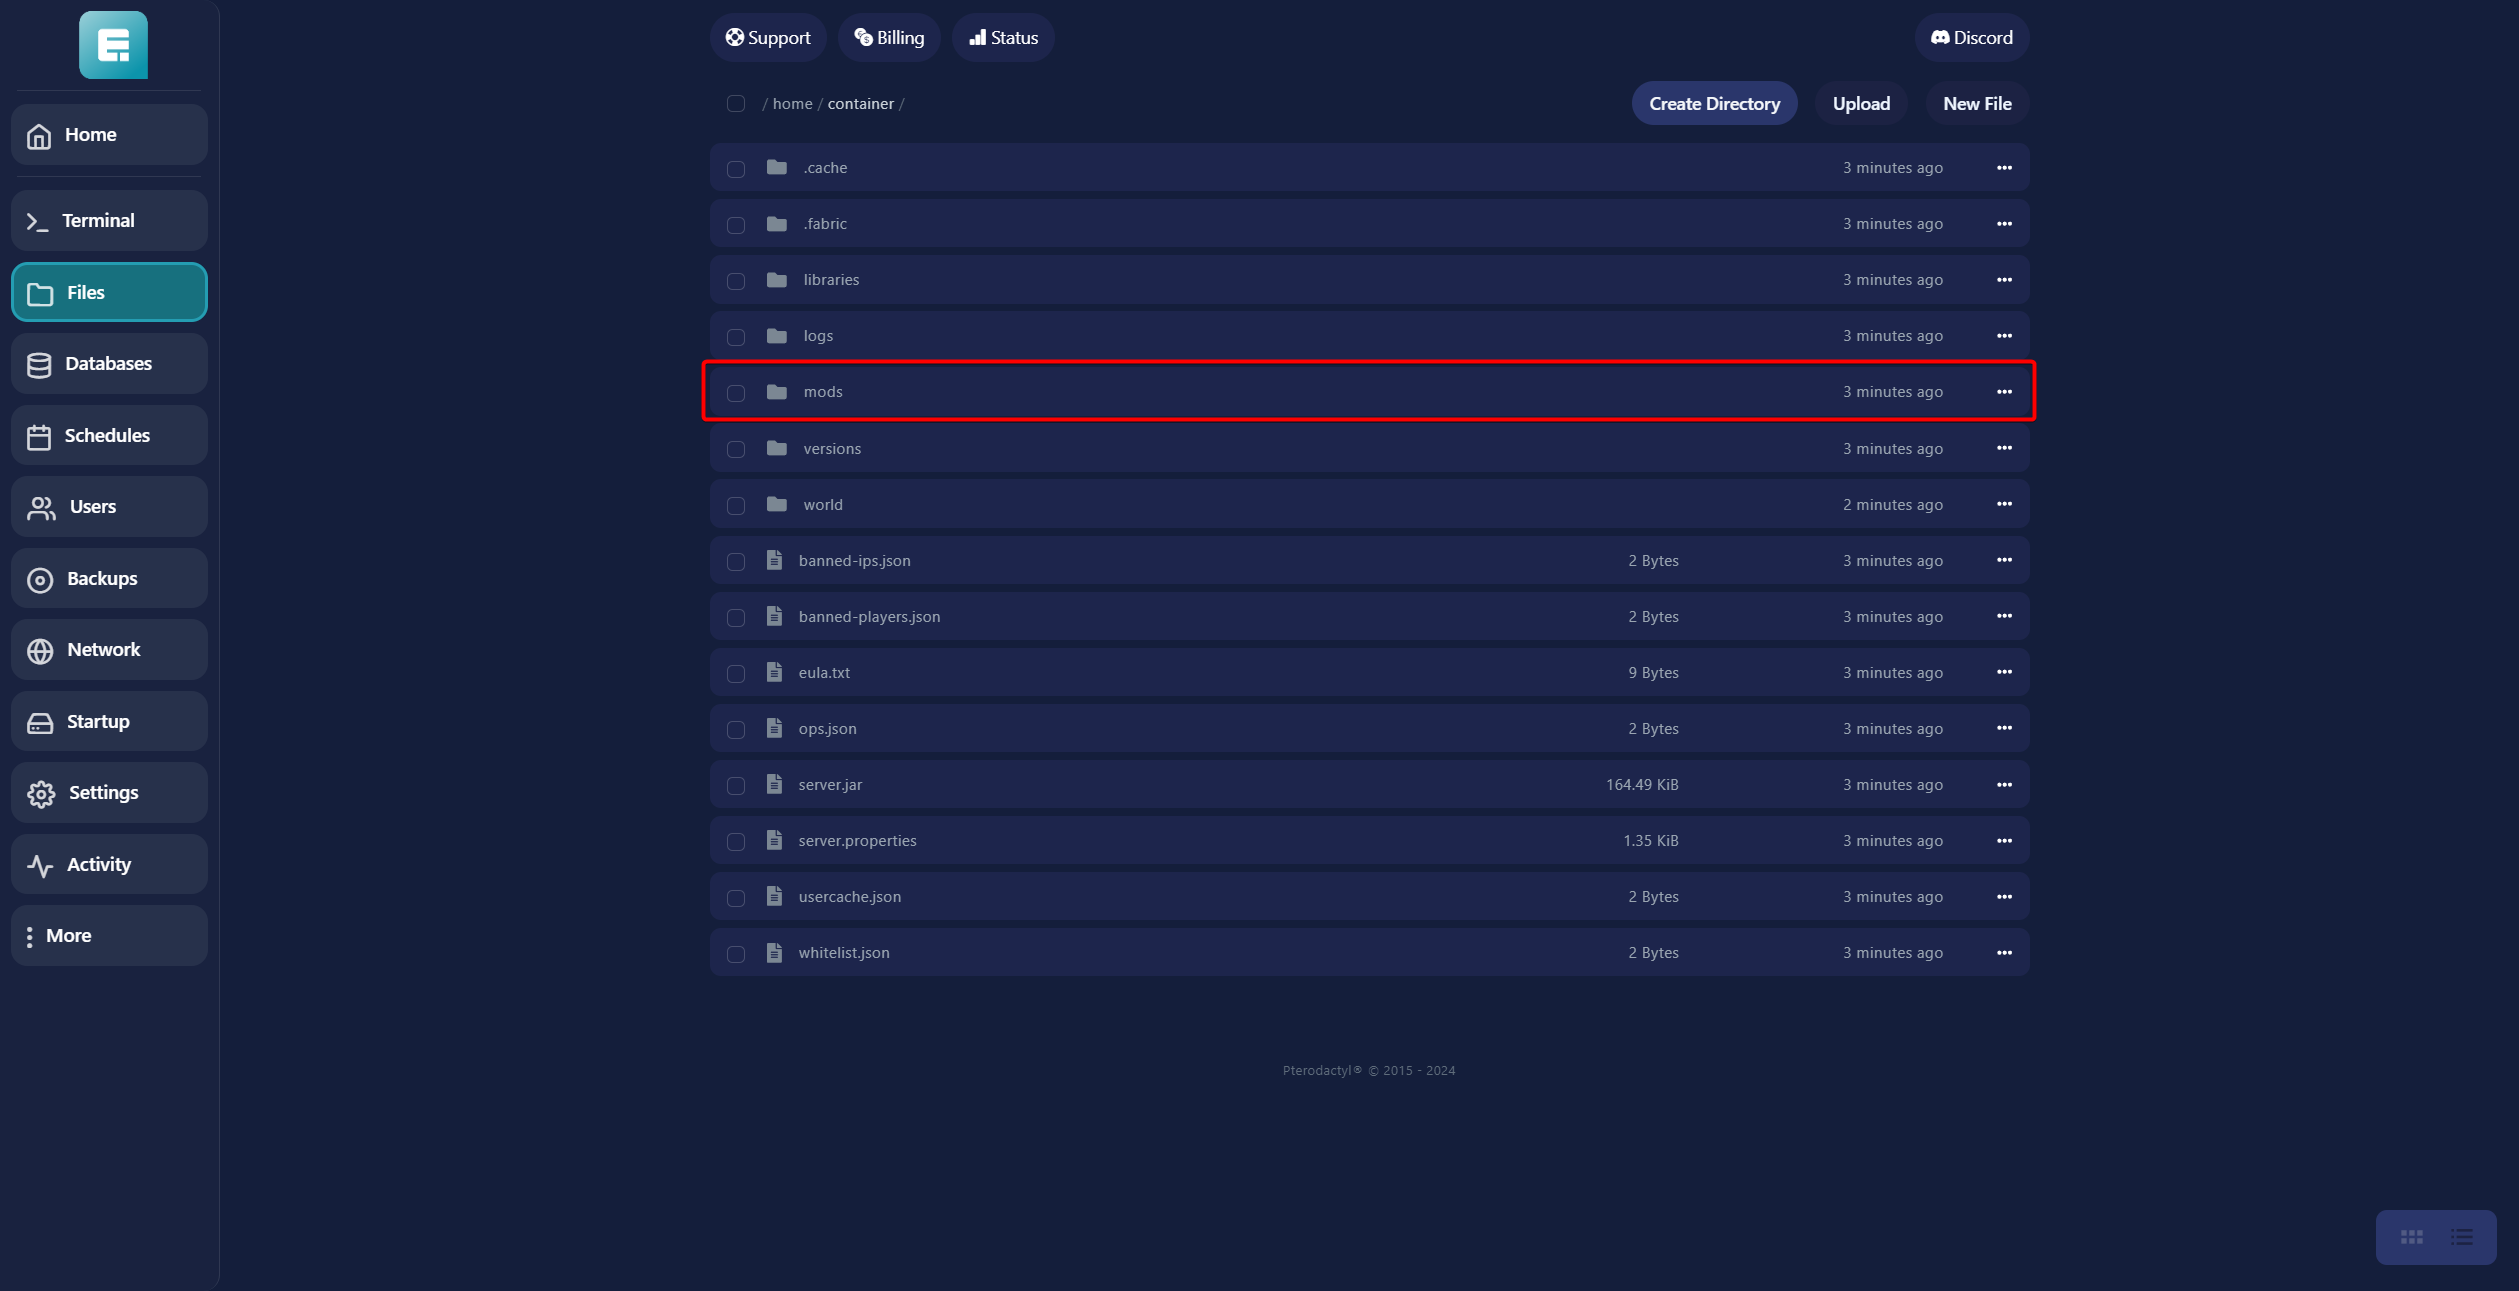
- Upload the downloaded mod into this folder and restart the server.
- Go to Network.
- Click on Create Allocation.

- Save the newly created port.

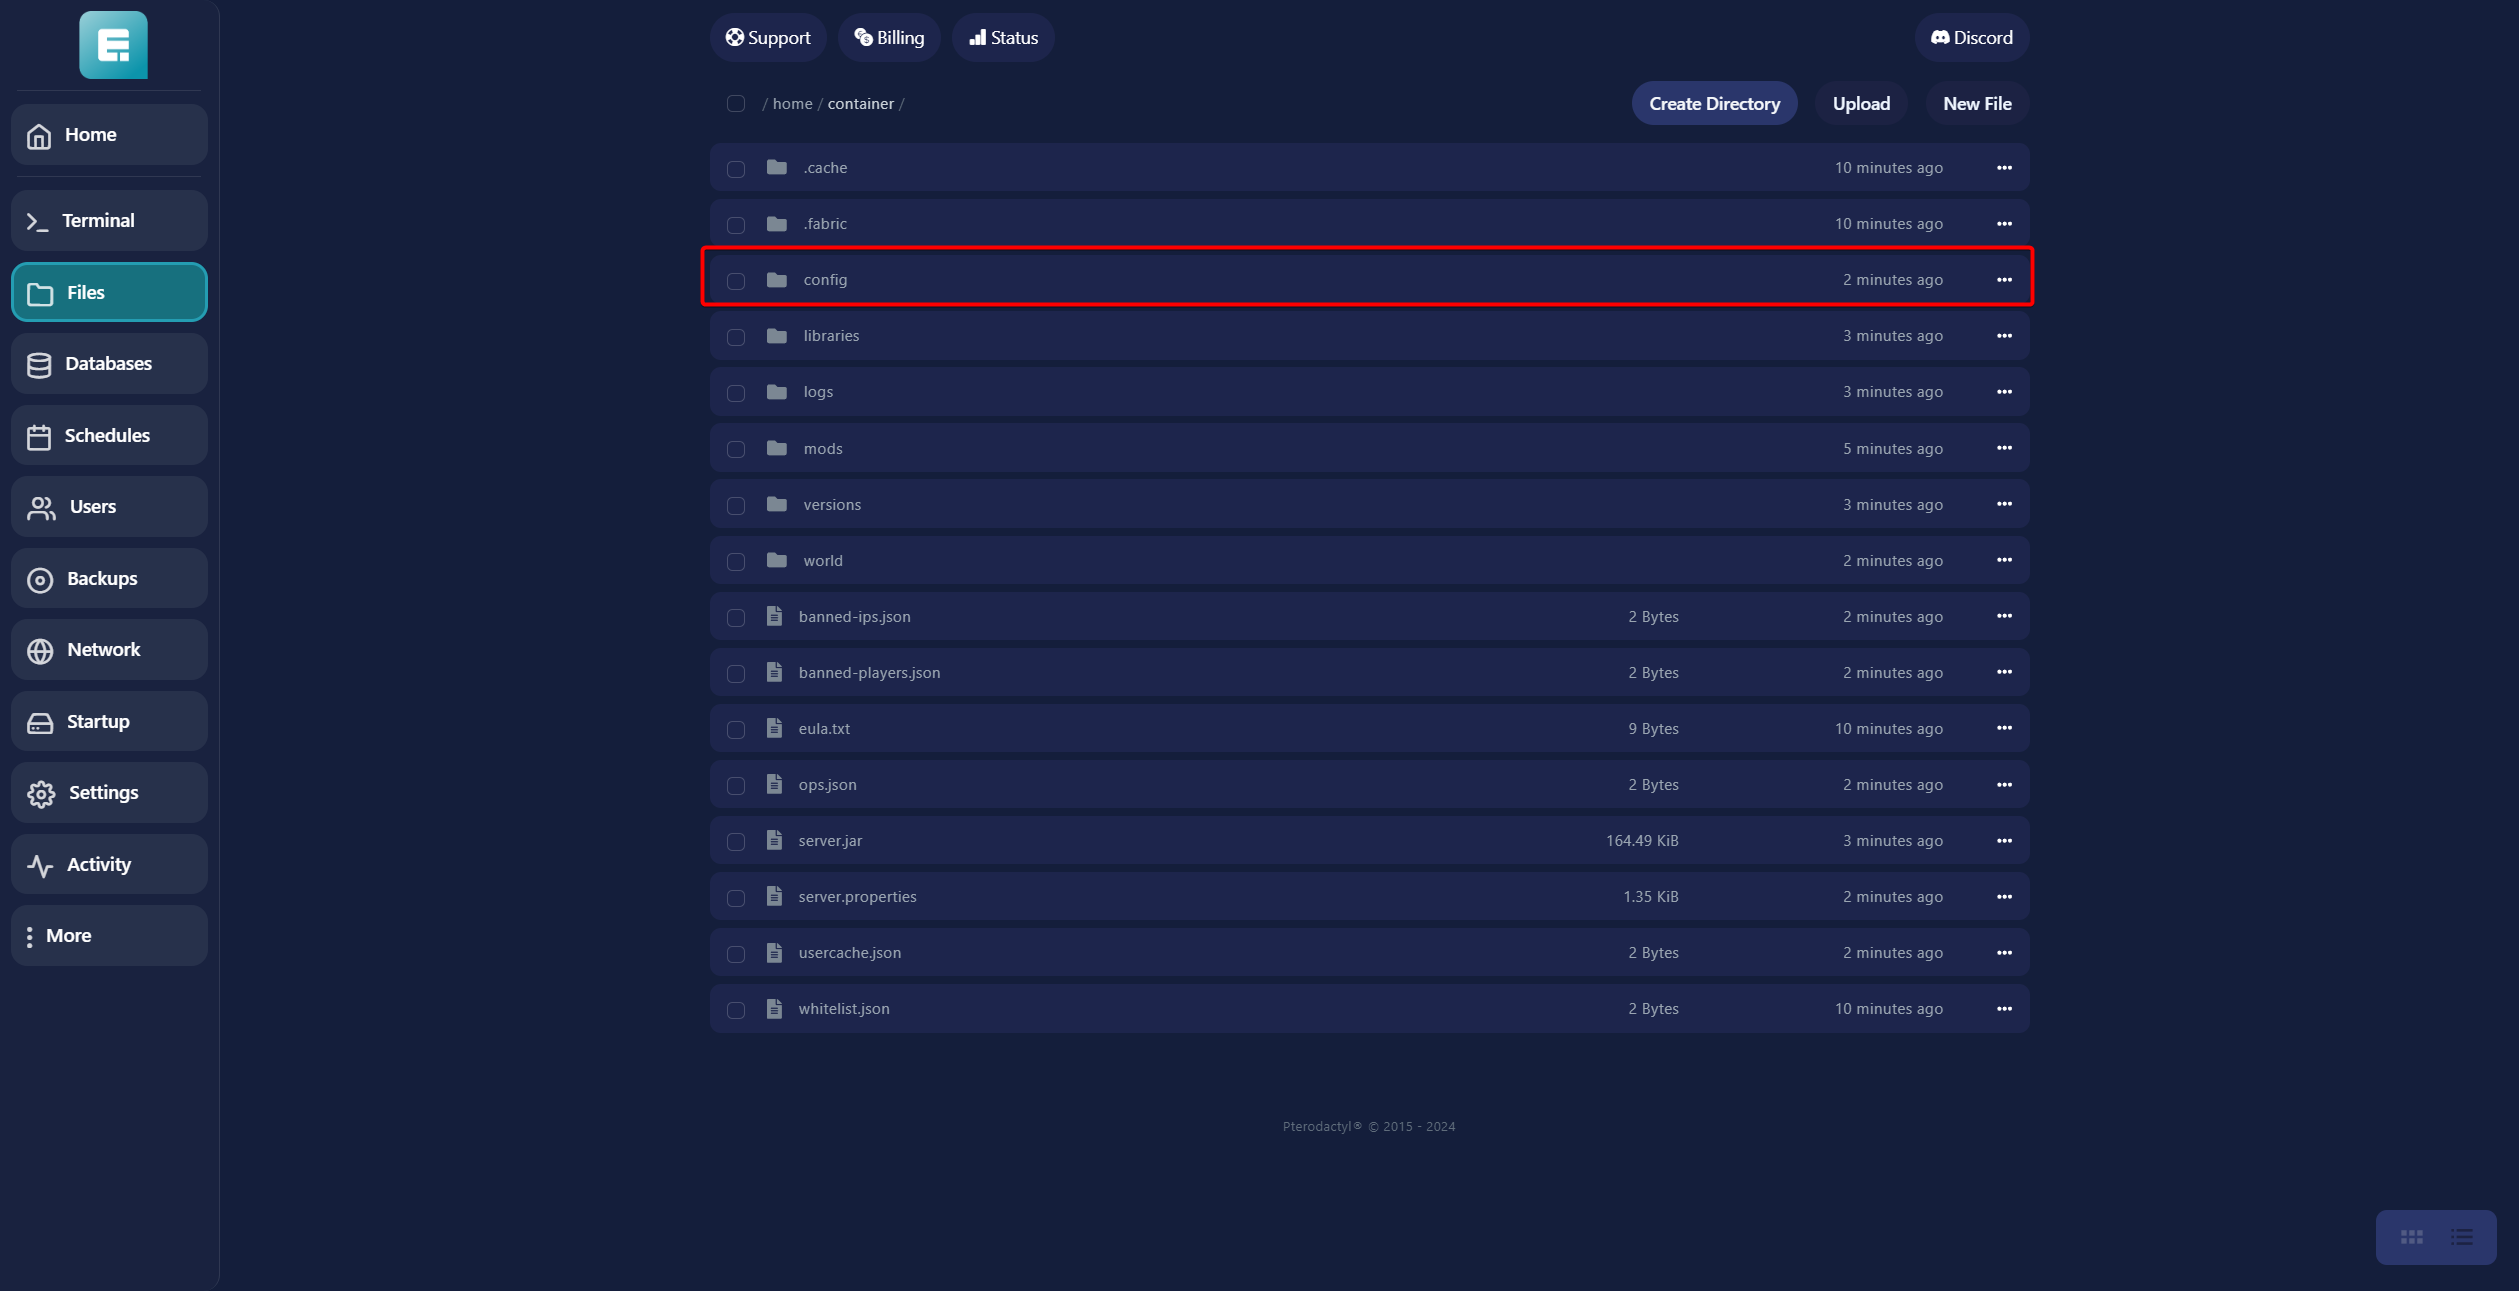
- Go to Files.

- Open the config folder.
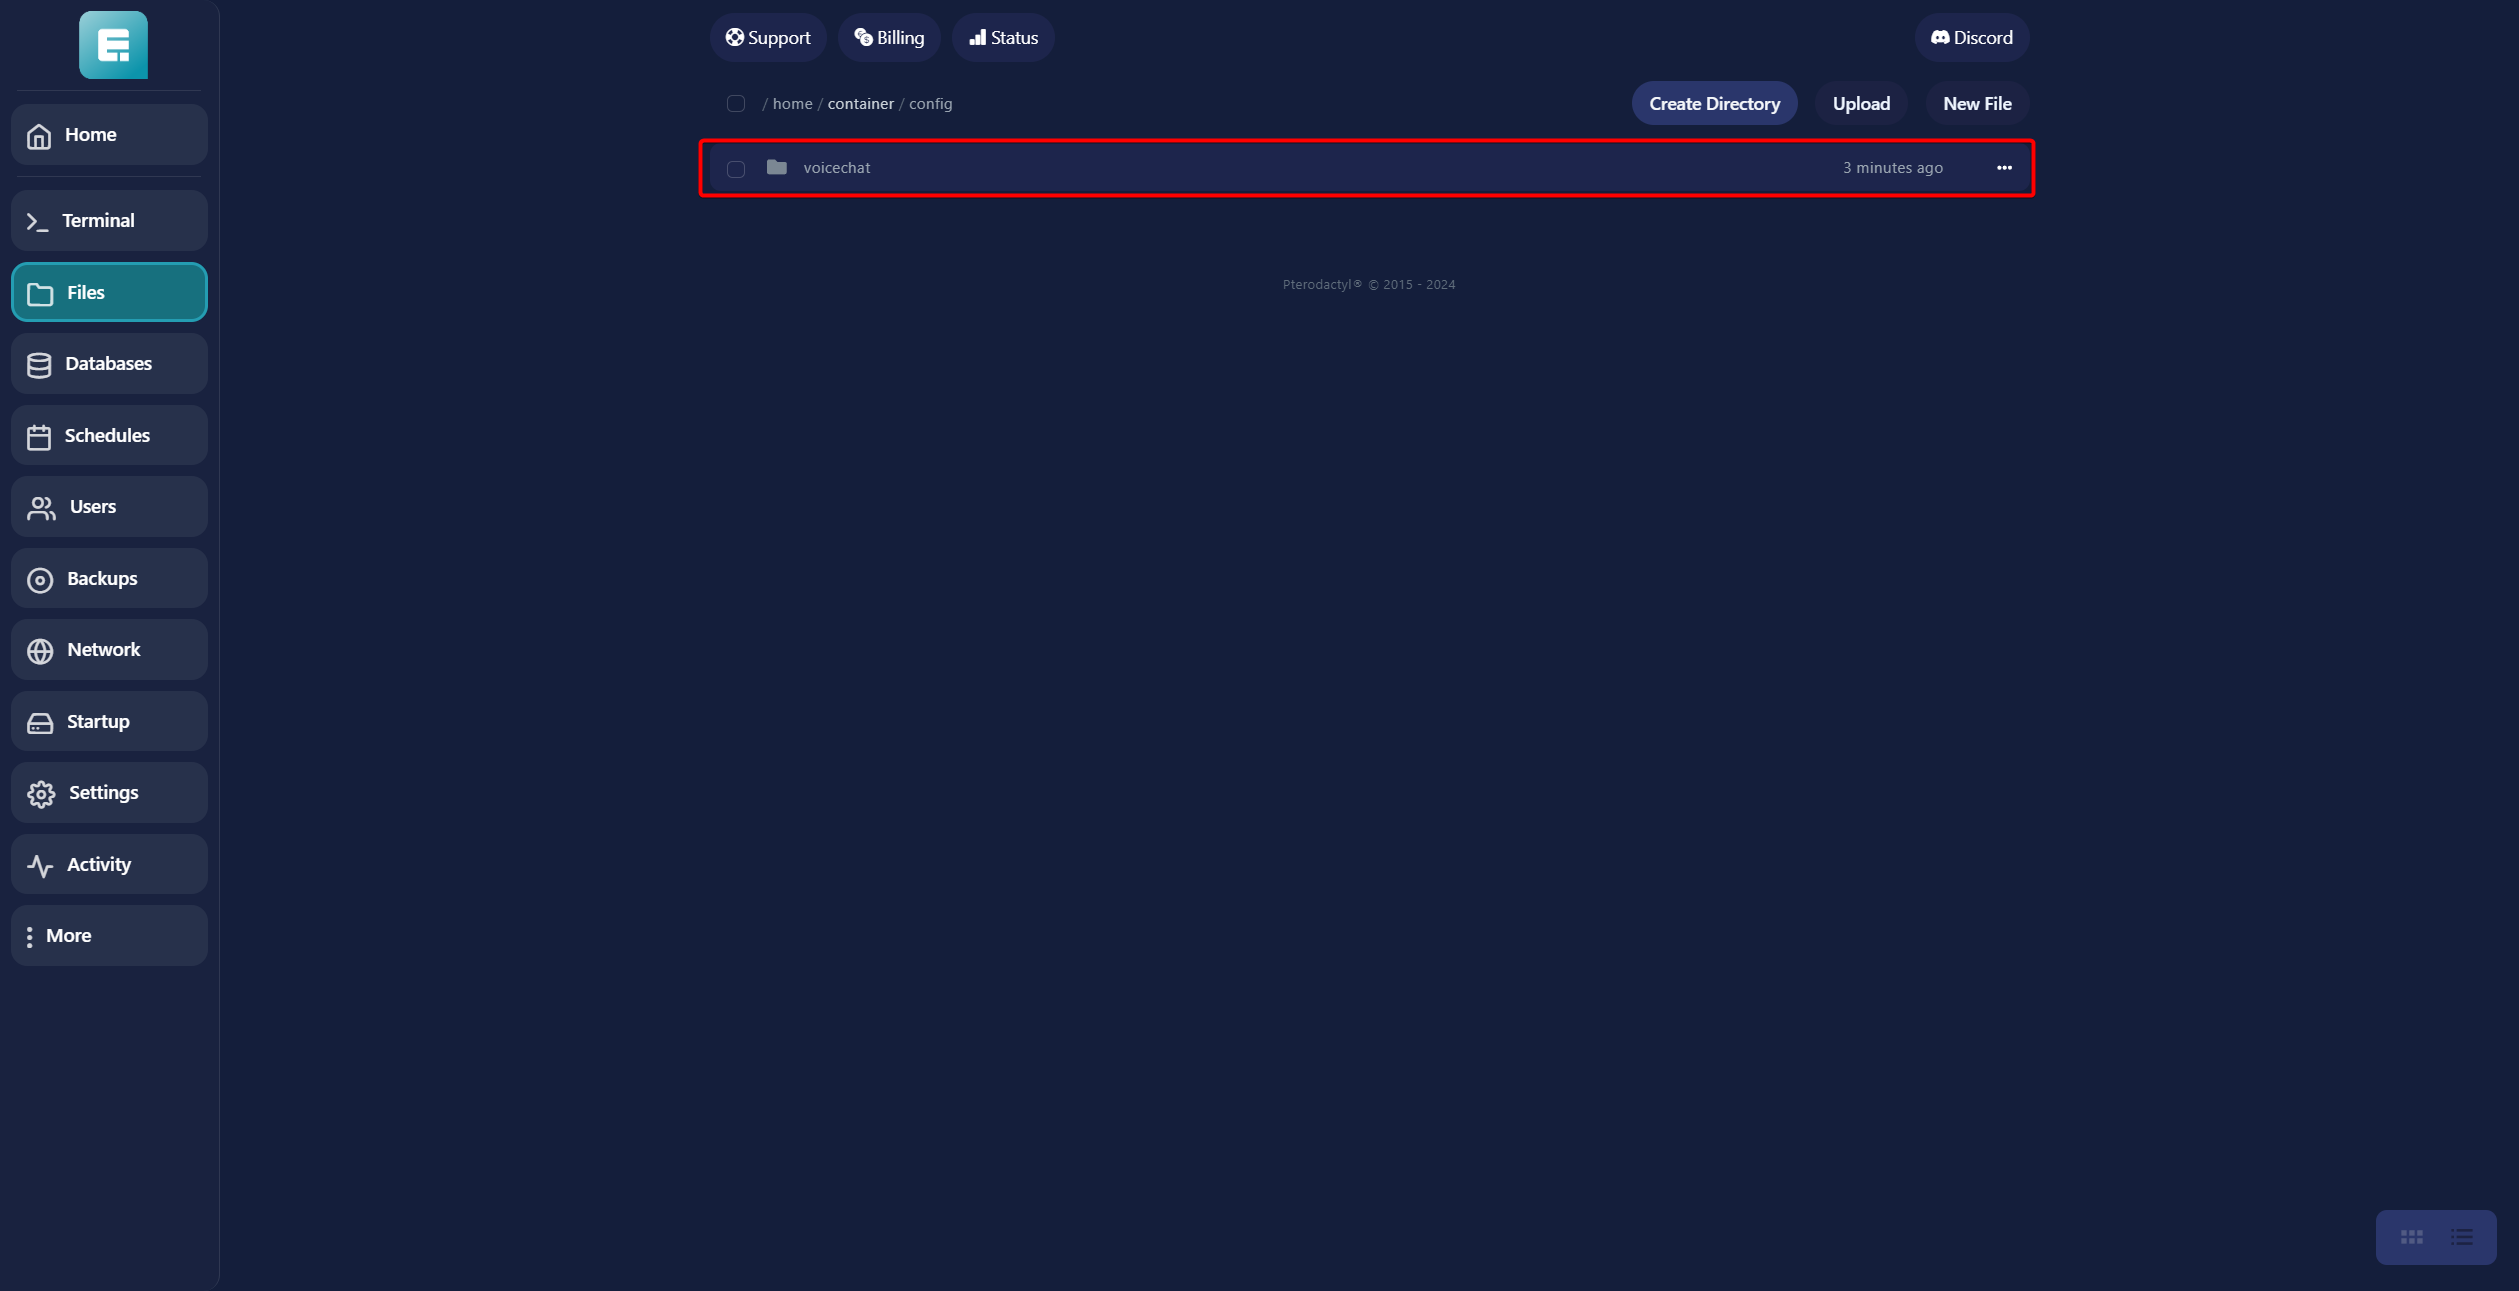
- Open the voicechat folder.
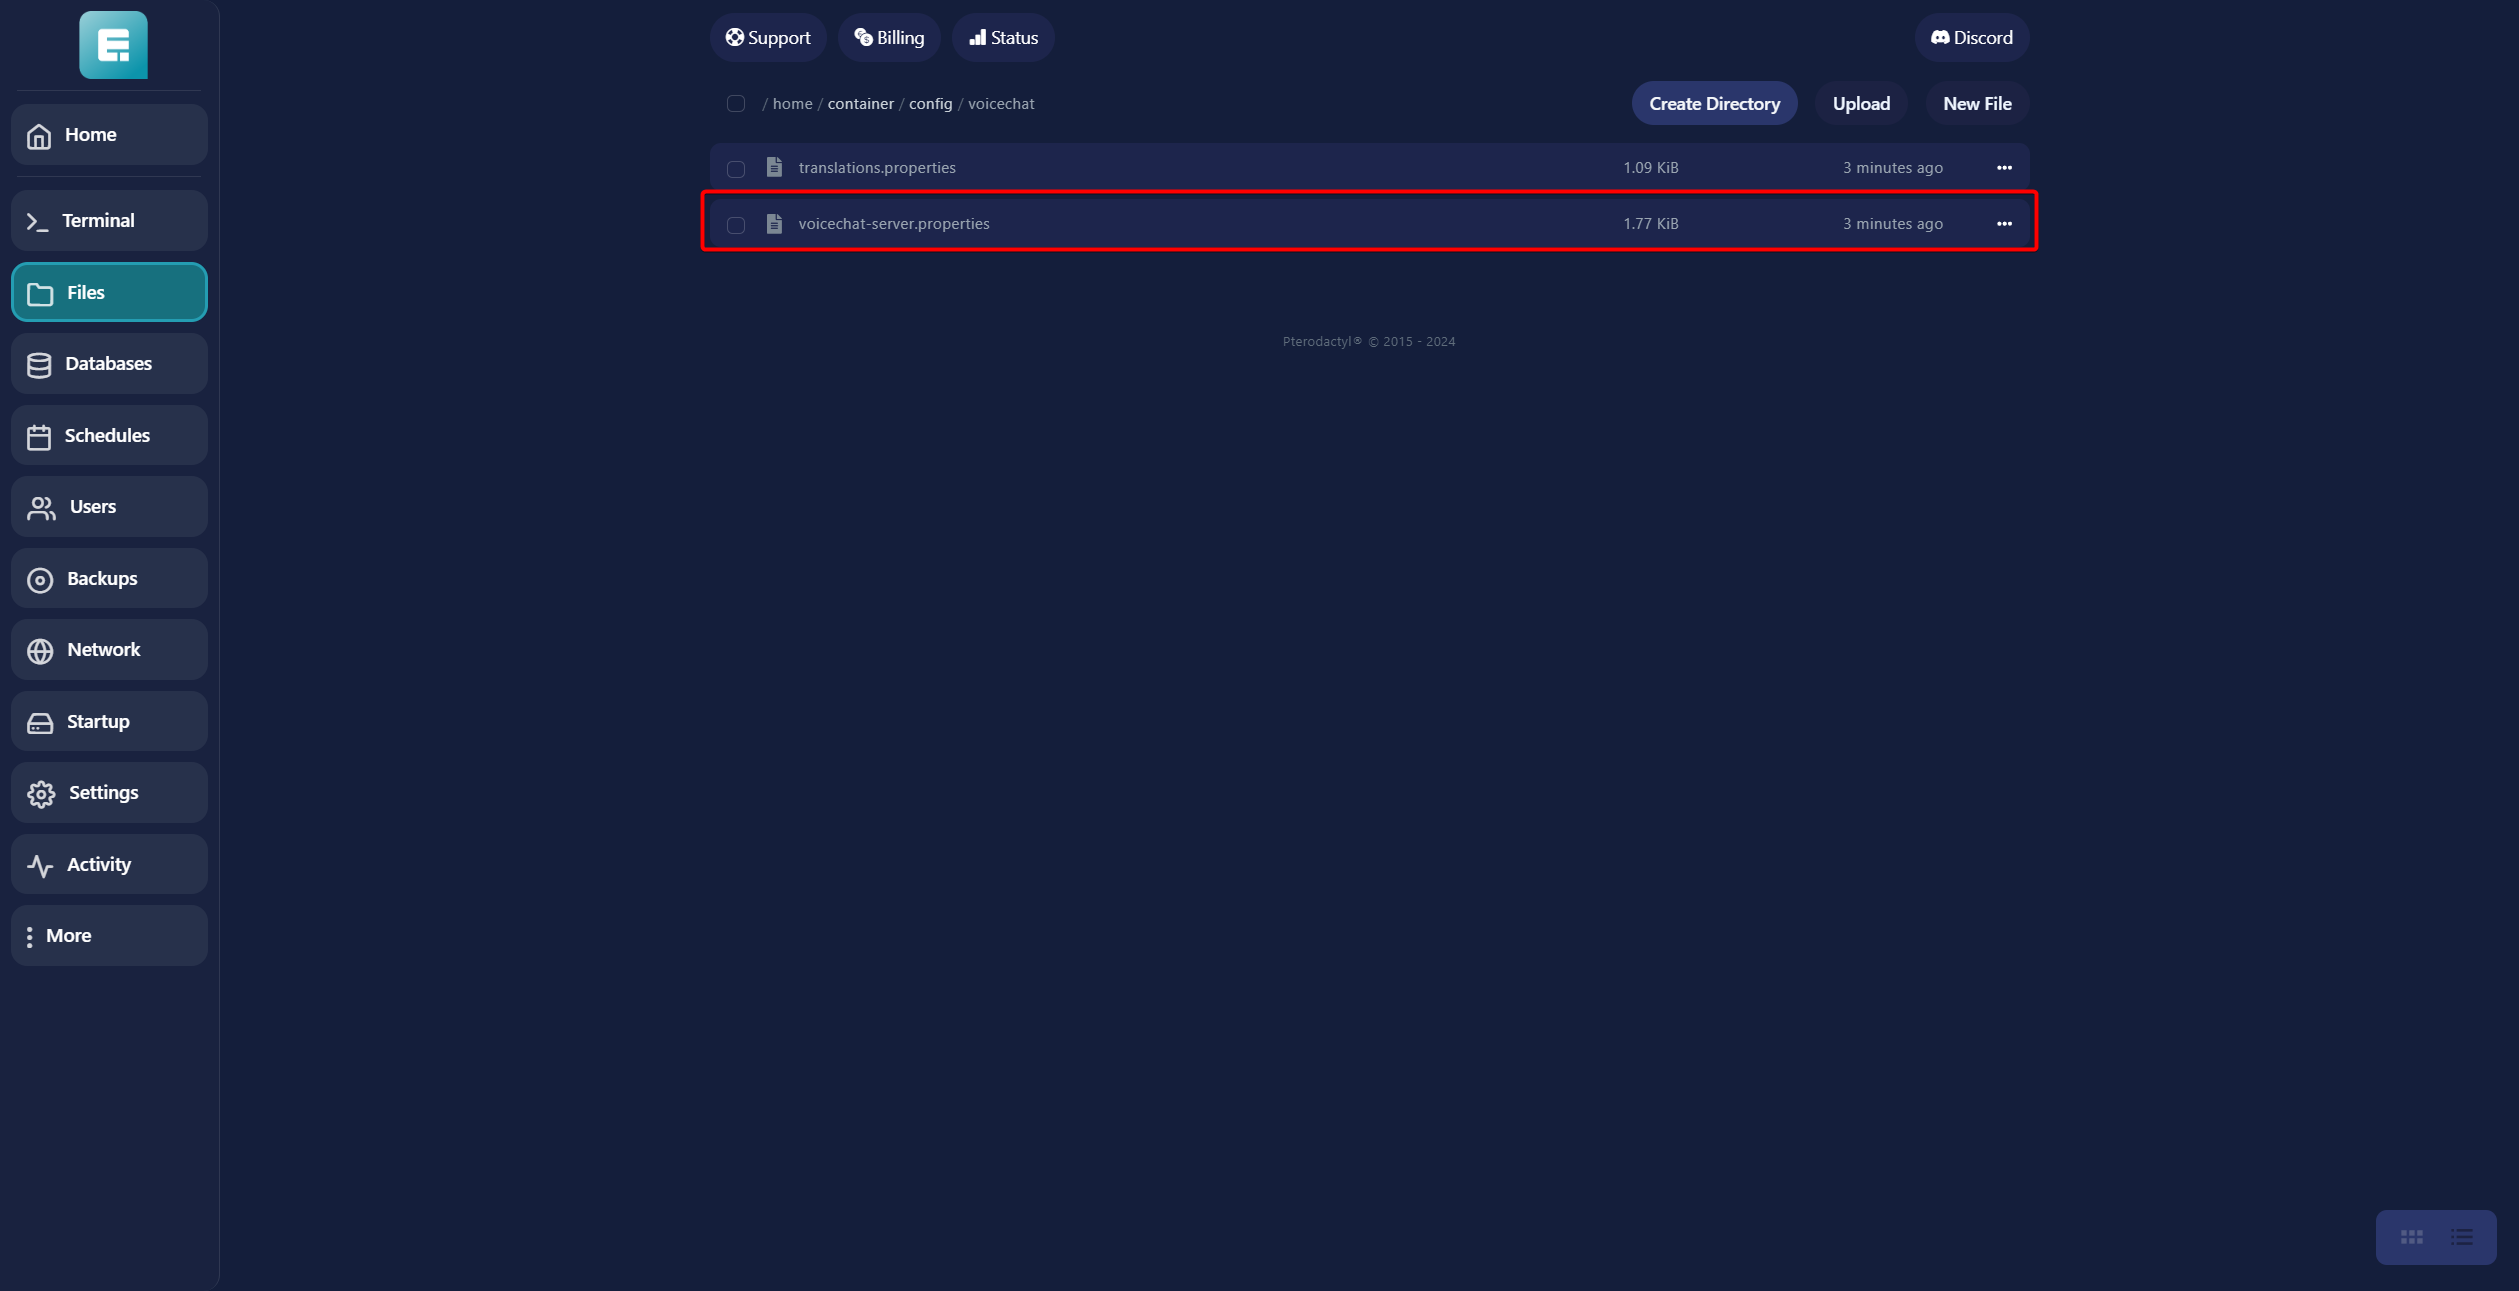
- Click on voicechat-server.properties.
- Fill in the PORT with the port you just created, then click on Save Content.

- Restart the server, and the voice chat should now be working!
If you encounter any issues, feel free to reach out via Discord or create a support ticket through this link.